

Yes, you can put stains over paint and it works better than most people think. I've seen so many furniture pieces get tossed out simply because the paint looked old and flat.
Before you do that, read this. I've worked with painted furniture for years, and this method saves time, money, and effort.
In this article, I'll show you why gel stain is your best option, a simple step-by-step process, and the mistakes to avoid. No stripping.
No heavy sanding. Just a clean, rich finish that looks intentional and done right. This guide covers everything you need to get professional results on your next project.
Everything You Need to Know Before You Start

Know the basics first before you start. Yes, you can put stain over paint, but regular wood stain does not work well on painted surfaces.
Paint seals the wood, so regular stain just sits on top and wipes off. Gel stains are different. It coats the surface instead of absorbing into it, bonds to the paint, and dries into a smooth, even finish.
Think of it like a tinted glaze. Just be clear about one thing, you will get a tinted finish, not a real wood grain look. Gel stain adds color and depth, but it does not bring back hidden grain.
Tools and Materials You'll Need

Gather everything before you start it keeps the process smooth and stress-free.
Must-Have Supplies
- Gel stain (color of your choice)
- Clean lint-free rags or cheesecloth
- Mild cleaner or TSP substitute
- Fine-grit sandpaper (220 grit)
- Painter's tape
- Protective topcoat (polyurethane or wax)
Optional Tools for Better Results
- Tack cloth (removes dust after sanding)
- Foam brush (for getting into grooves)
- Gloves (gel stain stains skin too)
- Drop cloth or plastic sheeting
How to Put Stain Over Paint (Step-by-Step Guide)
Follow these simple steps to get a clean, professional finish on any painted surface.
Step 1: Clean and Prep the Surface
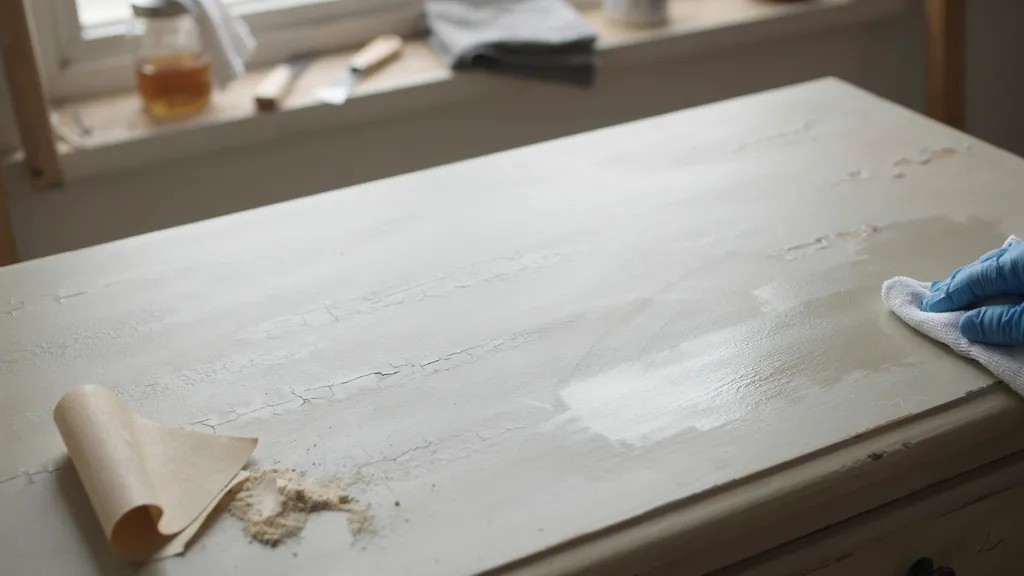
Wipe down the painted surface with a mild cleaner. Remove all grease, dust, and grime. Let it dry fully before moving on. If the paint feels glossy or slick, sand it lightly with 220-grit sandpaper.
You are not stripping the paint, just creating a slight texture so the stain grips better. Wipe off the dust with a tack cloth after sanding.
Step 2: Test the Stain First

Always test on a small hidden spot before applying it to the whole piece. Let it dry completely and check the color in natural light.
Every painted surface reacts slightly differently to gel stain. This one step saves you from a result you did not expect.
Step 3: Apply the First Coat Evenly

Use a lint-free rag or foam brush to apply the gel stain. Work in one consistent direction across the surface.
Do not let it pool or drip. Work in small sections so you stay in control of the coverage and keep the coat thin and even.
Step 4: Build Layers for Desired Color

One coat gives a light tint. Two or three coats build a richer, deeper tone. Wipe off excess between each coat and let each layer dry fully before adding the next.
Stop when you reach the shade you want.
Step 5: Apply a Protective Topcoat
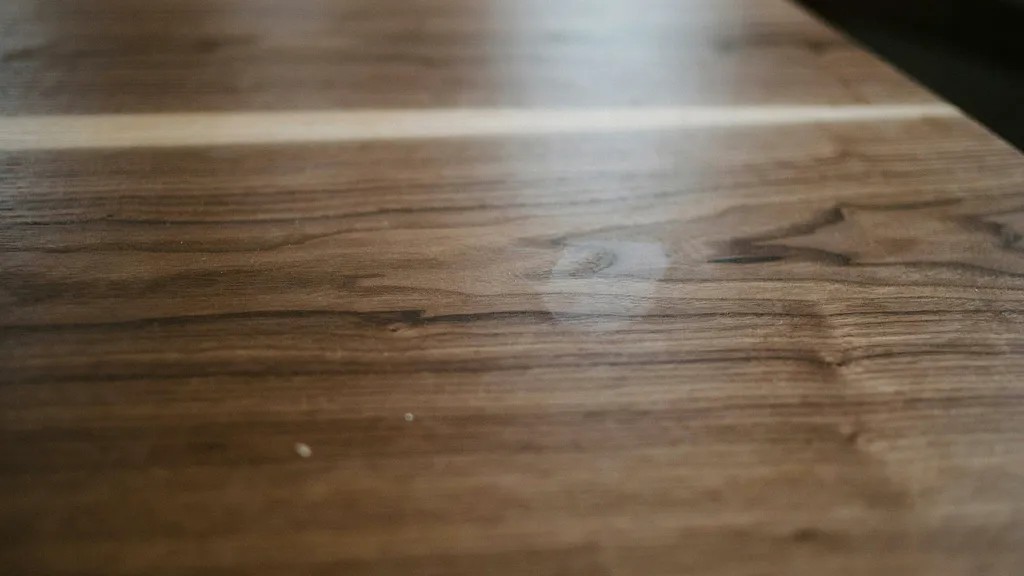
Once the final coat dries fully, apply a clear topcoat to seal everything. Polyurethane works best for high-use pieces like tables and cabinets.
Furniture wax is a good choice for decorative items. This protects the finish and makes it last.
Benefits of Staining Over Paint
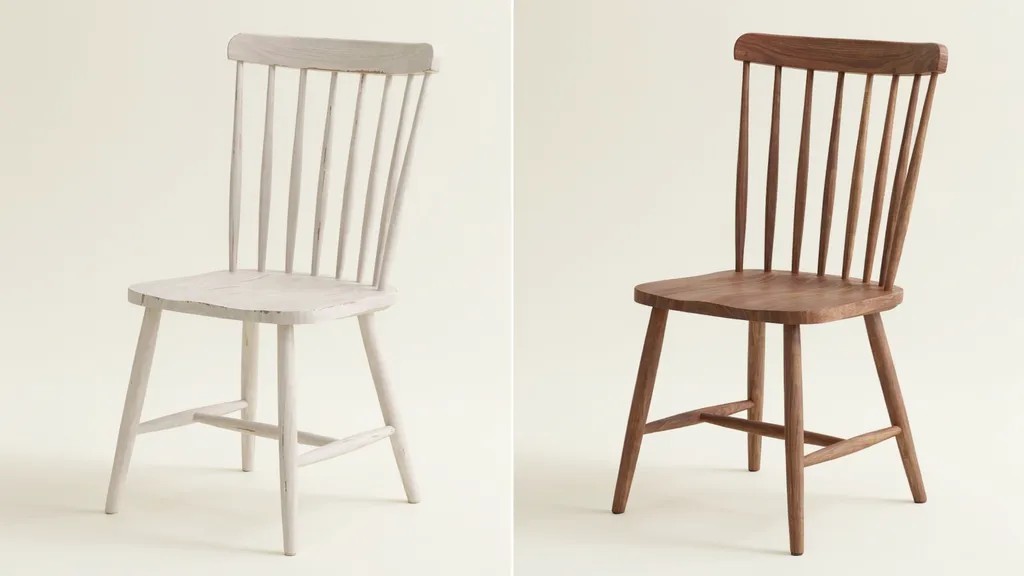
This method is practical, beginner-friendly, and delivers results without the hard work.
Quick Furniture Refresh
You can update a painted piece in a single afternoon. No stripping, no primer, just clean, stain, and seal. It is one of the fastest ways to give old furniture a new life.
No Stripping or Heavy Sanding
Removing old paint is messy and time-consuming. Gel stain skips that step entirely and works right on top of existing paint. It saves you a lot of effort and keeps the process simple.
Adds Depth and Rich Color
Flat paint can look dull and lifeless over time. Gel stain adds warmth and dimension to the surface. The finish looks intentional, layered, and far more interesting than plain paint.
Beginner-Friendly DIY Method
You do not need special skills or tools to do this. If you can wipe a surface, you can apply gel stain. The process is forgiving, easy to control, and hard to mess up badly.
Common Mistakes to Avoid
Avoiding these errors keeps your project clean, professional, and long-lasting.
Skipping Prep Work
Cleaning and light sanding are not optional steps. If you skip them, the stain may peel or apply unevenly. Ten minutes of prep saves hours of fixing later.
Applying Too Much Stain
Gel stains are thick and a little goes a long way. Applying too much leads to a sticky, uneven finish. Use thin coats and build up slowly for the best result.
Not Following Drying Time
The stain may look dry on the outside but still be soft underneath. Rushing between coats traps moisture and ruins the finish. Always give it the full recommended drying time.
Expecting Natural Wood Grain
Gel stain over paint adds color and depth but does not restore wood grain. The grain hidden under paint stays hidden. Go in with the right expectations and you will be happy with the result.
Pro Tips to Get the Best Results
Keep these tips in mind and your finished piece will look clean, even, and done right.
- Use thin, even coats. Thick coats take longer to dry and look uneven. Thin coats are easier to control and build up to a much better finish.
- Apply in one direction. Always move the stain the same way across the surface. Random strokes leave streaks and thin, consistent strokes give a smooth, clean look.
- Let each coat dry fully. Check the product label every time before adding another coat. Rushing this step is the number one cause of a bad final finish.
- Always test before full application. Test the stain on the back or underside of the piece first. Every painted surface reacts slightly differently to gel stain.
- Choose the right topcoat finish. Matte looks more natural, satin adds a soft sheen, and gloss gives a polished look. Pick based on where the piece will be used and how much wear it will take.
Conclusion
If you have a painted piece sitting in your home looking tired and flat, this method is worth trying. I did this on an old dresser last year, and the result genuinely surprised me.
It looked like a completely different piece without a single hour of stripping. You do not need to be an expert. You just need the right product and a little patience.
Try this on your next furniture project, and let me know how it goes in the comments. I would love to see what you create.
Frequently Asked Questions
Can I use regular wood stain instead of gel stain over paint?
Regular stains need to be absorbed into bare wood. It does not bond properly to painted surfaces. Gel stain is the right product for this job.
Do I need to sand all the paint off before staining?
No. You only need a light scuff with 220-grit sandpaper to help the gel stain grip. Full stripping is not necessary.
How many coats of gel stain do I need?
One coat gives a light tint. Two to three coats build a deeper, richer color. Apply thin coats and stop when you reach the shade you want.
Will the wood grain show through the stain?
No. If paint covers the grain, it stays covered. Gel stain adds color and depth to the surface but does not reveal grain hidden under paint layers.
How long does gel stain last on painted furniture?
With a proper topcoat, gel stains can last for years. Polyurethane gives the most durable protection, especially on high-use pieces like tables and cabinets.