
Can you touch up eggshell paint without making the wall look worse? Yes, but it takes a little know-how.
Many homeowners notice scuffs, chips, or marks on their walls and want a quick fix. The problem is its subtle sheen, which makes patchy touch-ups stand out more than flat paint would.
This guide covers everything you need to get a clean result. You'll learn how to prep the surface, match the color, apply the paint correctly, and blend it in.
With the right steps, a clean touch-up is absolutely doable, especially when the damage is small and the paint match is close.
Understanding Eggshell Paint Touch-Ups
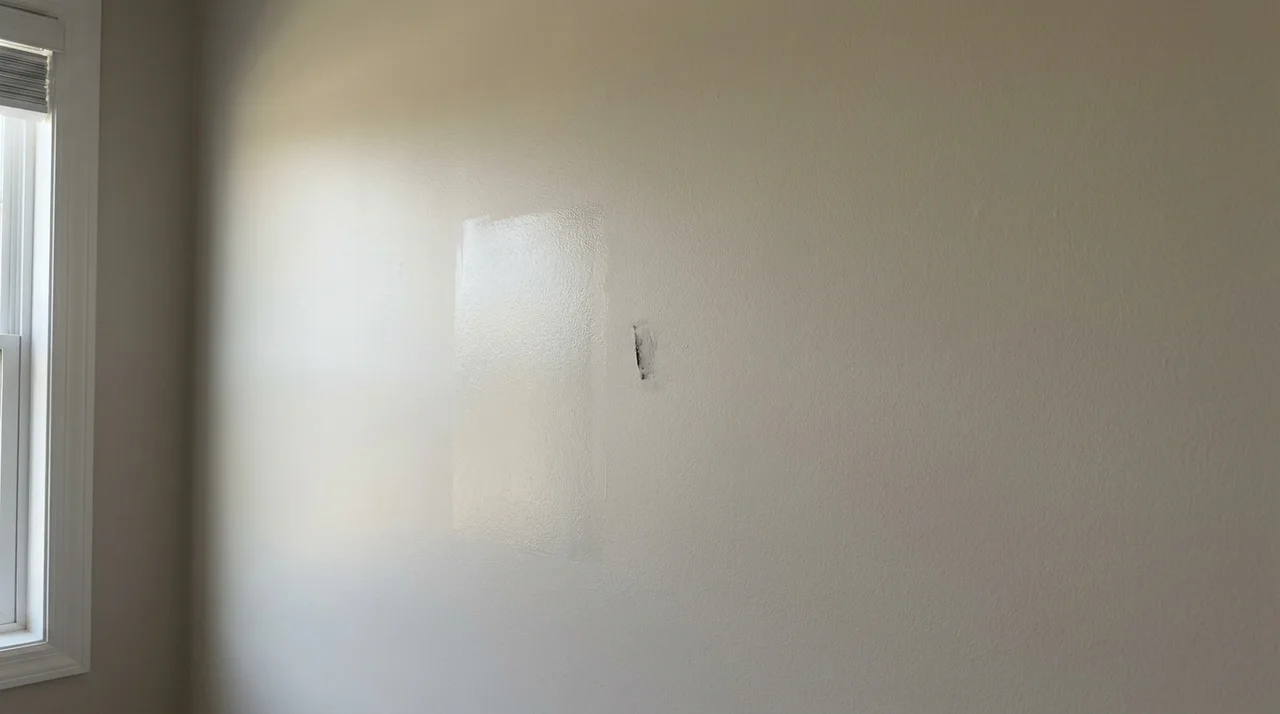
Eggshell paint can be touched up, but the sheen makes blending harder than flat paint prep and technique matter most.
Most people assume a quick dab of leftover paint will fix a scuff on their wall. Then they step back and notice a shiny spot that looks worse than the original mark.
That is the reality of working with eggshell paint. Its low-luster finish reflects light in a specific way, and even a small patch applied without care will catch the eye.
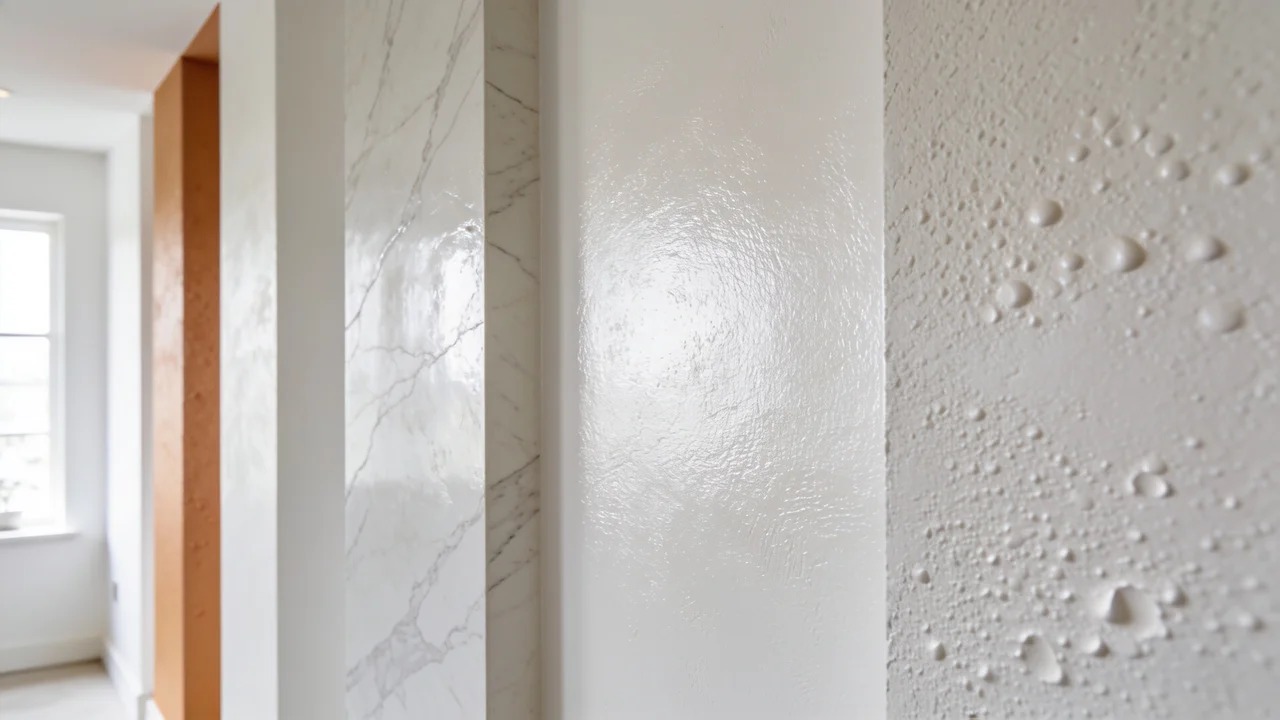
The sheen level sits between flat and satin, typically landing around 10-25 on the gloss scale compared to flat's near-zero sheen, which means it is more forgiving than satin but less forgiving than flat.
Eggshell has more sheen than flat paint, so it reflects more light and can make touch-up differences easier to notice. Understanding this before you start saves you time and frustration.
The good news is that with the right paint, the right tool, and a proper blending technique, you can get a result that looks natural on the wall.
How to Touch Up Eggshell Paint Properly
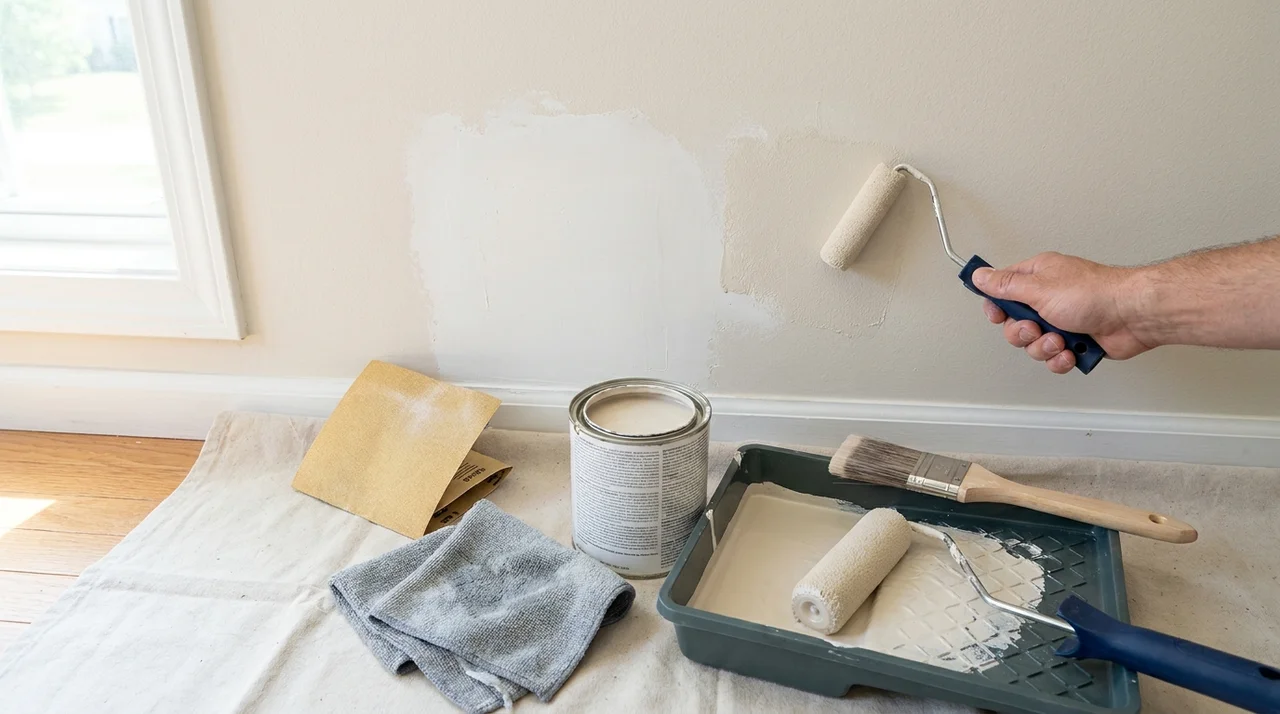
Touching up eggshell paint properly comes down to four key steps done in the right order, from surface prep to blending the finish.
Clean and Prepare the Area
Start by cleaning the damaged area before you open any paint. Use a damp cloth to remove dust, grease, or residue from the surface.
If the wall has a scuff or raised edge from a chip, lightly sand it smooth with fine-grit sandpaper. Then wipe the area again and let it dry completely.
If the damage has exposed bare drywall, apply a thin coat of interior primer first and let it dry before painting. Bare drywall absorbs paint unevenly, which builds an inconsistent sheen right where you need it to match. Priming seals that absorbency so the touch-up coat cures at the same sheen level as the surrounding wall, reducing the risk of flashing.
Skipping this step causes the new paint to sit on top of dirt, which prevents proper adhesion and makes the patch look uneven once it dries.
A clean, smooth surface gives the touch-up the best chance of blending in naturally.
Match the Paint Color and Sheen
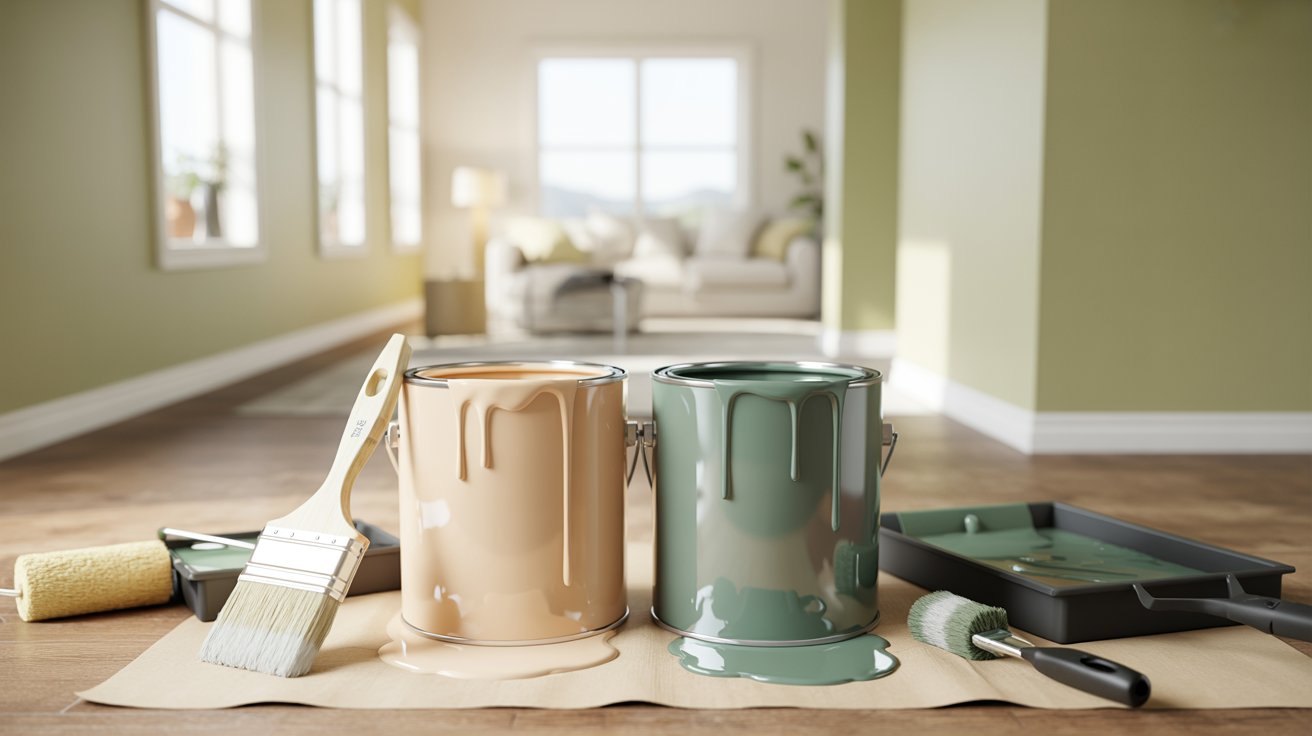
Use the original paint if you kept it. Check the sheen level on the can label and make sure it says eggshell.
If you no longer have the paint, take a chip or photo to a paint store and ask for a color match. Always request the same sheen level, not just the same color.
A different sheen will reflect light differently, even if the color is identical. If you are unsure, ask the store to confirm the finish before you leave.
Apply the Paint With the Right Tool
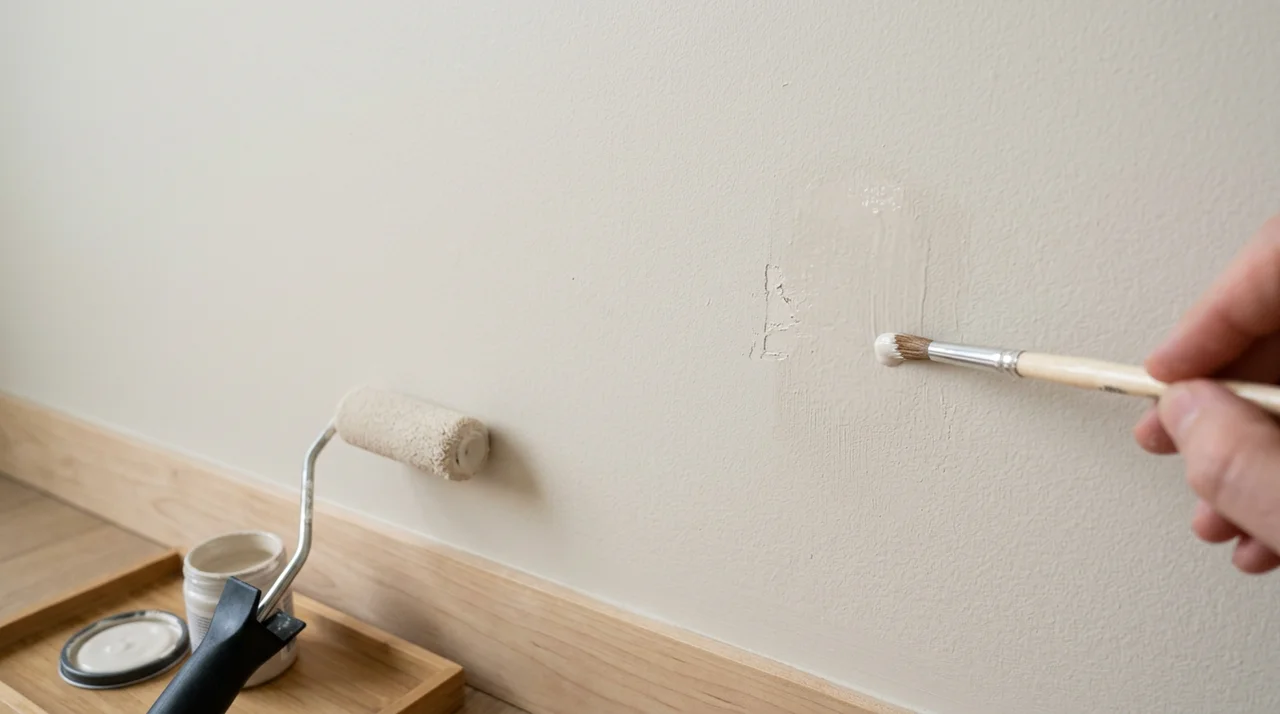
Use the same application method that was originally used on the wall. If the wall was rolled, use a small 4-inch mini roller, sometimes called a hot-dog roller.
If it was brushed, use a brush. The texture left by each tool is slightly different, and using the wrong one will make the patch visible.
Apply a thin coat rather than a thick one. Less paint applied evenly blends better than a heavy application in one pass.
Let the first coat dry fully before deciding if a second coat is needed. For the final appearance, allow the paint to cure according to the manufacturer's instructions before judging the match.
Blend the Touch-Up Into the Existing Finish
After applying the paint, feather the edges outward into the surrounding wall while the paint is still slightly wet.
Use the stippling technique: lightly dab the bristles or roller edge along the boundary between old and new paint to soften the transition. Use light pressure and small strokes to blend the edges.
This is what makes a touch-up disappear rather than stand out. Do not overwork the area. A few light passes are enough.
Step back after each pass to check how it looks from a normal viewing distance. Once dry, the blended edge should not be noticeable under regular lighting.
Why Does My Eggshell Touch-Up Look Different?
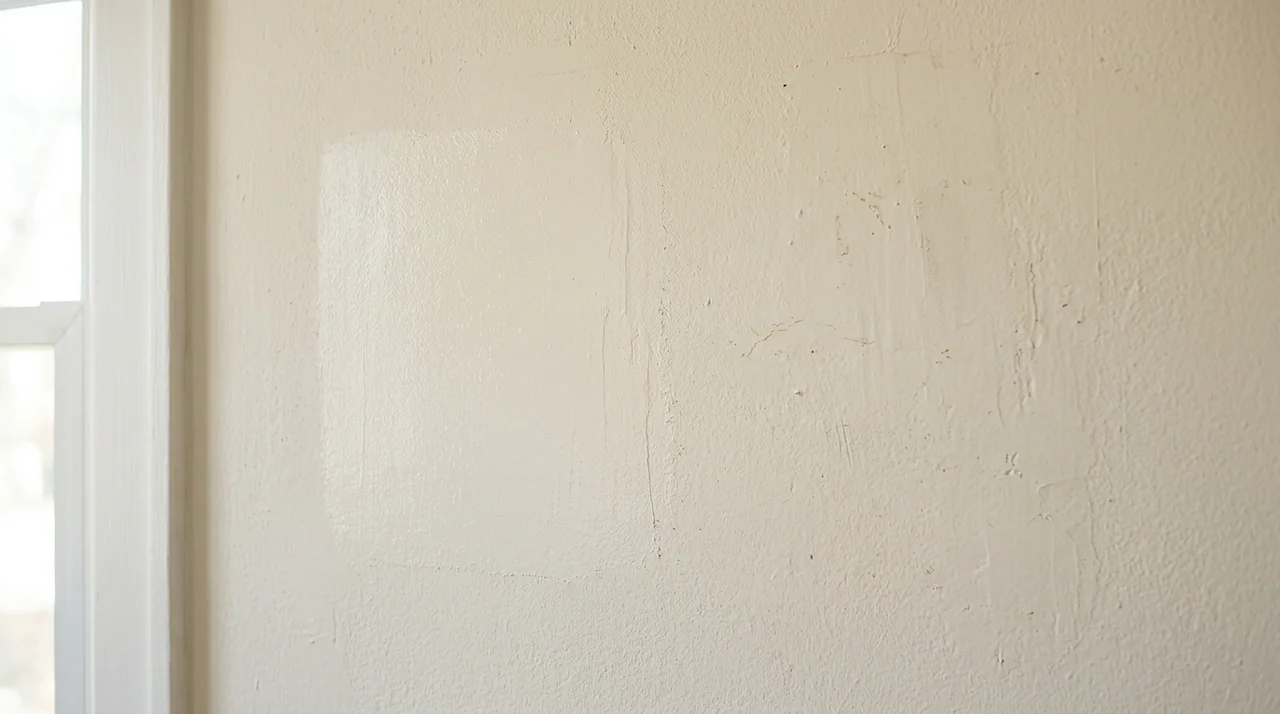
There are a few clear reasons why eggshell touch-ups often look different from the surrounding wall, and most come down to sheen, age, and application.
The most common reason is that the paint has aged on the wall. Over time, eggshell paint loses a small amount of its original sheen and shifts slightly in color tone.
Even paint from the same original can will not match perfectly after a year or two of exposure to light and air. This is a natural process, and it affects how the fresh touch-up looks next to the older painted area.
Another reason is sheen inconsistency. If the touch-up was applied with a brush on a rolled wall, the texture difference will create paint flashing, a visible contrast that appears once light hits the surface at an angle.
Eggshell finish is particularly sensitive to this because of how it reflects light.
Applying too much paint in one coat also causes problems. A thick application dries with a heavier sheen than a thin one, so it will look shinier than the wall around it.
Finally, judging the result before the paint has fully dried leads many people to the wrong conclusion. Eggshell paint often looks uneven or slightly dark when wet, then lightens and evens out as it cures.
Should You Touch Up or Repaint the Wall?
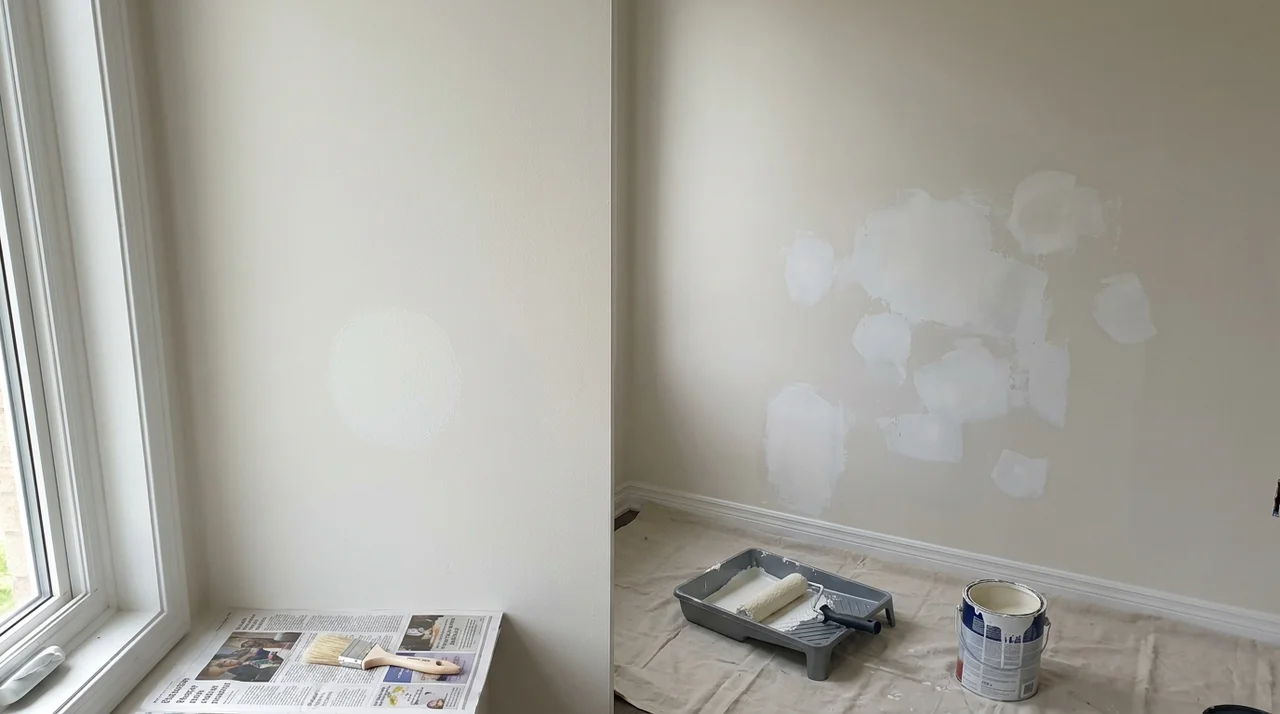
Knowing when to touch up and when to repaint saves both time and money, and the decision depends on the size, location, and age of the damage.
A touch-up makes sense when the damage is small, the paint is relatively fresh, and the color match is close or exact.
A scuff near a corner, a small chip behind furniture, or a mark that is easy to reach and isolated are all good candidates for a touch-up. The surrounding paint is similar in tone and sheen, so blending is manageable.
Repainting the full wall becomes the better option when the damage covers a large area, the paint has aged significantly, or multiple patches are scattered across the same surface.
When you have several touch-up spots on one wall, the blended patches can start to look inconsistent with each other over time. Repainting brings everything back to a single, uniform finish.
If your paint is more than five years old and the touch-up area is in a high-traffic or well-lit spot, repainting is usually the cleaner result. It costs more upfront but removes the guesswork about matching aged paint.
Common Mistakes When Touching Up Eggshell Paint
Avoiding a few key mistakes makes the difference between a touch-up that blends in and one that draws more attention to itself.
Applying Too Much Paint
Loading too much paint onto the brush or roller creates a thick patch that dries with a heavier sheen than the surrounding wall.
Apply thin coats and build up only if needed. One thin coat blended well almost always looks better than one heavy application.
Skipping Surface Cleaning
Painting over dust, grease, or residue stops the paint from bonding properly to the wall. The result is peeling, uneven coverage, or a patch that looks textured and rough.
A quick wipe-down with a damp cloth takes two minutes and makes a real difference in how the finished result looks.
Using the Wrong Brush or Roller
A brush leaves different texture marks than a roller, and eggshell finish shows that difference clearly under light. Always match the application tool to what was originally used on the wall.
If you are unsure, use a small 4-inch mini roller for a smoother and more neutral texture.
Judging the Match Before It Fully Dries
Eggshell paint looks darker and sometimes patchy when it is wet. Many people panic and add more paint before the first coat has dried, which leads to a thicker and shinier patch.
Follow the paint manufacturer's recommended drying and recoat time before deciding if a second coat is needed, most eggshell paints are dry to the touch in 2-4 hours but need 4 hours to a full day before a second coat goes on cleanly.
Tips for a Better Eggshell Paint Touch-Up
These simple tips help you get a cleaner finish with less effort.
- Test the touch-up paint on a hidden area first and let it dry fully before applying it to the visible spot.
- Roll or brush in the same direction and pattern used on the original wall for a more consistent texture.
- Feather the edges of the touch-up area by using less pressure as you move outward from the center.
- If the touch-up still stands out after drying, check the color, sheen, and application method before applying another coat. A mismatch in any of these can make the patch more noticeable.
- Store leftover paint in a sealed container labeled with the room and color so it is ready for future repairs.
- Work in natural daylight when applying and checking touch-ups so you can see sheen differences more clearly.
Conclusion
Touching up eggshell paint is absolutely within reach when you follow the right steps. Clean the surface, match the color and sheen, use the correct tool, and blend the edges carefully.
Those four steps make up most of what separates a good result from a patchy one. If the paint has aged significantly or the damage is widespread, repainting the full wall is the smarter call.
For smaller repairs, a careful touch-up works well.
Frequently Asked Questions
How Long Should I Wait Before Touching Up Eggshell Paint After the First Coat?
Follow the paint manufacturer's recommended recoat time before applying another coat. Drying and curing times can vary depending on the paint, temperature, and humidity.
Does Humidity Affect How Eggshell Touch-Ups Dry?
Yes, high humidity slows drying time and can cause uneven sheen. Touch up on dry days for the most consistent finish.
Can I Touch Up Eggshell Paint With a Satin Finish by Mistake?
No, satin will look noticeably shinier than eggshell on the wall. Always confirm the sheen level before purchasing touch-up paint.
How Many Touch-Up Coats Does Eggshell Paint Usually Need?
Most small repairs need one or two thin coats. More than two coats in one spot usually creates a sheen build-up.
Is Eggshell Paint Harder to Touch Up Than Flat Paint?
Yes, flat paint hides touch-ups more easily because it absorbs light. Eggshell reflects light, making sheen and texture differences more visible.