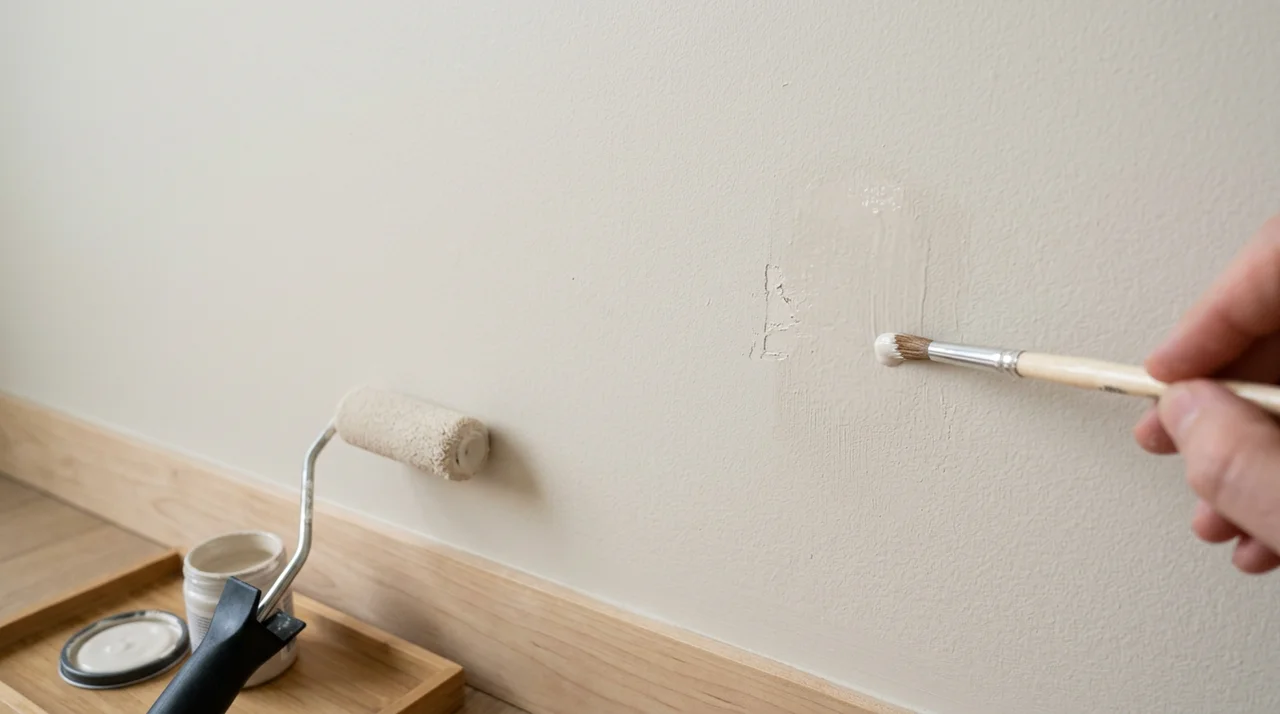


I've spent hours staring at plain walls, wondering why a room felt flat no matter what furniture I added.
The answer was always the walls. Wall texture styles can change how a room looks and feels. They add depth, hide flaws, and make spaces feel more put-together.
In this article, I cover what wall textures are, all 13 popular styles explained simply, how to pick the right one for your home, and pro tips for applying texture yourself.
I have tested and researched all of this so you don't have to guess. Let's get into it.
What Are Wall Texture Styles and Why Use Them?

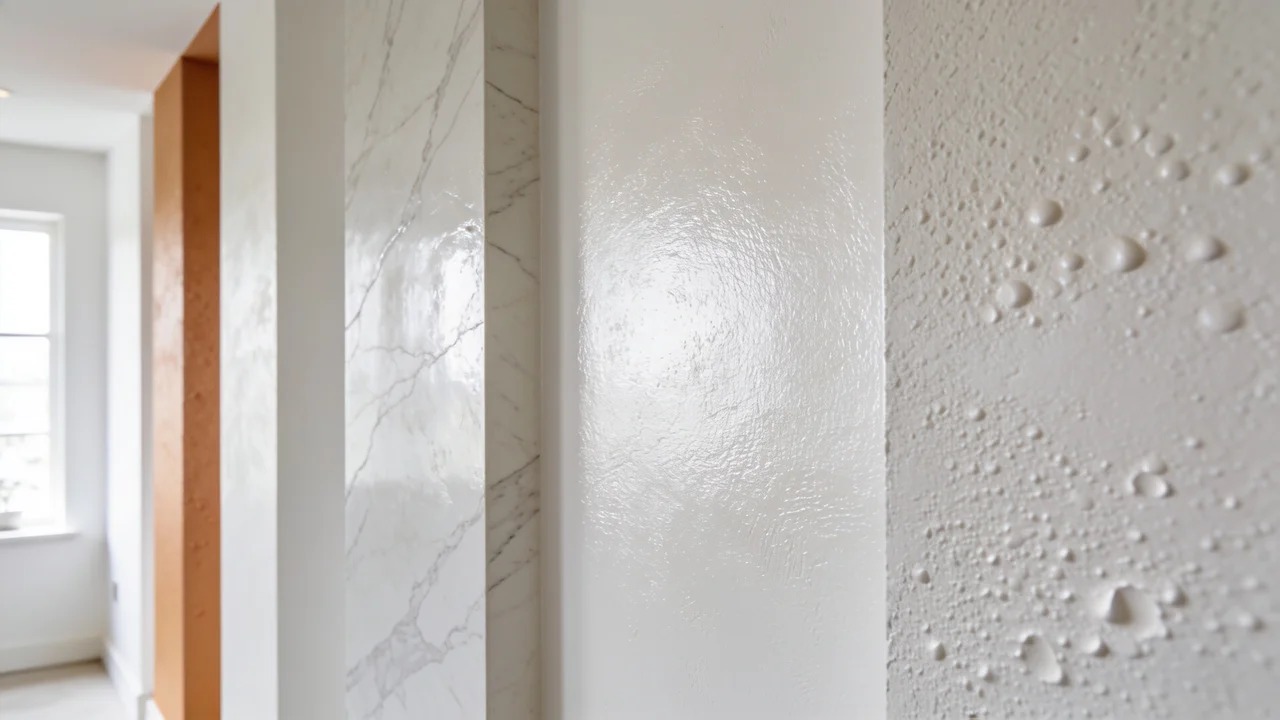
Wall texture styles are surface finishes applied to walls using different tools and techniques, going beyond plain paint to give walls a three-dimensional look and feel.
They hide imperfections like cracks and old paint damage, add depth by making rooms feel more layered, and create lighting effects that make spaces feel warmer.
Before choosing a texture, a few things matter. Room type is important since bathrooms and kitchens need moisture-resistant finishes while living rooms allow more freedom.
Maintenance needs vary too, as heavier textures collect more dust. Finally, think about skill level since some textures need professional tools while others work fine with basic supplies.
13 Best Wall Texture Styles for Modern Homes
Here are the top wall texture styles to consider for any room in your home.
1. Smooth Wall Texture
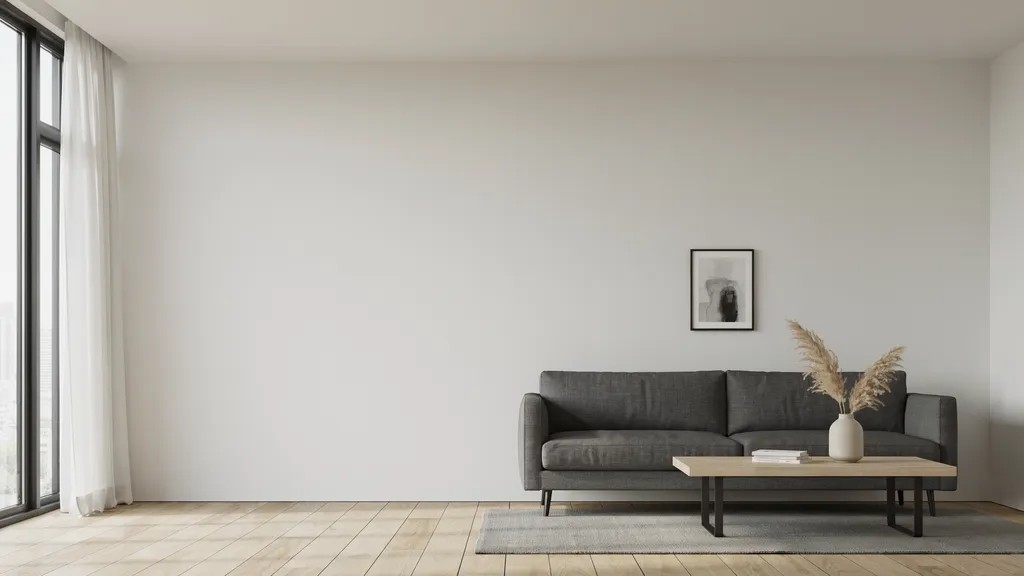
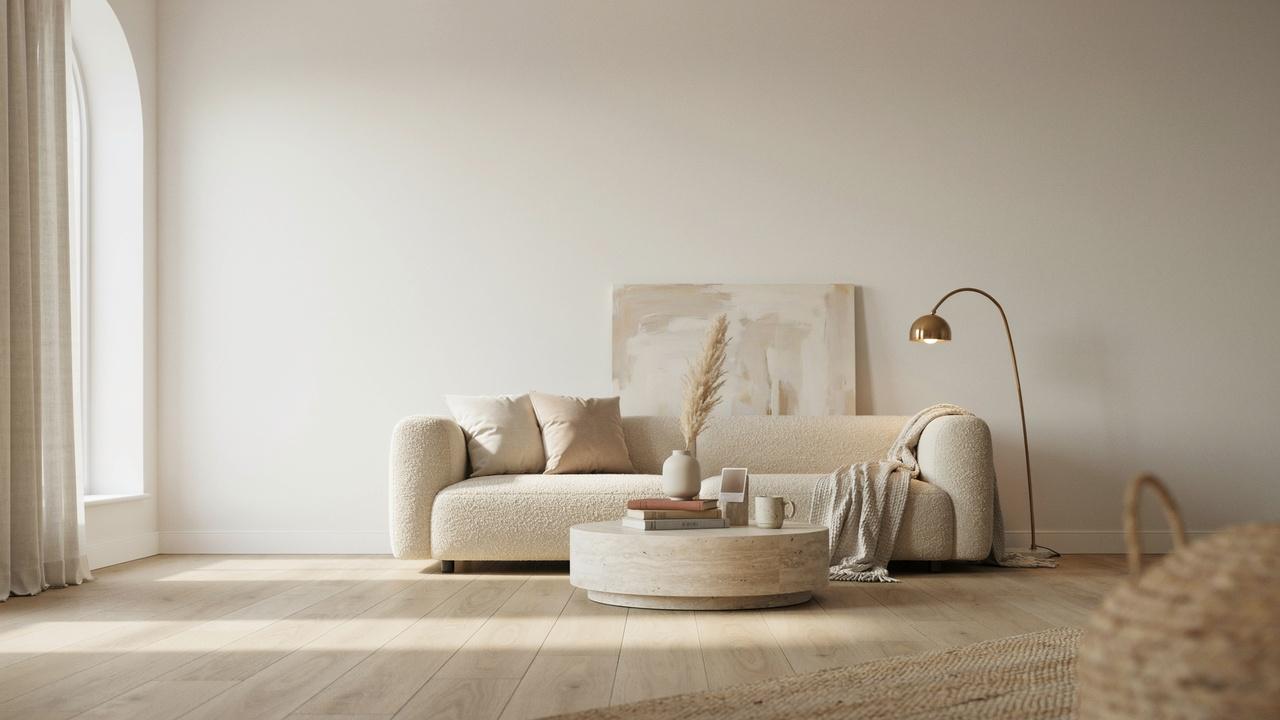
Smooth texture is the cleanest finish you can get for your walls. The surface is completely flat with no bumps, grooves, or patterns.
It works best in modern and contemporary homes where simplicity is the goal. It pairs well with bold colors, minimal furniture, and clean-lined decor.
If you want a wall that stays out of the way and lets everything else shine, this is the one to go with.
2. Orange Peel Texture

Named after the dimpled skin of an orange, this finish has a soft, subtle bumpy look. It does not overpower a room but still adds more character than a plain flat wall.
It hides minor flaws and uneven surfaces without looking too busy or heavy. Many homeowners use it in living rooms, hallways, and bedrooms.
It is also one of the easier textures to apply, making it great for first-timers.
3. Knockdown Texture
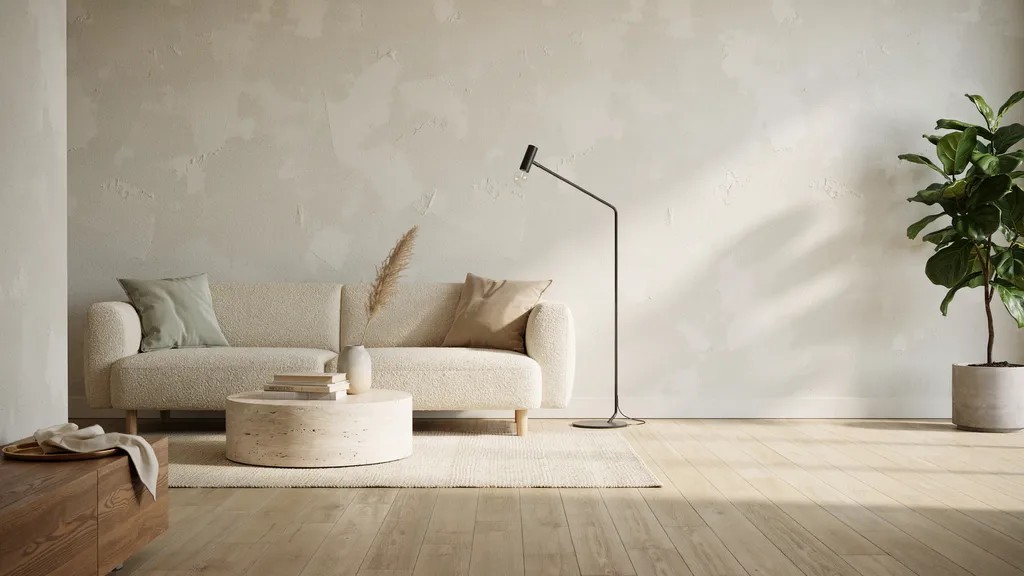
This style is made by applying joint compound to the wall and then flattening the peaks before it fully dries. The result is a slightly textured surface that feels modern and intentional.
It sits right between a smooth finish and a heavy texture, making it a popular middle-ground choice. It works in almost any room and pairs well with both light and dark paint colors.
4. Skip Trowel Texture

Skip trowel is a hand-applied finish that gives walls a layered, artistic look. A trowel is skipped lightly across the surface, leaving behind uneven, random marks.
No two walls look exactly the same with this finish, which adds to its appeal. It fits rustic, Mediterranean, and cottage-style interiors very well.
It does take some practice to get right, but the results are worth the effort.
5. Lace Texture
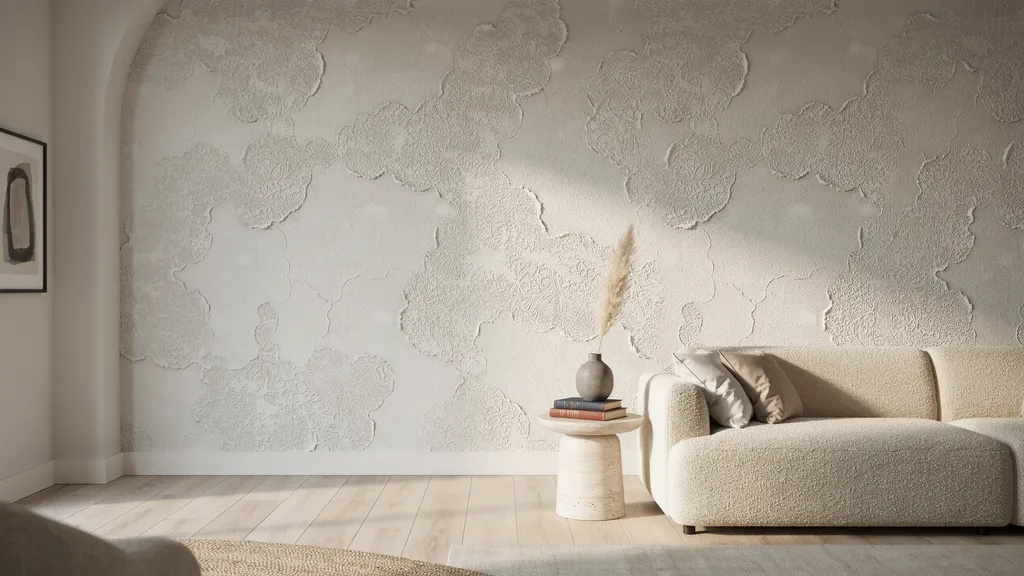
Lace texture is created by layering thin coats of compound in overlapping patterns across the wall. It adds visual depth without being too bold or drawing too much attention.
The finish has a decorative quality that feels refined and well-considered. It works especially well in formal living rooms and dining rooms.
If you want something that looks detailed without being too dramatic, lace texture is a solid pick.
6. Swirl Texture

This finish uses circular brush strokes applied in a repeating pattern across the wall surface. The swirls can be tight and small or wide and loose depending on the look you want.
It takes some skill and patience to keep the patterns consistent and even. The result is a wall that has personality and stands out without feeling too heavy or busy.
It works well in bedrooms and feature walls.
7. Venetian Texture
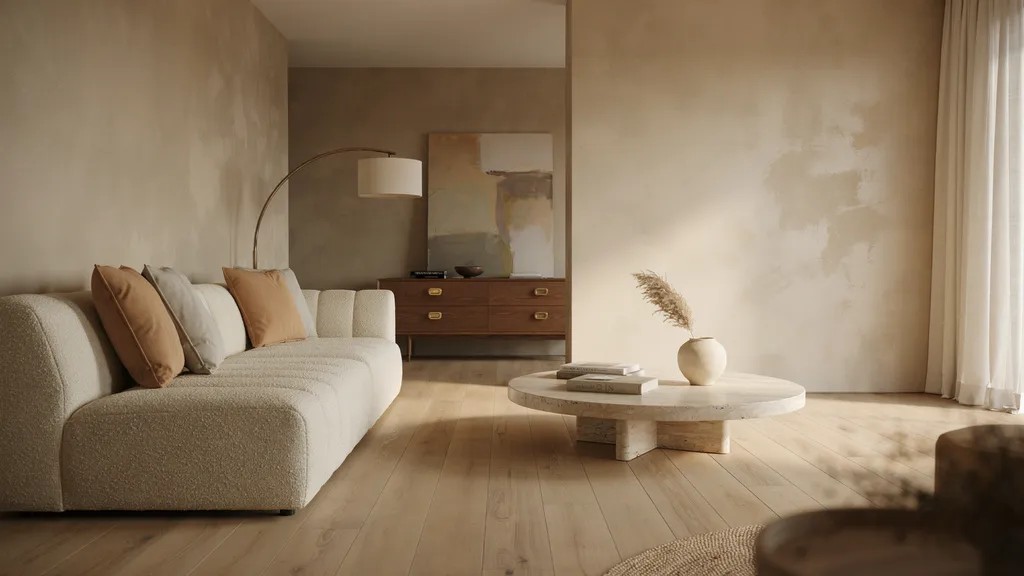
Venetian texture is a polished plaster finish that draws inspiration from classic Italian design. It gives walls a smooth, slightly shiny surface that reflects light in a warm and pleasing way.
The look feels rich and refined without being over the top. It works best in upscale living rooms, entryways, and dining spaces.
This finish does require more skill and the right materials, so professional application is often recommended.
8. Spray Sand Texture
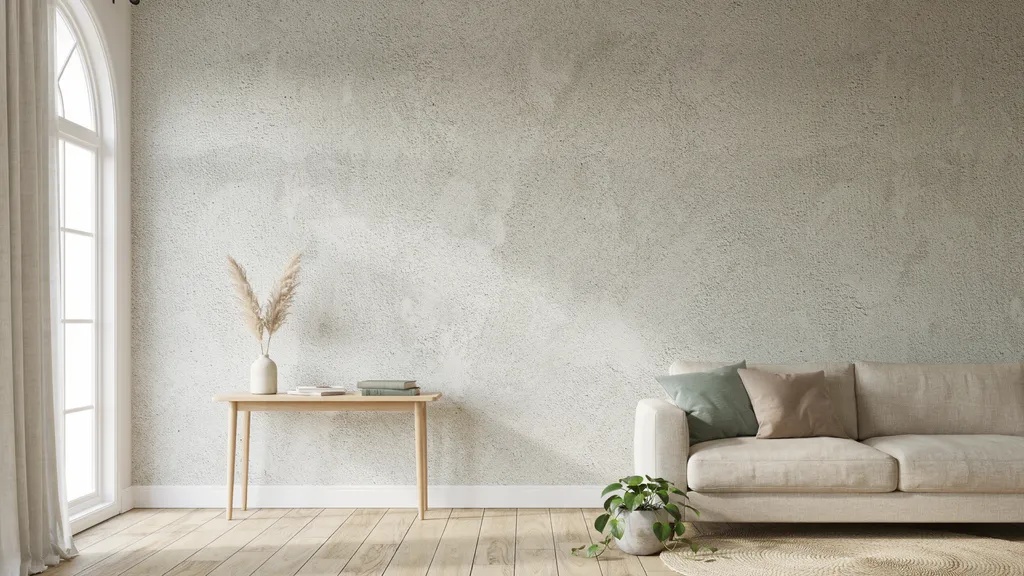
A spray gun is used to apply a fine, sandy coat of material evenly across the wall. The result is a subtle, gritty texture that adds quiet character to a room without being too noticeable.
It is very uniform, which makes it look clean and intentional. It works well in rooms where you want a little texture without making it the main focus.
It is also relatively easy to apply with the right equipment.
9. Stipple Texture
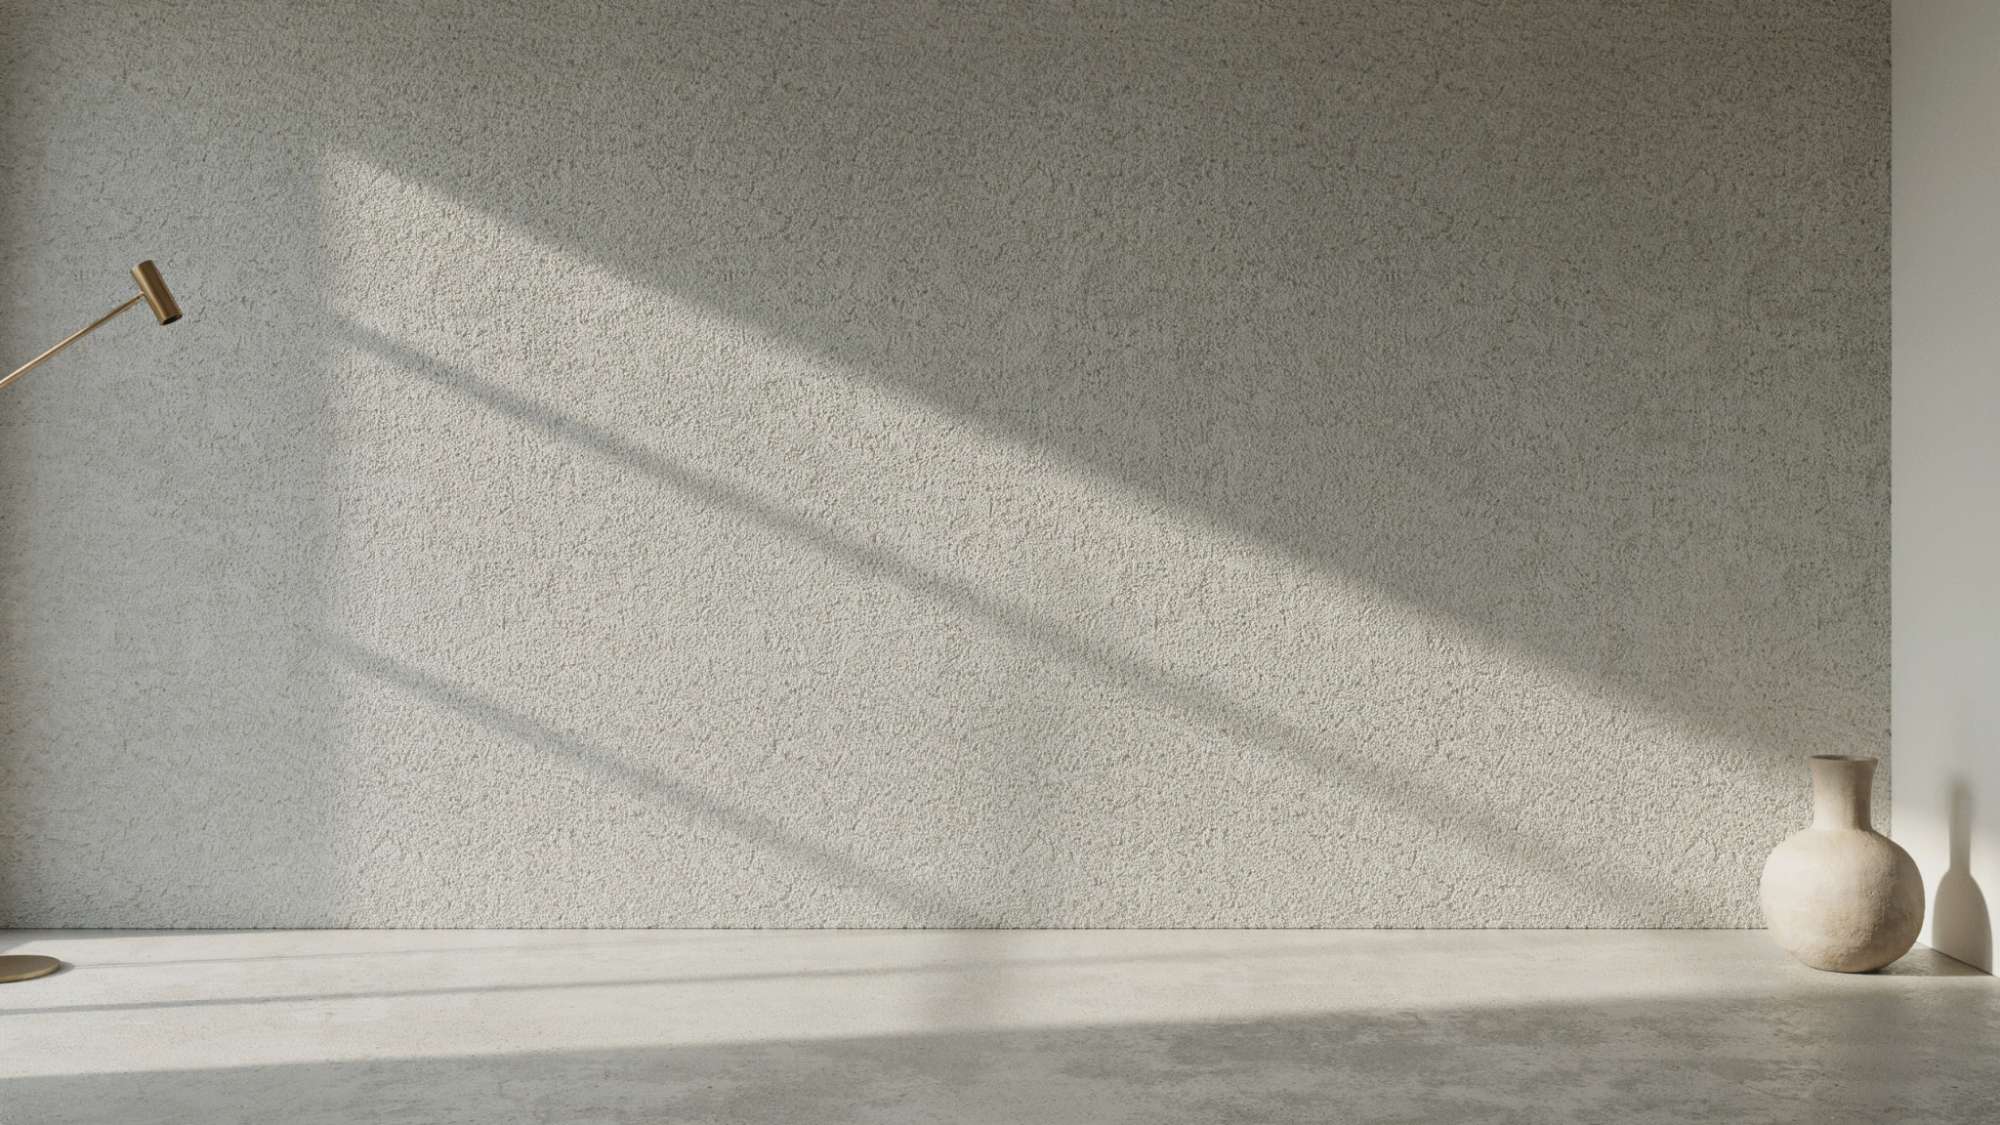
Stipple texture is created by pressing a brush or roller into a wet compound and pulling it away repeatedly to form bold, uneven patterns.
The surface ends up looking bumpy and almost handcrafted. It adds strong visual interest to a wall and makes a real statement.
It works especially well on accent walls where you want one surface to stand out. The technique is straightforward but does take some time to cover a full wall.
10. Stomp Texture

A stomp brush is pressed firmly into a wet compound and then pulled straight away to create raised peaks across the surface. The effect is dramatic and textured in a bold way.
It works very well on ceilings and feature walls where you want a strong visual impact. It is one of the more hands-on finishes to apply and can be tiring to do on large surfaces.
The end result, however, is hard to replicate with any other technique.
11. Rosebud Texture
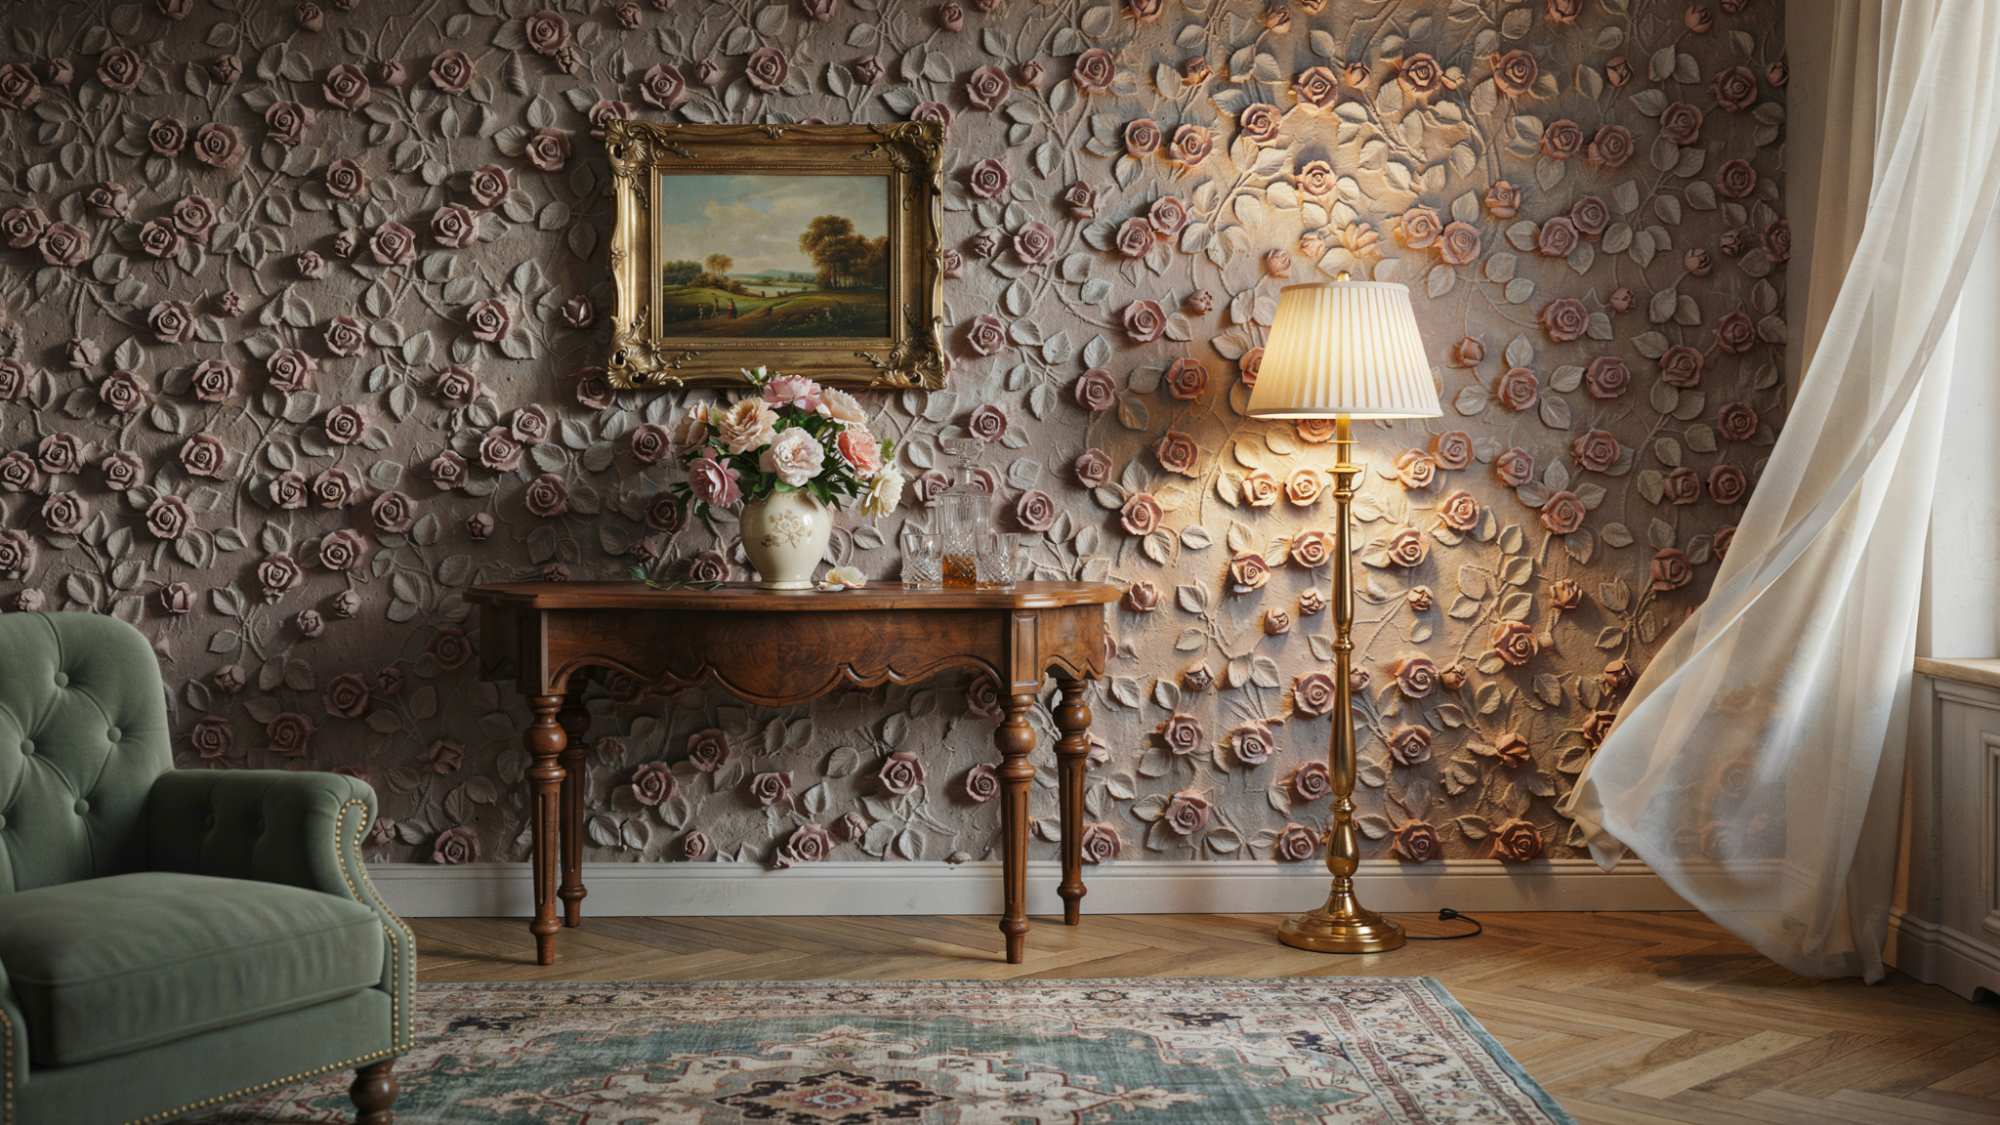
This finish creates small, repeating flower-like patterns across the wall surface. It looks decorative and classic without feeling overdone.
The technique involves pressing and twisting a brush into a wet compound to form each rosebud shape.
It works well in traditional, vintage, or country-style rooms where fine detail and character matter. It takes patience to apply evenly across a large wall but creates a very distinctive finished look.
12. Comb or Fan Texture
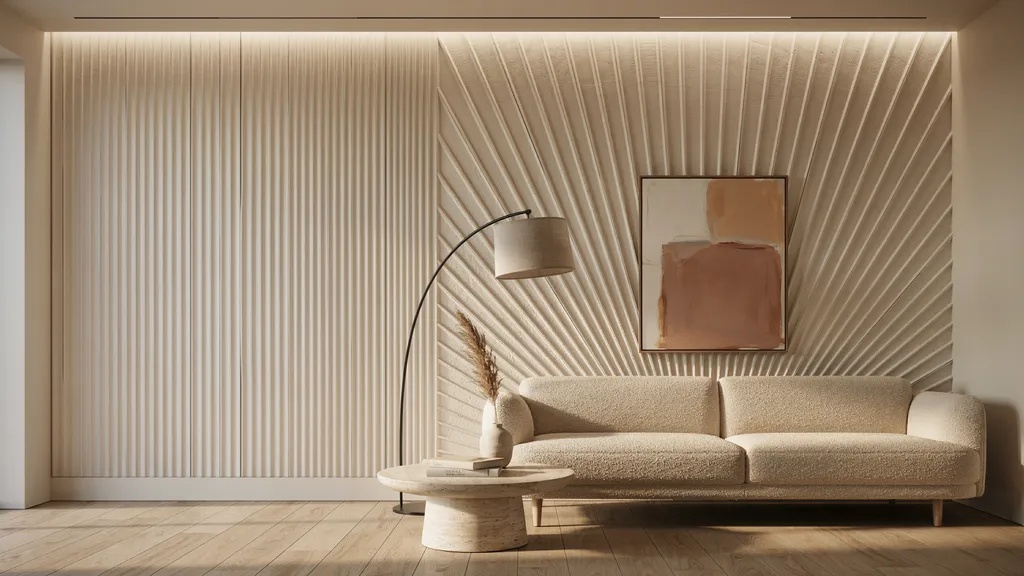
A toothed comb or fan tool is dragged through a wet compound to leave clean, defined grooves behind.
The patterns can be straight lines, fan shapes, or geometric designs depending on how you move the tool. It adds a structured and graphic quality to plain walls that feels intentional and design-forward.
It works well in creative spaces, studios, and modern rooms where you want something a little different. The technique is simple but the results can look very polished.
13. Tree Bark Texture

This finish mimics the rough, layered, and uneven surface of real tree bark. It brings a strong nature-influenced and rustic feel to any room it is used in.
The technique involves building up layers of compound and shaping them to look organic and natural.
It works best in cabins, studios, home offices, or any space built around a natural or earthy design theme. It is one of the more creative finishes on this list and really makes a wall feel alive.
How to Choose the Right Wall Texture Style

Choosing wisely means matching your texture to your room, lifestyle, and skill level.
Match With Your Interior Design Theme
Smooth and knockdown textures suit modern and minimal homes. Skip trowel and tree bark work better in rustic spaces. Always think about how the texture will look with your furniture and colors.
Consider Durability and Maintenance
Heavier textures like stipple and stomp can trap dust. In high-traffic rooms, a simpler finish is easier to maintain over time.
Evaluate Application Difficulty
Some finishes, like spray sand and orange peel, are easier for beginners. Others, like Venetian plaster and swirl, need more practice and better tools.
Test Samples Before Finalizing
Always apply a small test patch before doing a full wall. Textures look different in different lighting and room sizes.
Tips for Applying Wall Texture Like a Pro
Good prep and the right tools make a big difference in how your finish turns out.
- Always use the right tool for your chosen texture. A spray gun, trowel, or stomp brush each creates a very different result.
- Clean the wall, fill all holes, sand rough spots, and apply primer before you start any texture application.
- Try your chosen texture on scrap drywall or cardboard first to get the pressure and motion right before touching real walls.
- Never rush the drying process. Let every coat dry fully before adding the next layer or applying any paint on top.
- Finish with a coat of paint once the texture is fully dry. This seals the surface and protects the texture long term.
Conclusion
Picking the right wall texture style made a real difference in my own home. A simple knockdown finish in my living room made the whole space feel more put-together without any extra furniture.
The good news is that you have 13 great options to work with. Start small, test a patch, and see what feels right for your space.
If this helped you, leave a comment below and share which wall texture style you are planning to try. I would love to hear how it goes.
Frequently Asked Questions
Which wall texture style is easiest for beginners?
Orange peel and spray sand are the most beginner-friendly options. They require minimal tools and are forgiving if you make small mistakes.
Can wall texture styles be applied over existing paint?
Yes, most textures can go over painted walls if the surface is clean and primed. Peeling or damaged paint should be fixed first before applying any texture.
How long does it take for wall texture to dry?
Most textures dry within 24 hours, but this depends on the thickness of the coat and room humidity. Always wait for full drying before painting over the surface.
Are wall textures hard to repair if damaged?
Smooth and knockdown textures are the easiest to patch. Heavily patterned finishes like swirl or rosebud can be harder to match perfectly after repairs.
Do wall texture styles affect room size perception?
Yes, lighter and smoother textures make rooms feel larger. Heavier, bolder finishes can make a space feel cozier and more enclosed.