

Ceiling texture patterns can change how a room feels. I learned this the hard way after leaving my ceiling plain for years.
It looked flat and boring, and no amount of furniture or paint helped. If you are dealing with the same problem, this article is for you.
Here, I will cover 15 ceiling texture patterns that work well in modern homes. You will also find tips on how to pick the right one and apply it correctly.
I have researched and tested several of these options myself, so you can trust what you read here.
One thing I know for sure: the right texture makes a real difference.
What Are Ceiling Texture Patterns?
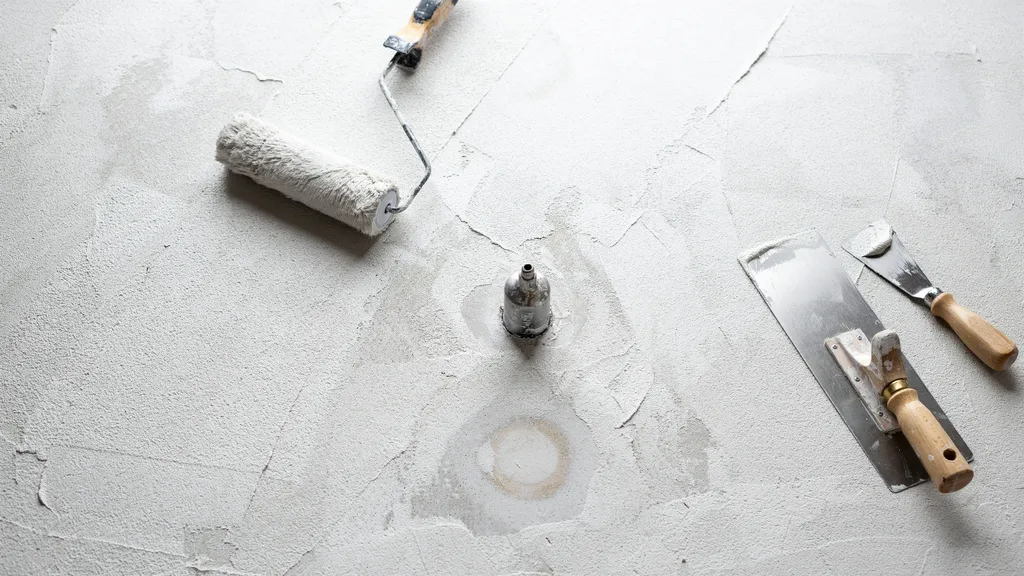
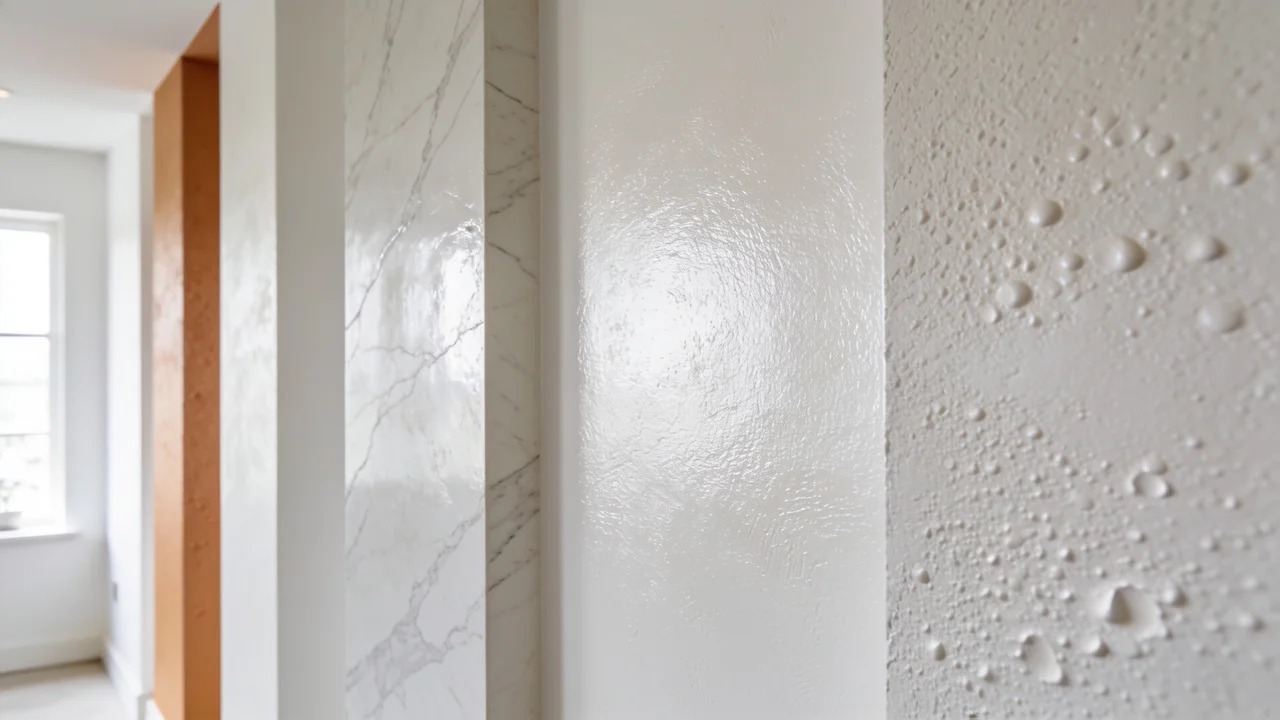
Ceiling texture patterns are designs applied to ceiling surfaces using materials like plaster, drywall compound, or sand mixtures.
They add visual depth and make any ceiling look more complete. A textured ceiling does more than look good. It hides cracks, uneven surfaces, and old repair marks too.
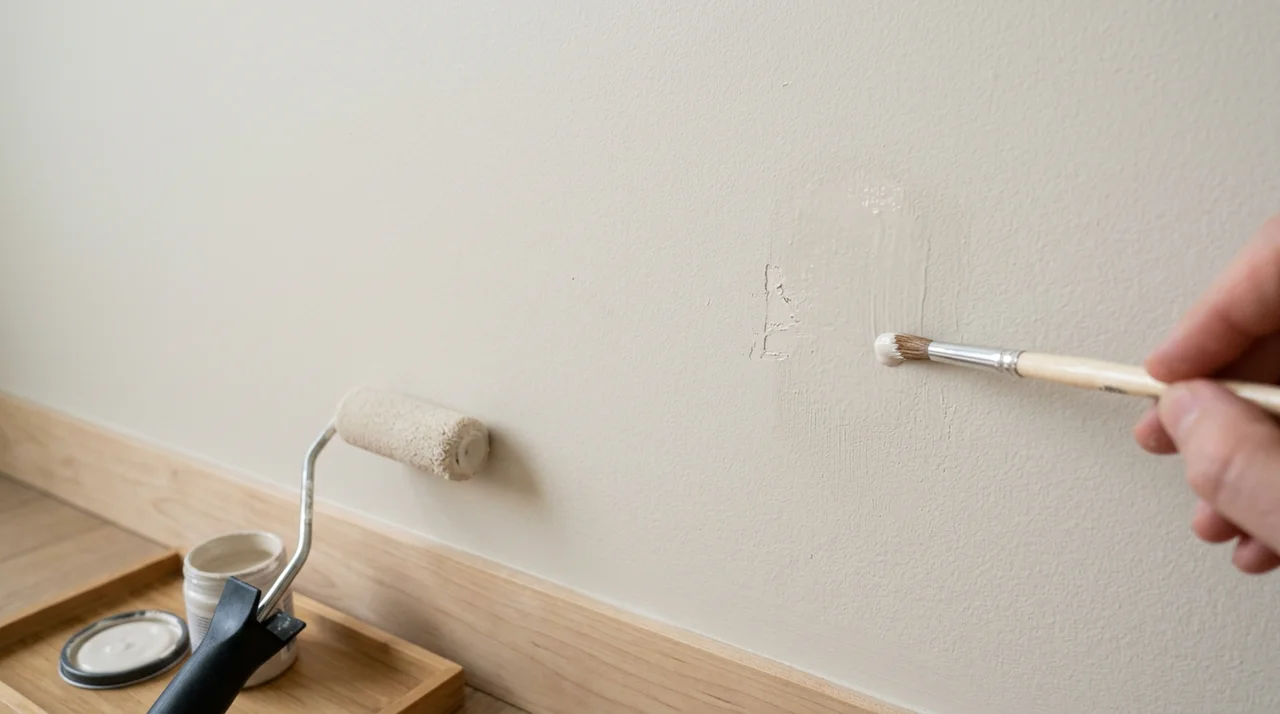
These materials are applied using brushes, rollers, or spray tools. Each method gives a different finish.
Spray tools create smoother results, while brushes and rollers give more texture and depth.
The right material and technique together can turn a plain ceiling into something that adds real character to your home.
15 Ceiling Texture Patterns for Modern Homes
Here are the top 15 patterns to consider for your next home project.
1. Comb Texture Pattern
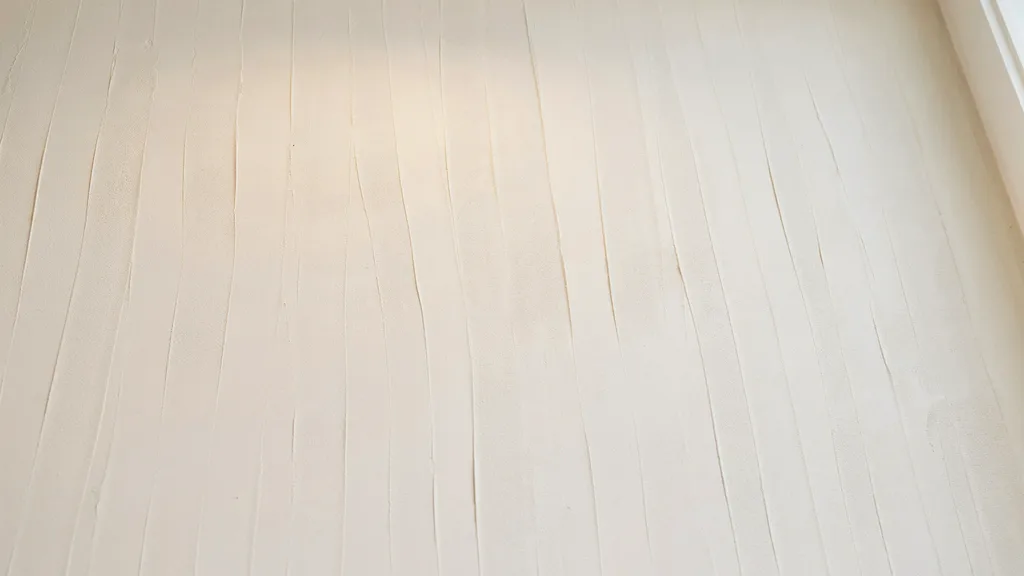
This pattern uses a comb tool to create thin, even lines across the ceiling. The lines can be straight or curved depending on the look you want.
It works best in modern and minimalist spaces where you prefer something subtle.
2. Knockdown Texture Pattern
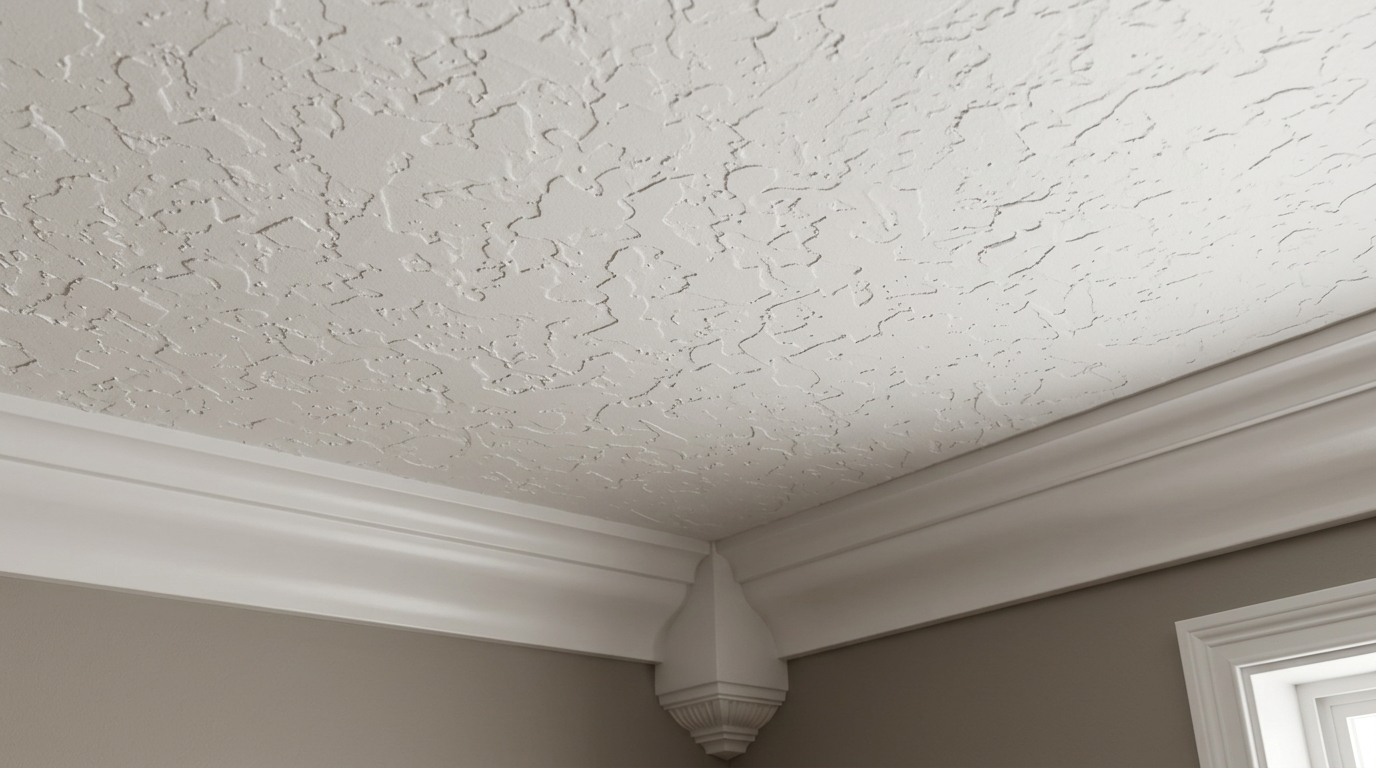
This is one of the most popular ceiling texture patterns used in homes today. It creates a flat, mottled look that hides flaws and adds depth without being too loud.
It is a great fit for living rooms and bedrooms.
3. Orange Peel Texture Pattern
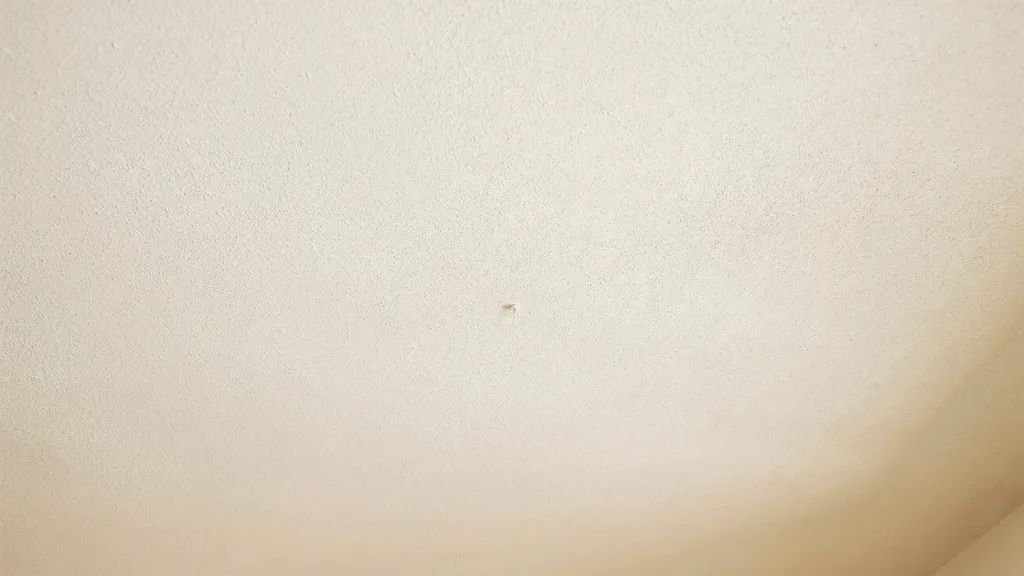
This finish looks like the skin of an orange with a slightly bumpy but smooth surface. It feels clean and modern, making it a go-to choice for many homeowners.
It gives a neat, low-key look that works in almost any room.
4. Spray Sand Texture Pattern

This pattern uses sand mixed into paint or compound and sprayed directly onto the ceiling. The result is a grainy finish that also helps absorb sound.
It is a smart pick for busy or high-traffic rooms.
5. Sand Swirl Texture Pattern
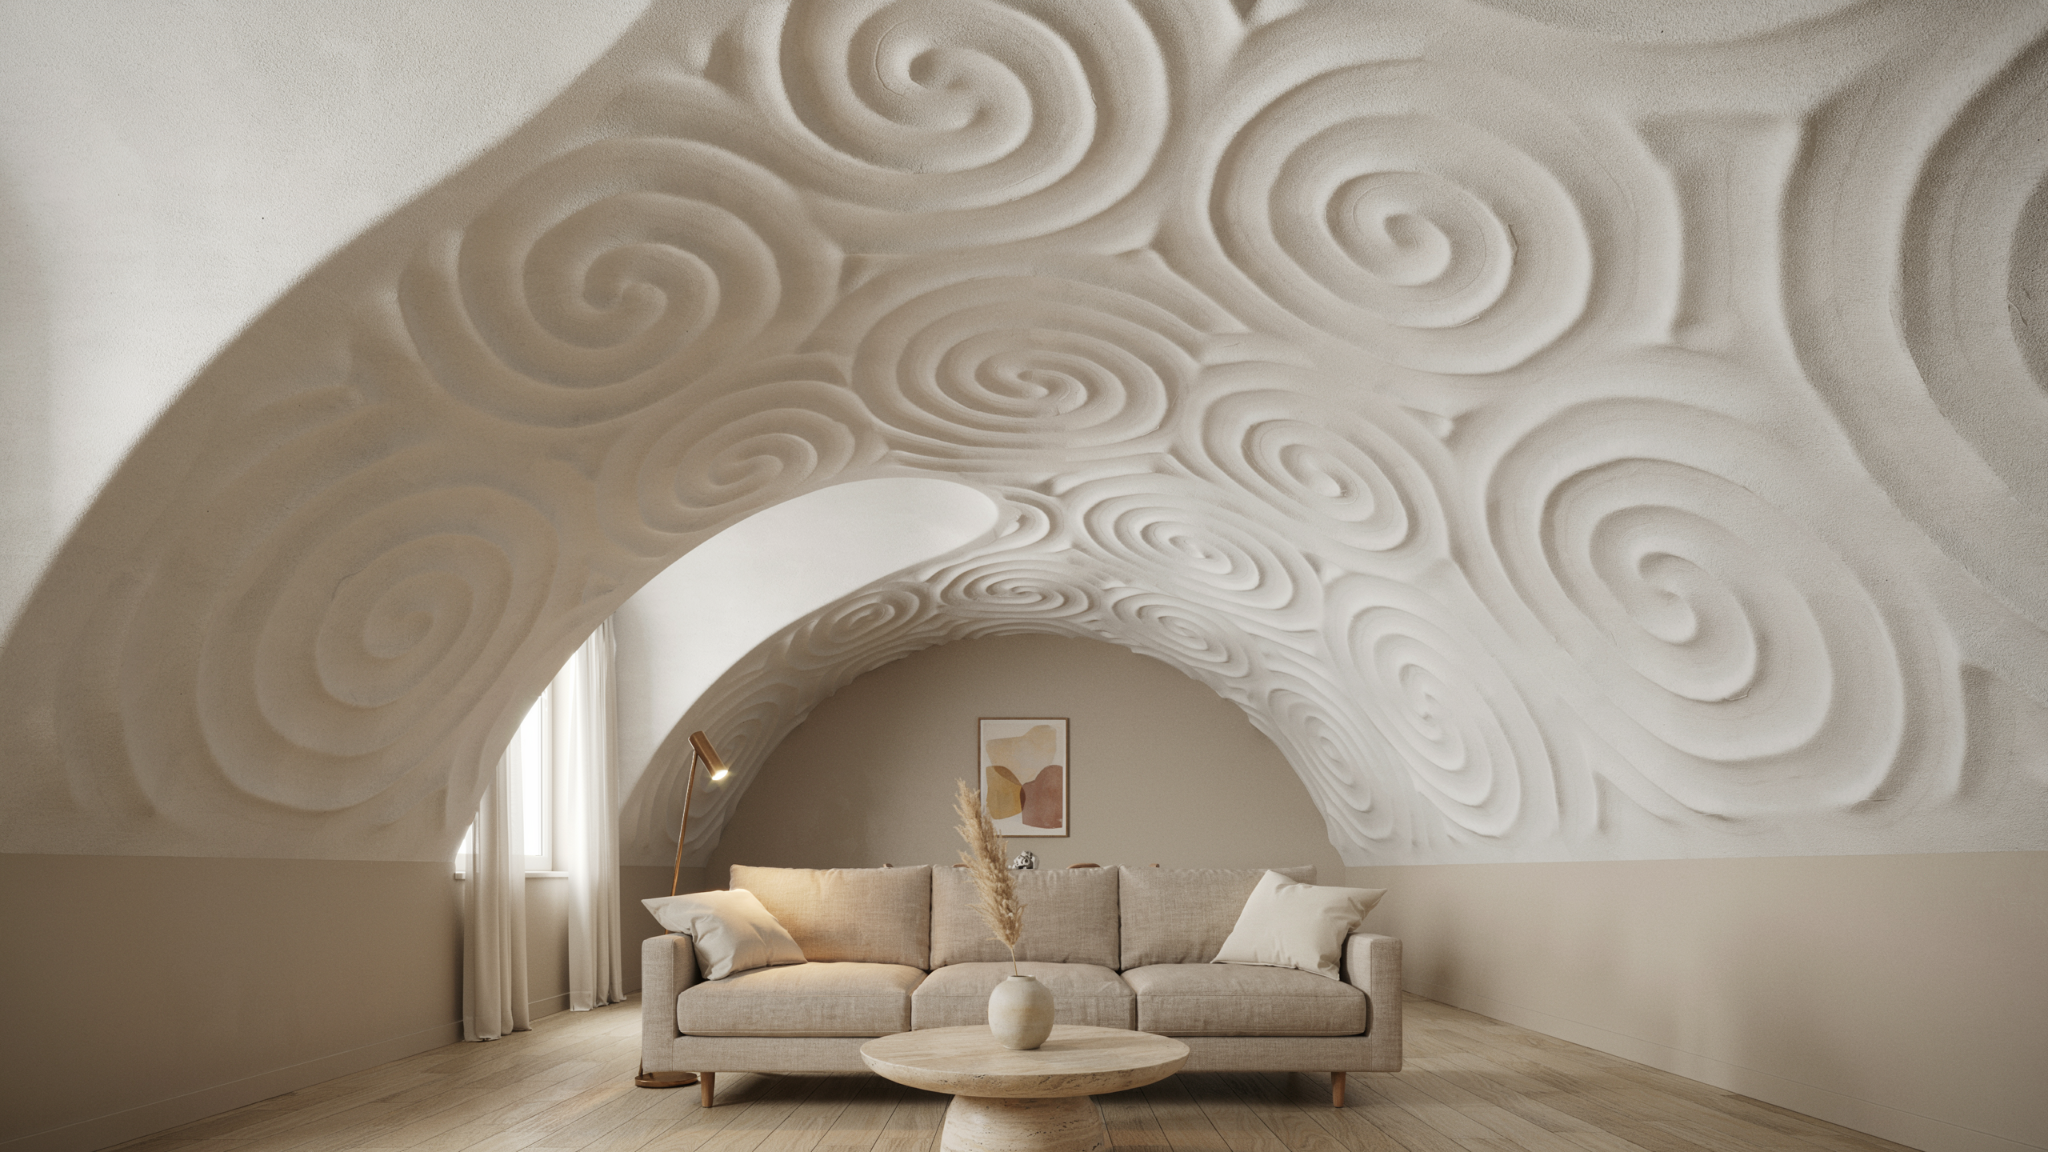
This pattern creates circular swirls across the ceiling instead of random marks. The design adds movement and a sense of flow to any space.
It pairs well with round furniture and soft, warm lighting.
6. Skip Trowel Texture Pattern
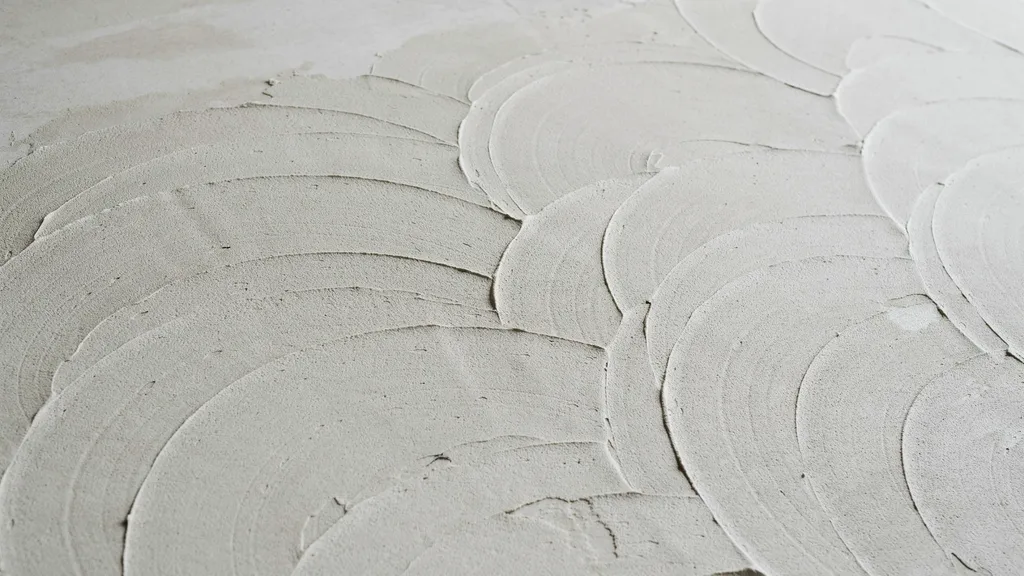
A trowel is skipped across the surface to leave uneven, layered patches behind. The result is a Mediterranean-style finish that creates a play of light and shadow.
It looks rich and adds a lot of visual interest.
7. Slap Brush Texture Pattern
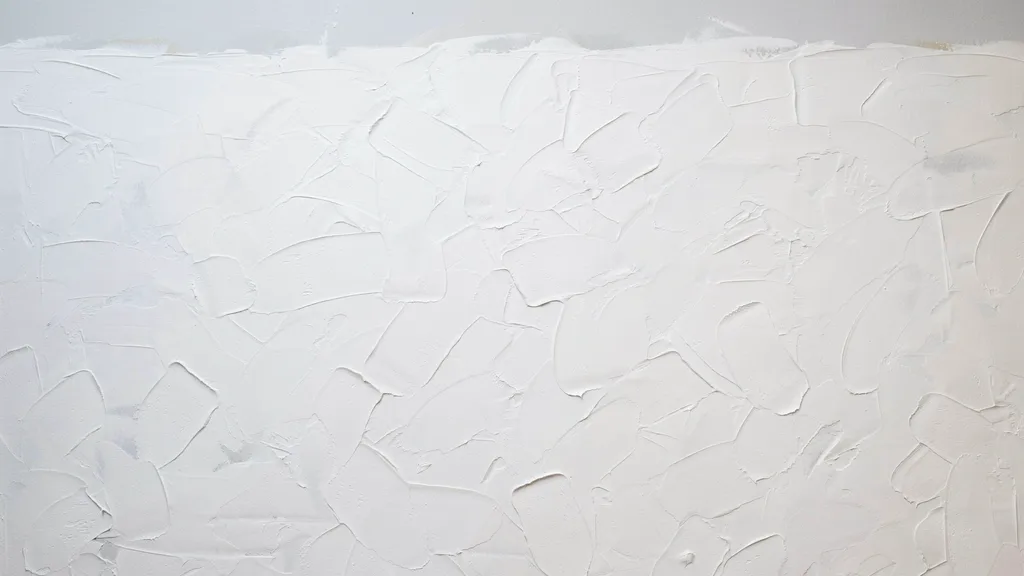
A brush is slapped onto a wet compound in random strokes to create this pattern. No two ceilings ever look exactly alike with this method.
It adds real character and works well in creative or artistic spaces.
8. Popcorn Texture Pattern
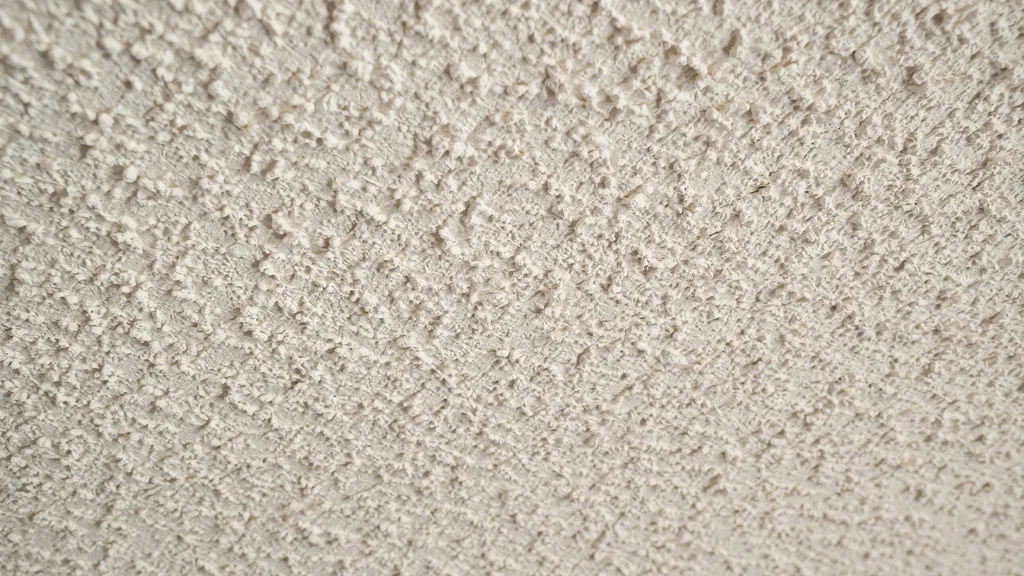
This old-school pattern is still used because it offers great sound insulation. It has a bumpy, cottage-cheese look that hides ceiling problems well.
Some people love it for its retro and functional appeal.
9. Stipple Brush Texture Pattern
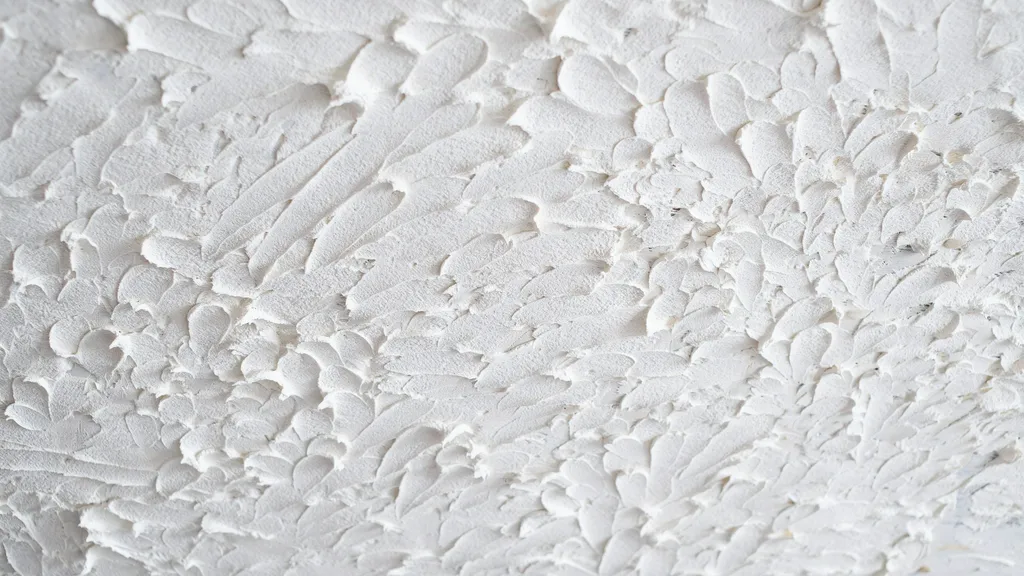
A stipple brush creates deep peaks and valleys across the ceiling surface. The pattern is bold and works well on older ceilings with cracks or uneven areas.
It is one of the best options for hiding ceiling flaws.
10. Floral Texture Pattern
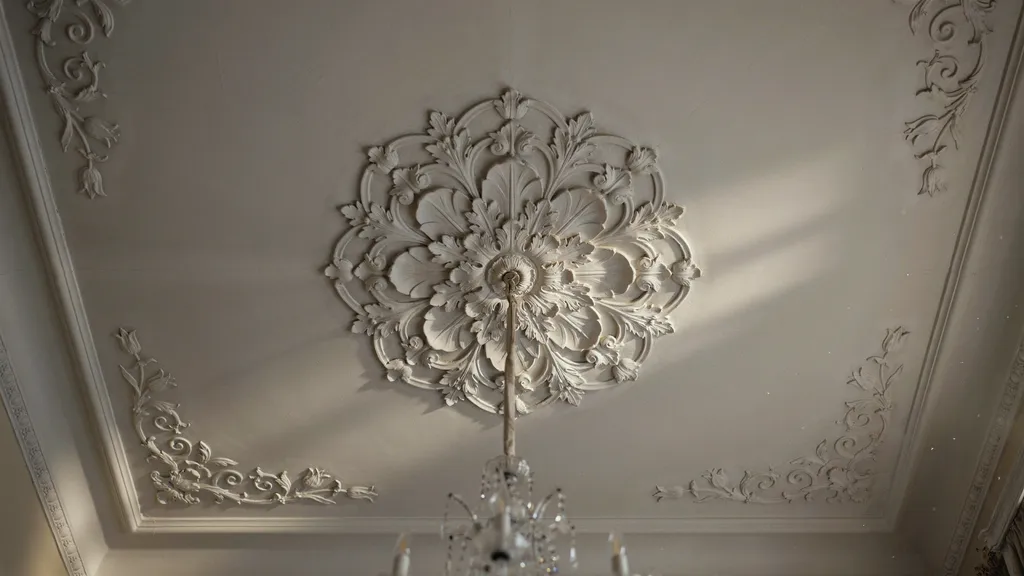
Floral shapes are pressed or painted into the compound to create this decorative pattern. It works best as an accent ceiling in dining rooms or bedrooms.
It adds a focal point without needing extra decor.
11. Tree Bark Texture Pattern
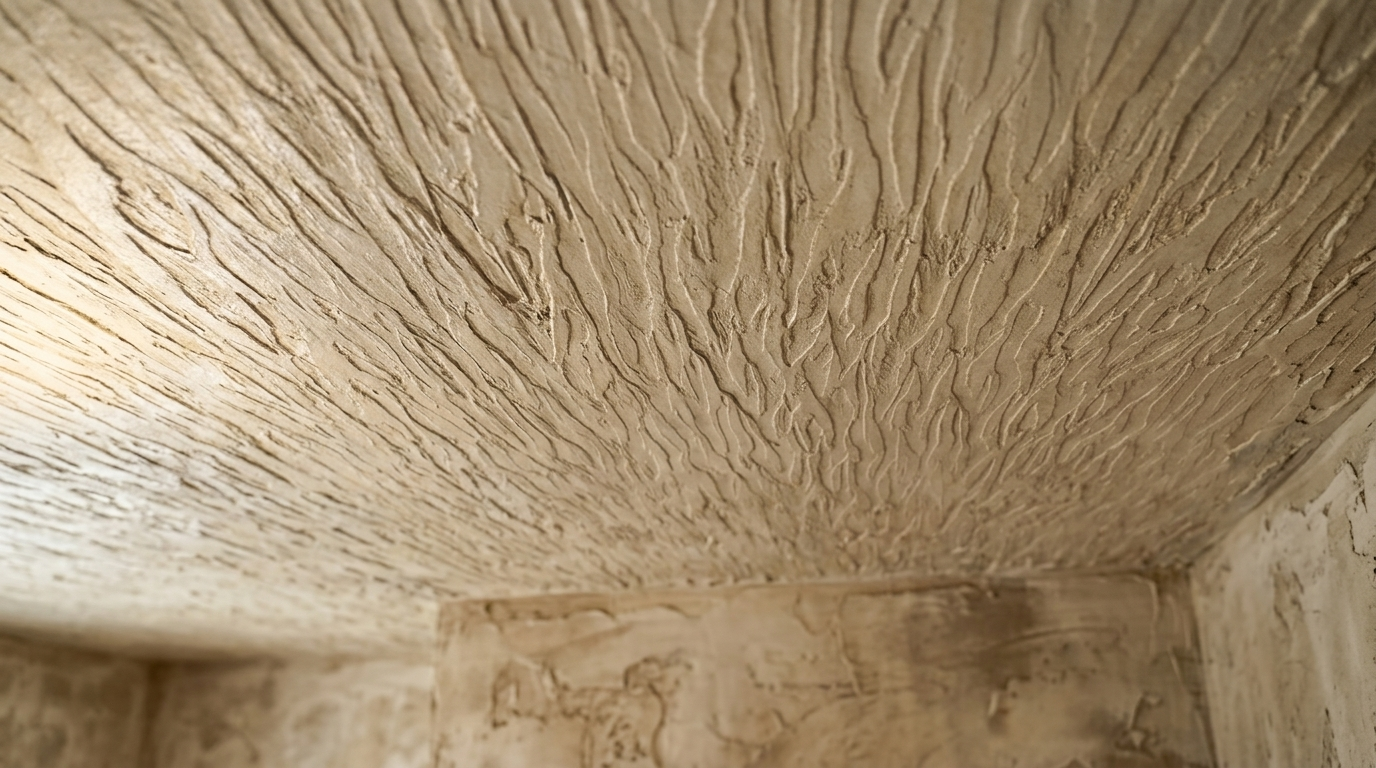
This pattern mimics the rough, natural surface of tree bark. It gives any room a rustic feel and pairs well with wood furniture and exposed beams.
It is a solid choice for homes with earthy, natural tones.
12. Sheetrock Texture Pattern
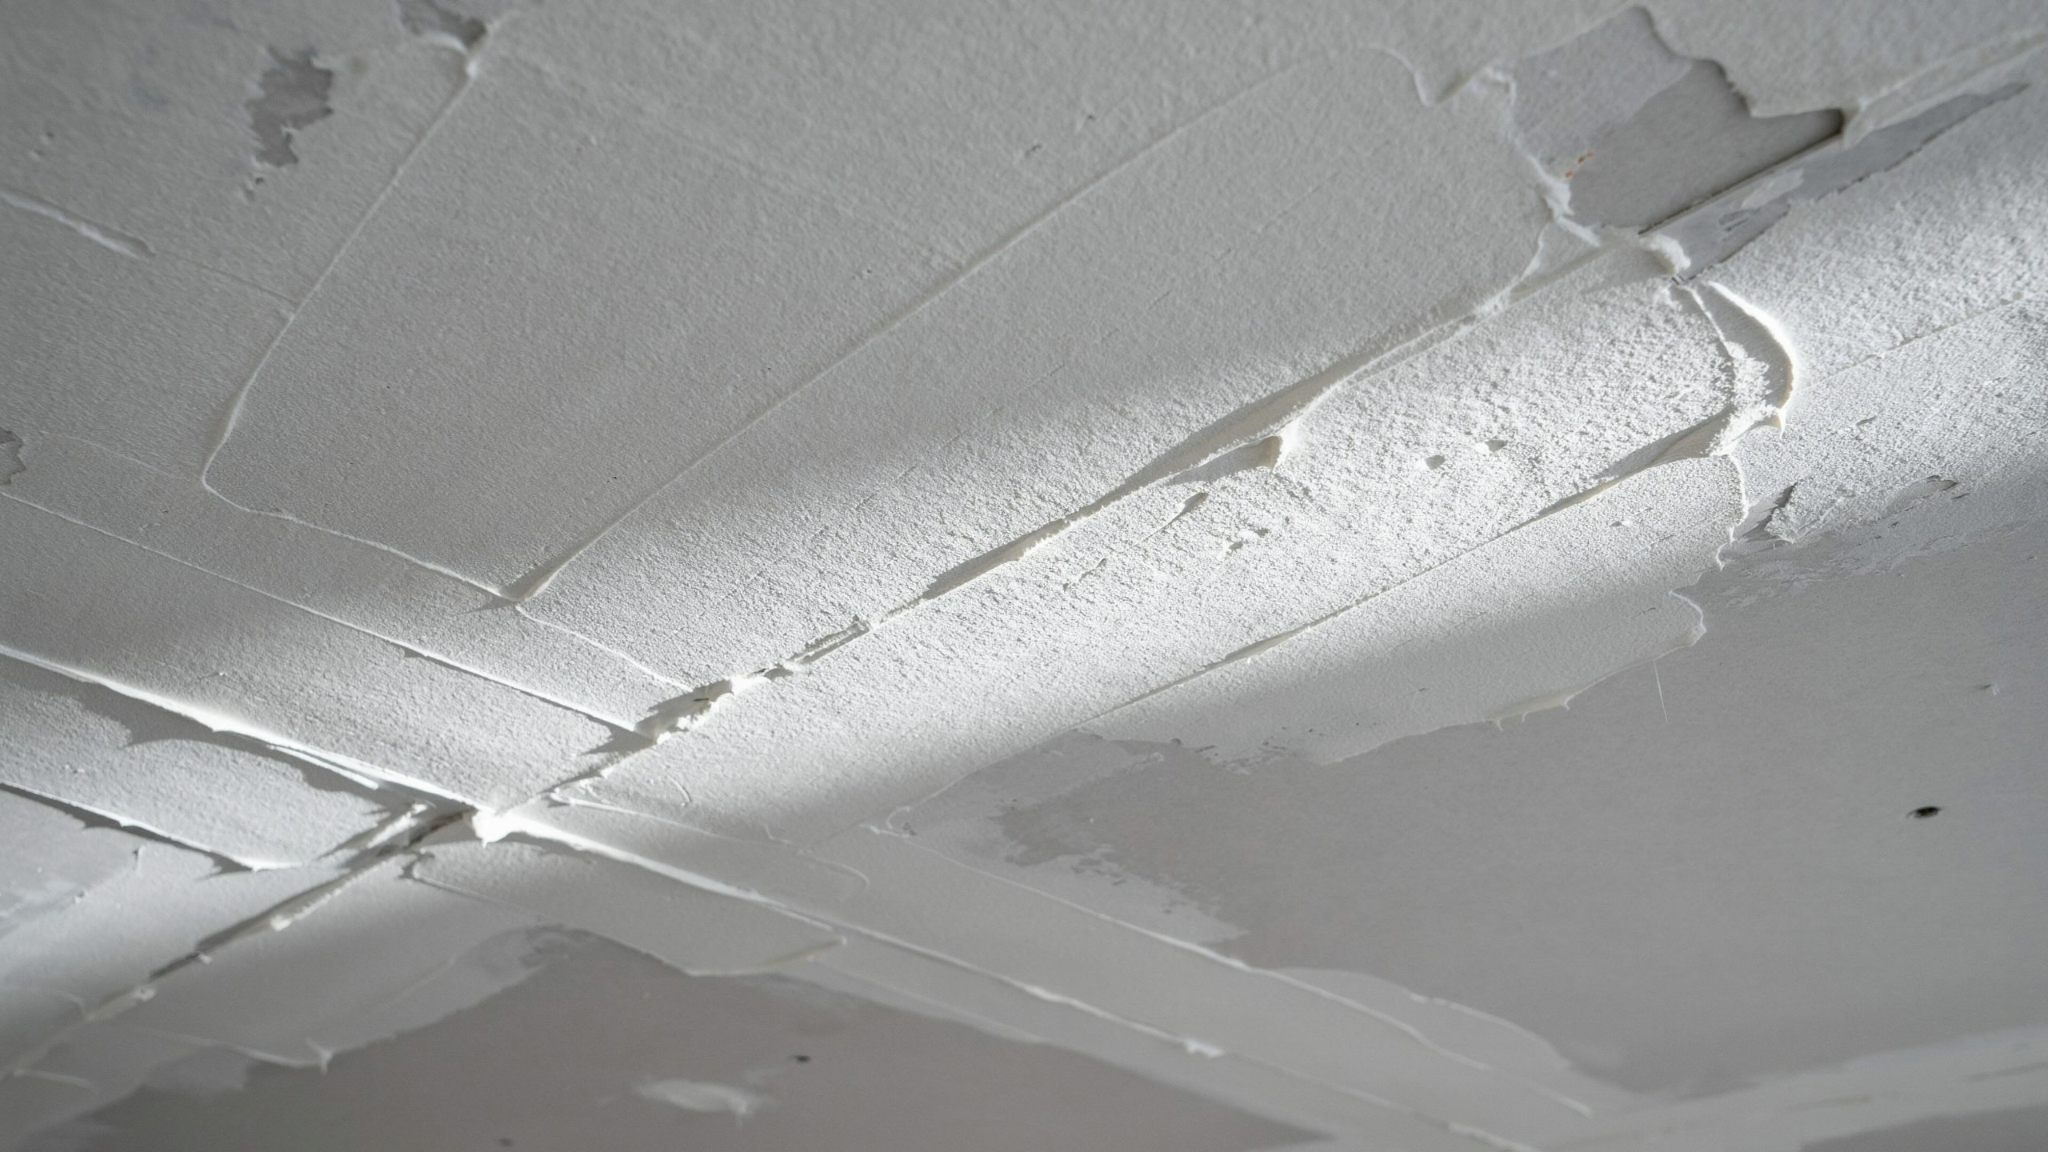
This texture is rough and layered, giving the ceiling a bold and artistic look. It stands out in any room and makes a strong visual statement.
It suits spaces where you want the ceiling to be a design feature.
13. Shoelace Texture Pattern
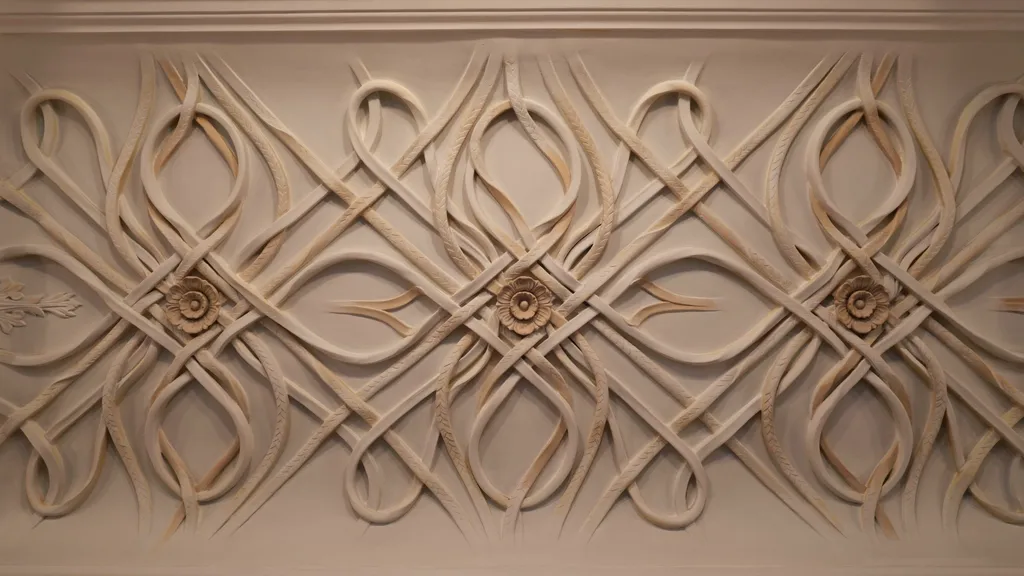
This pattern creates long, swirling lines across the ceiling that cross each other like shoelaces. It is creative and draws attention right away.
It is a great pick for anyone who wants something different and original.
14. Smooth Finish with Light Texture
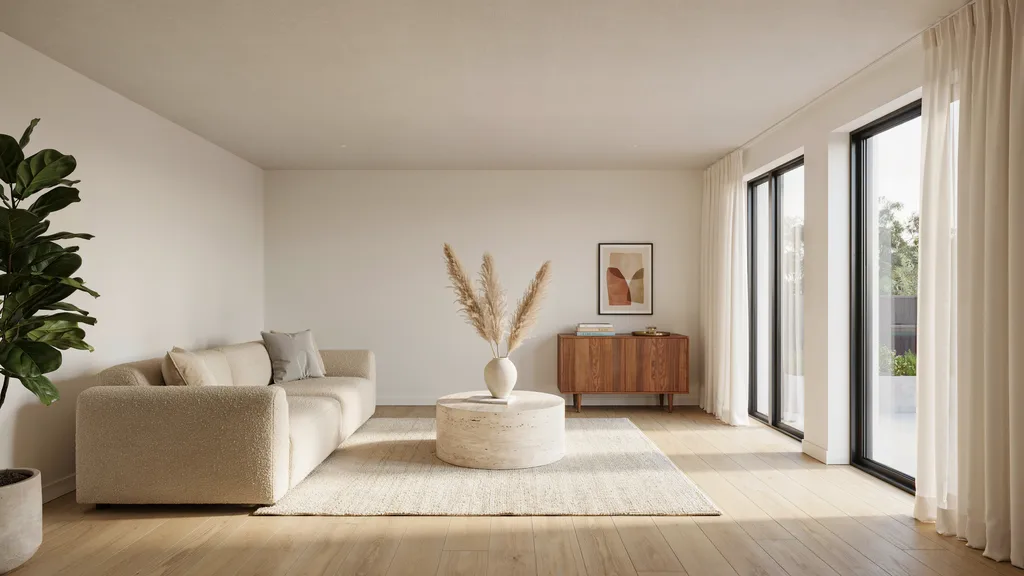
This option keeps things clean and modern with just a hint of texture on the surface. It is the easiest to wipe down and maintain over time.
A good choice for those who prefer simple and practical designs.
15. Geometric Texture Pattern
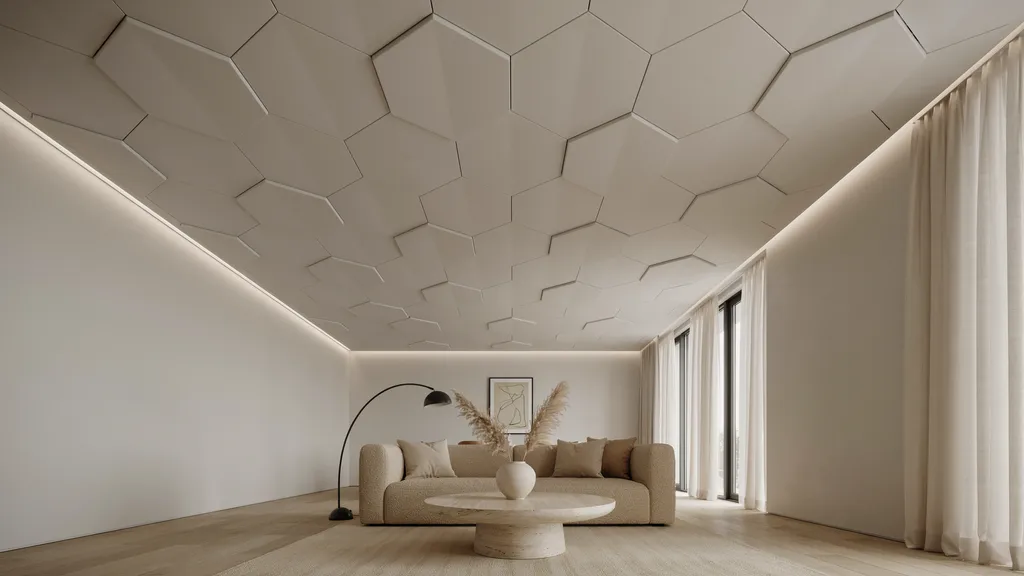
Geometric shapes like triangles, hexagons, or grids are applied directly to the ceiling. This gives a very structured and modern look that works well above dining tables or beds.
It is ideal for making a ceiling a true statement piece.
How to Choose the Right Ceiling Texture Pattern
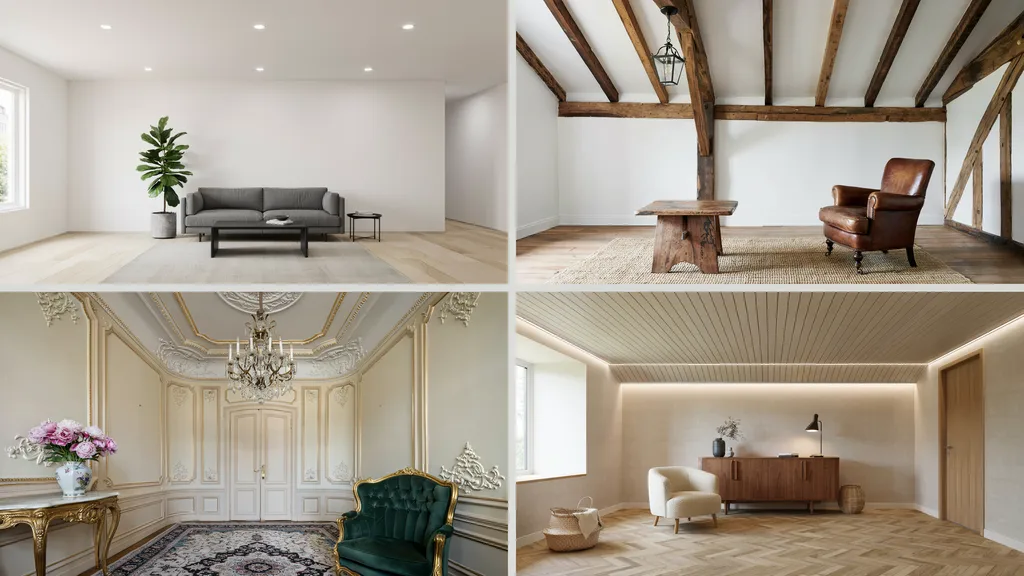
Picking the right pattern takes a little thought. Here is how to make a smart choice.
Match Your Interior Style
Your ceiling should work with your room, not against it. A skip trowel pattern suits a rustic or Mediterranean room.
A smooth or geometric texture fits a modern, clean space. Always look at your walls and furniture first before deciding.
Consider Room Function
Think about what the room is used for. Bedrooms and home offices benefit from sound-absorbing textures like popcorn or spray sand.
Living rooms and dining rooms can handle more decorative patterns.
Maintenance and Durability
Some textures are easy to clean. Smooth and light textures can be wiped down with a damp cloth. Heavy textures like popcorn or stipple collect dust and are harder to clean.
Pick based on how much upkeep you are willing to do.
DIY vs Professional Installation
Simple patterns like orange peel or knockdown can be done at home with basic tools.
More detailed patterns like floral or geometric designs often need a professional. Know your skill level before you start.
Tips Before Applying Ceiling Texture
A few smart steps can save you time and stress later.
- Always test the pattern on a small cardboard piece or hidden corner before applying it to the full ceiling.
- Use the right tool for your chosen texture. A brush, roller, and spray gun each give different results.
- Plan your lighting setup before applying texture. Directional or recessed lights can highlight ceiling patterns in a great way.
- Mix your compound well and apply it at even pressure throughout. Uneven application leads to patchy, inconsistent results.
- Do not rush any step of the process. Let each coat dry fully before moving on to the next layer.
Conclusion
I hope this guide helped you see how much a ceiling can change a room. When I finally added texture to my own ceiling, the whole space felt more complete.
It did not take much, just the right pattern and a little planning.
Now it is your turn. Look at your room, think about your style, and pick a ceiling texture pattern that feels right for you.
If you found this helpful, drop a comment below or share it with someone who is planning a home update. I would love to hear which pattern you choose!
Frequently Asked Questions
What is the easiest ceiling texture pattern to apply at home?
The orange peel and knockdown patterns are the simplest to apply. Both need basic tools and a little practice before you get a clean finish.
How long does a ceiling texture pattern last?
Most ceiling textures last 10 to 20 years when applied correctly. Proper sealing and occasional touch-ups help them stay in good shape longer.
Can I apply ceiling texture over an old popcorn ceiling?
Yes, you can apply new texture over an old popcorn ceiling after scraping and priming it. Make sure the surface is smooth and dry before applying the new texture.
Do ceiling texture patterns affect room lighting?
Yes, they do. Heavy textures create shadows that can make a room feel darker. Lighter textures with the right lighting can actually make a space feel more open and bright.
Is hiring a professional necessary for ceiling texture work?
Simple patterns like orange peel or knockdown can be done yourself. Complex designs like floral or geometric patterns are best left to a professional for a clean, even result.