

I have stained a few decks over the years, and using a roller made the whole process so much faster and easier.
If you are wondering how to stain a deck with a roller, you are in the right place.
This guide covers everything you need, the right tools and materials, how to prep your deck properly, and a clear step-by-step staining process.
Good prep work is what separates a finish that lasts from one that peels after a season.
With over a decade of hands-on experience, I will give you real, practical advice you can use today. Let's get your deck looking great.
What You Need Before Staining a Deck With a Roller
Before you start staining, getting the right supplies together will save you time and help you get better results from the very first stroke.
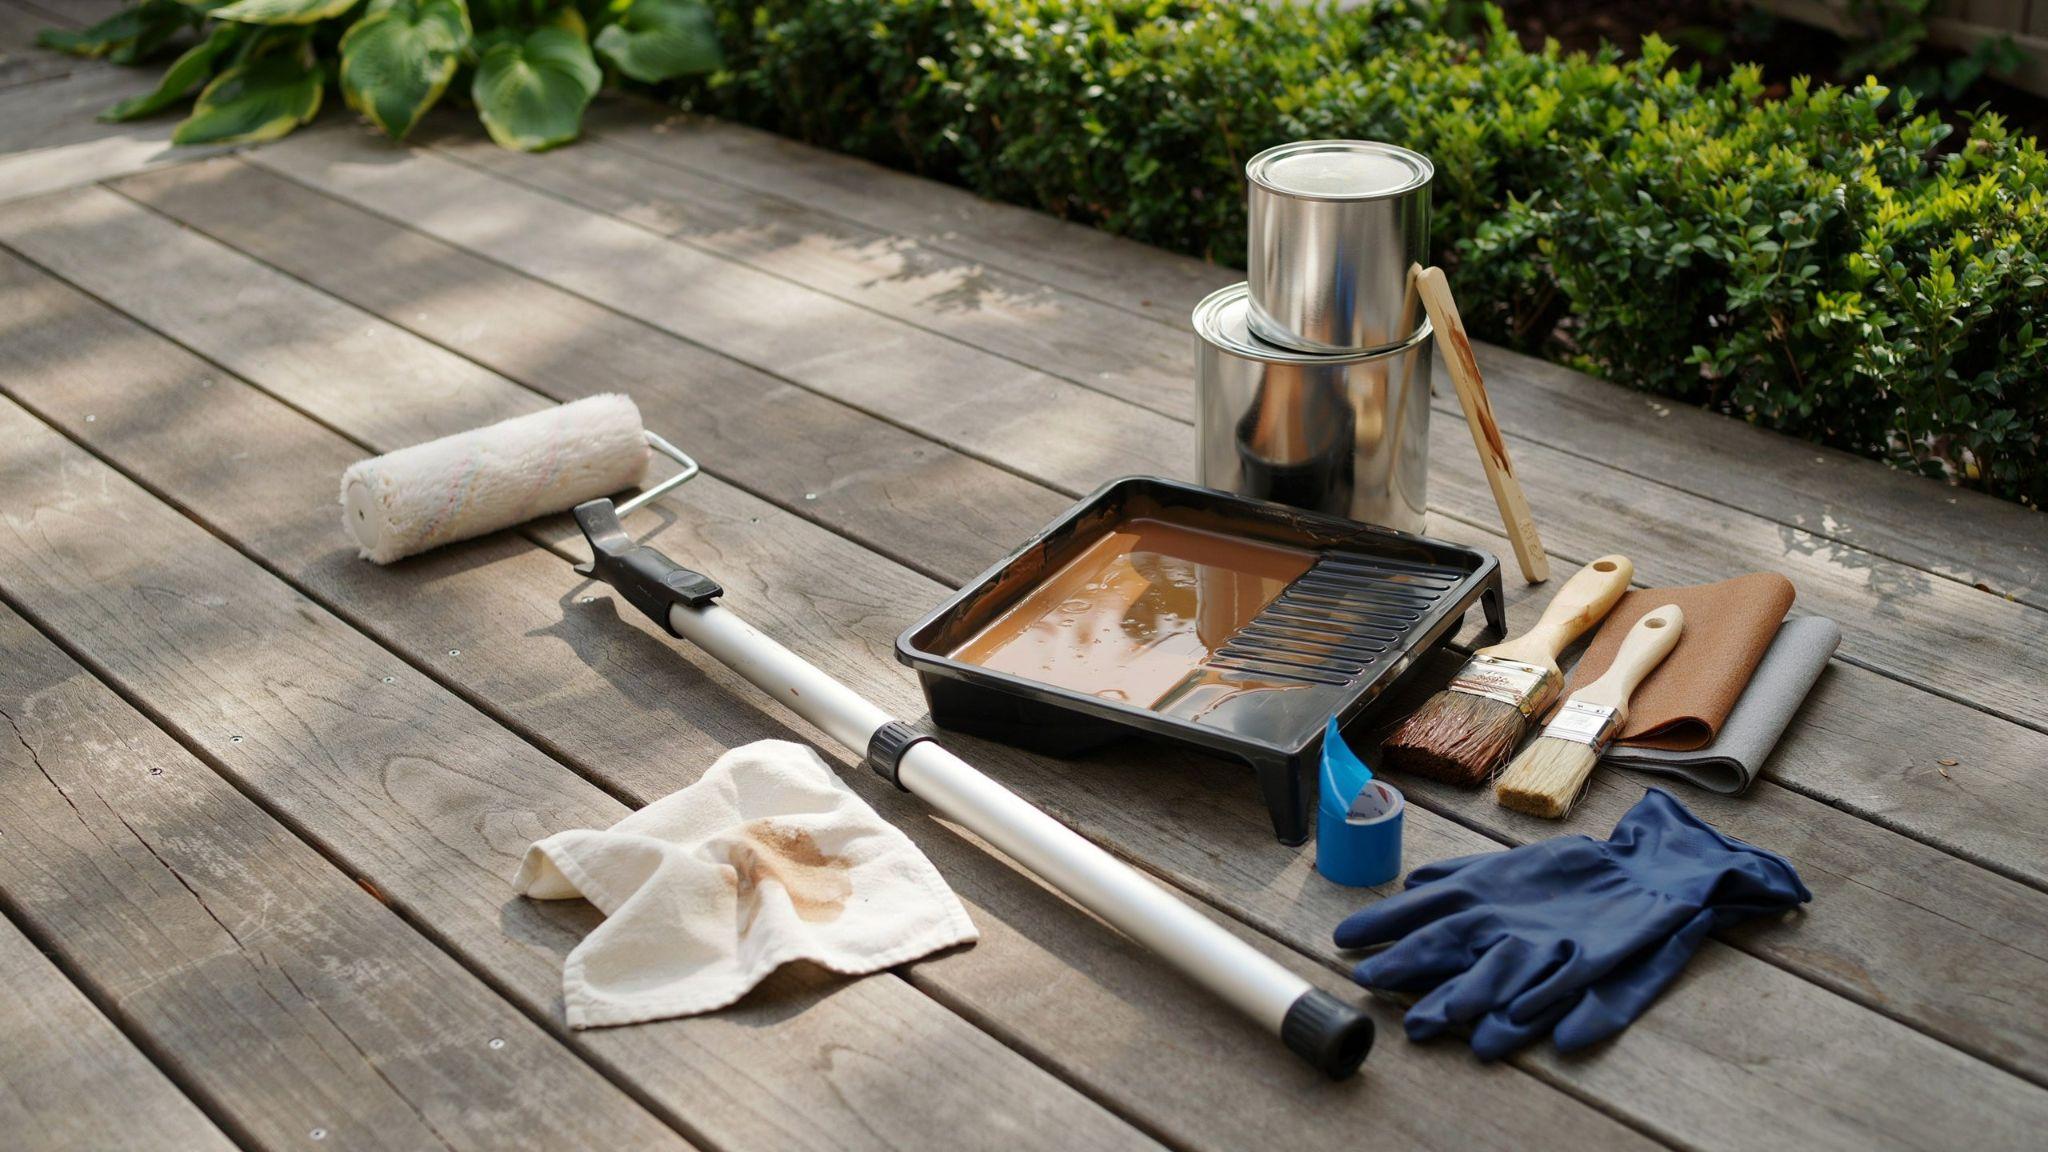
You will need a paint roller with an extension pole, the right roller covers, and a paint brush for edges and tight gaps.
Pick up a deck cleaner or wood brightener, and have a pressure washer or garden hose ready for prep work.
You will also want sandpaper or a pole sander, painter's tape, drop cloths, a paint tray, and the deck stain you have chosen.
Having everything in one place before you begin means no mid-project supply runs and no interruptions once the work is underway.
How to Pick the Best Deck Stain for Your Deck
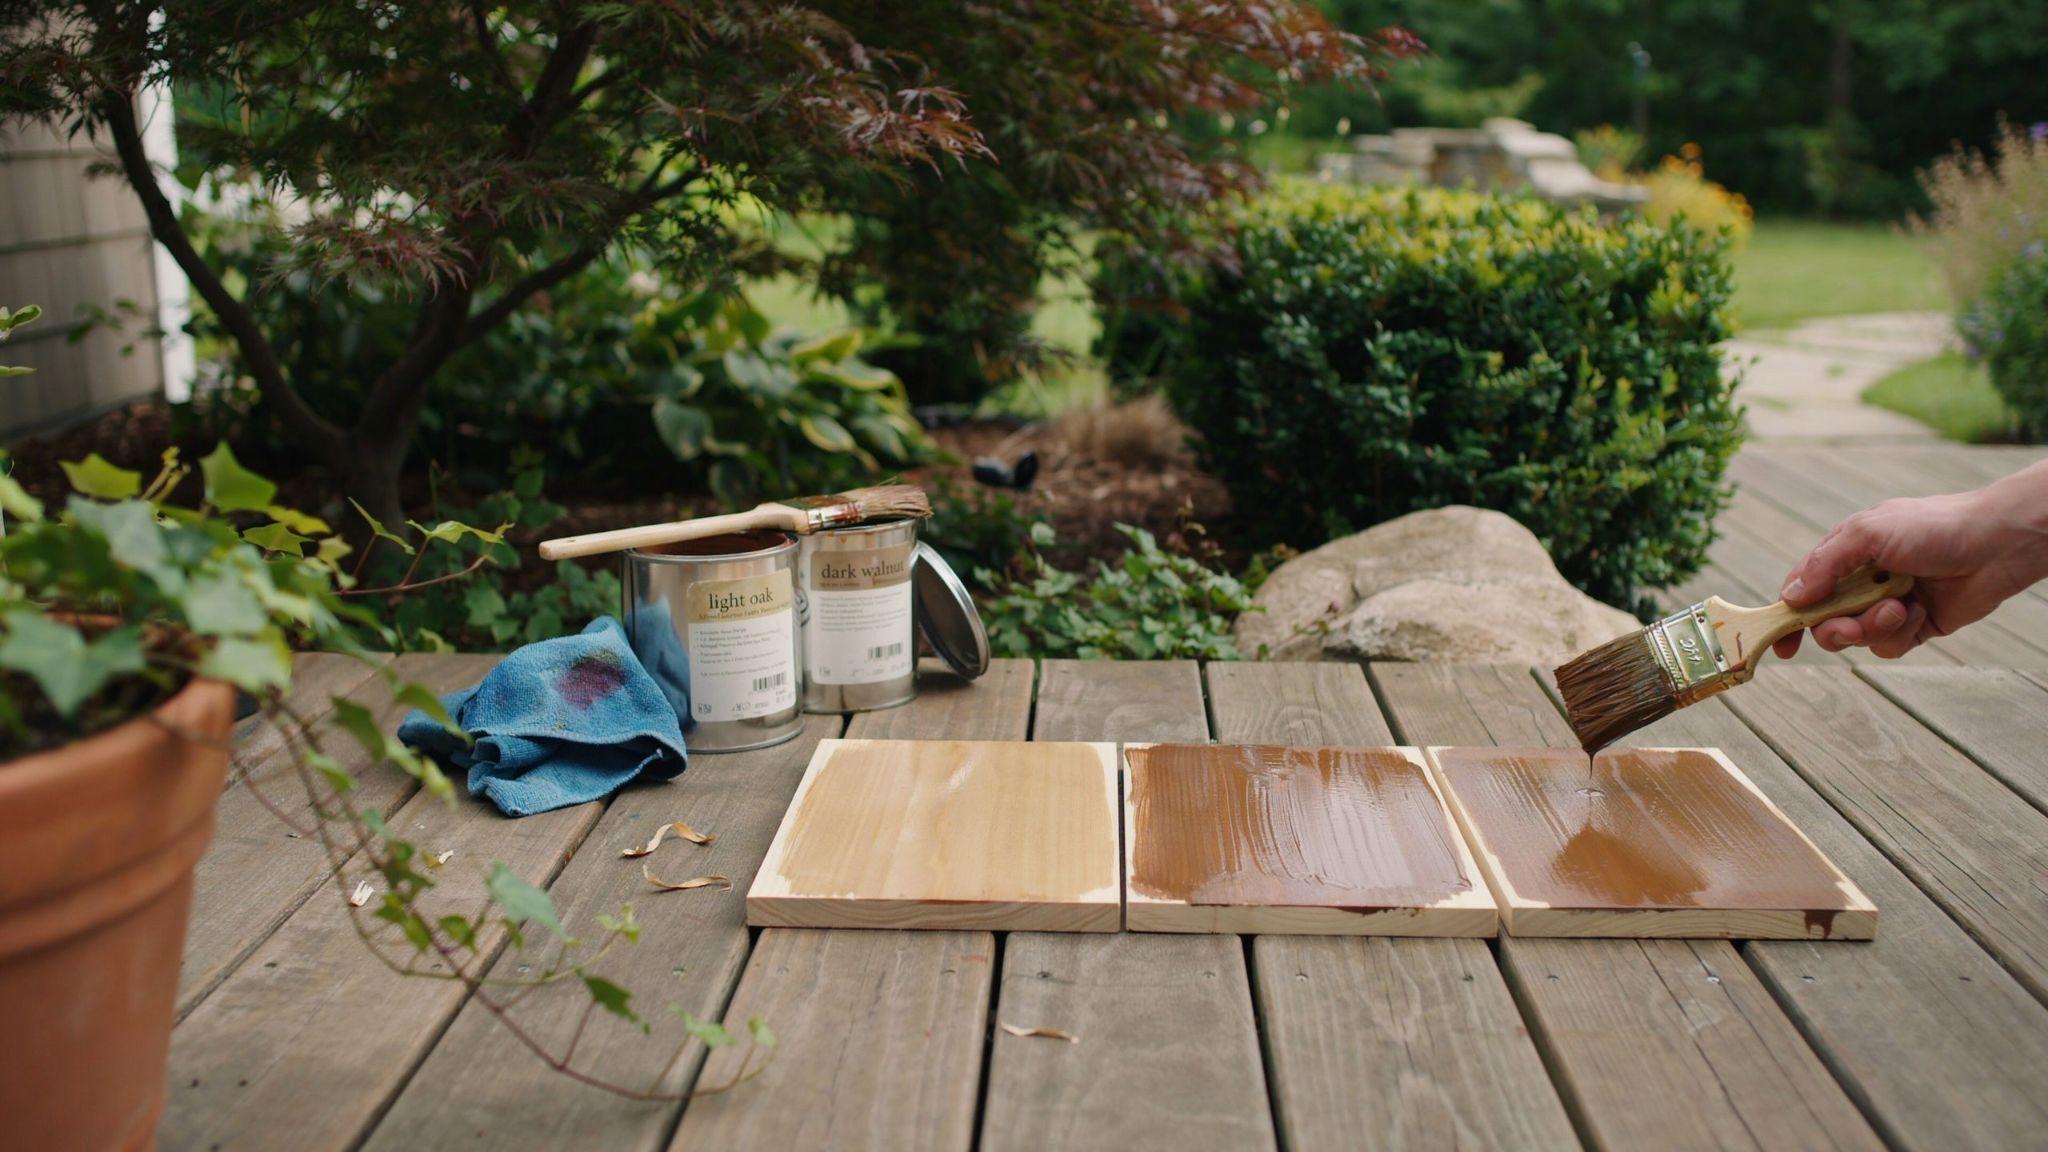
The right stain protects your deck and keeps it looking good for years.
Know Your Stain Types Before You Buy
Not all deck stains work the same way. Transparent stains show the wood grain clearly but tend to wear out faster.
Semi-transparent stains add some color while still letting the wood's natural look show through.
Solid stains give the most coverage, last the longest, and work well on older or weathered wood that has visible damage or discoloration.
Oil-Based vs. Water-Based Deck Stain
Oil-based stain soaks deep into the wood fibers, giving strong protection from the inside out.
Water-based stain dries faster and is easier to clean up with just water.
Both work well, but water-based stains are a better fit if you want a quicker dry time and less odor during application.
How to Stain a Deck With a Roller Step by Step
Follow these steps in order for the cleanest, most even result possible.
Step 1: Stir and Pour the Deck Stain Properly
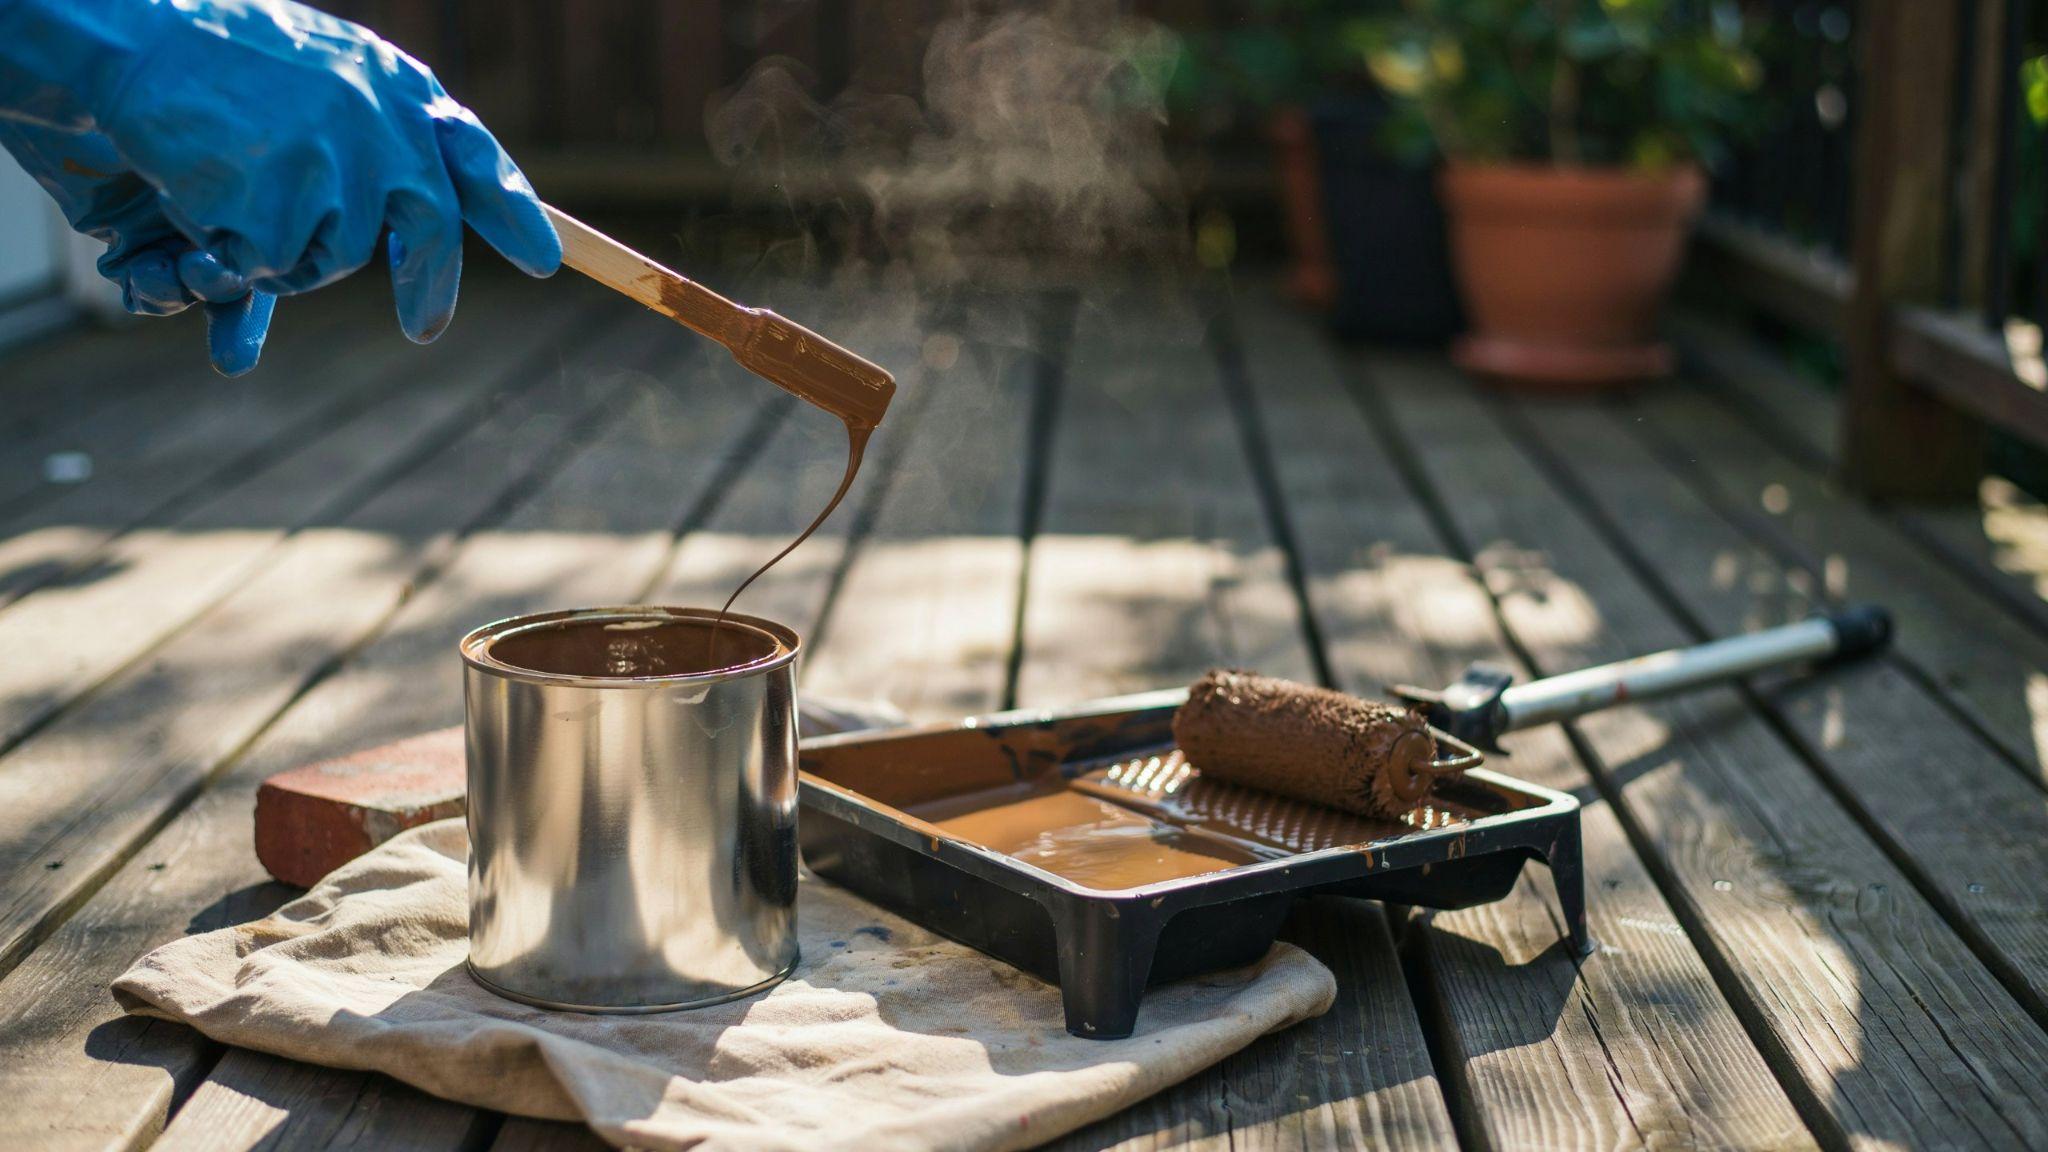
Never shake the can. Shaking creates bubbles in the stain. Instead, use a stir stick and mix slowly from the bottom up until the color is fully blended.
Pour the stain into a paint tray. Do not fill it more than halfway.
Step 2: Start Staining the Deck Boards With a Roller
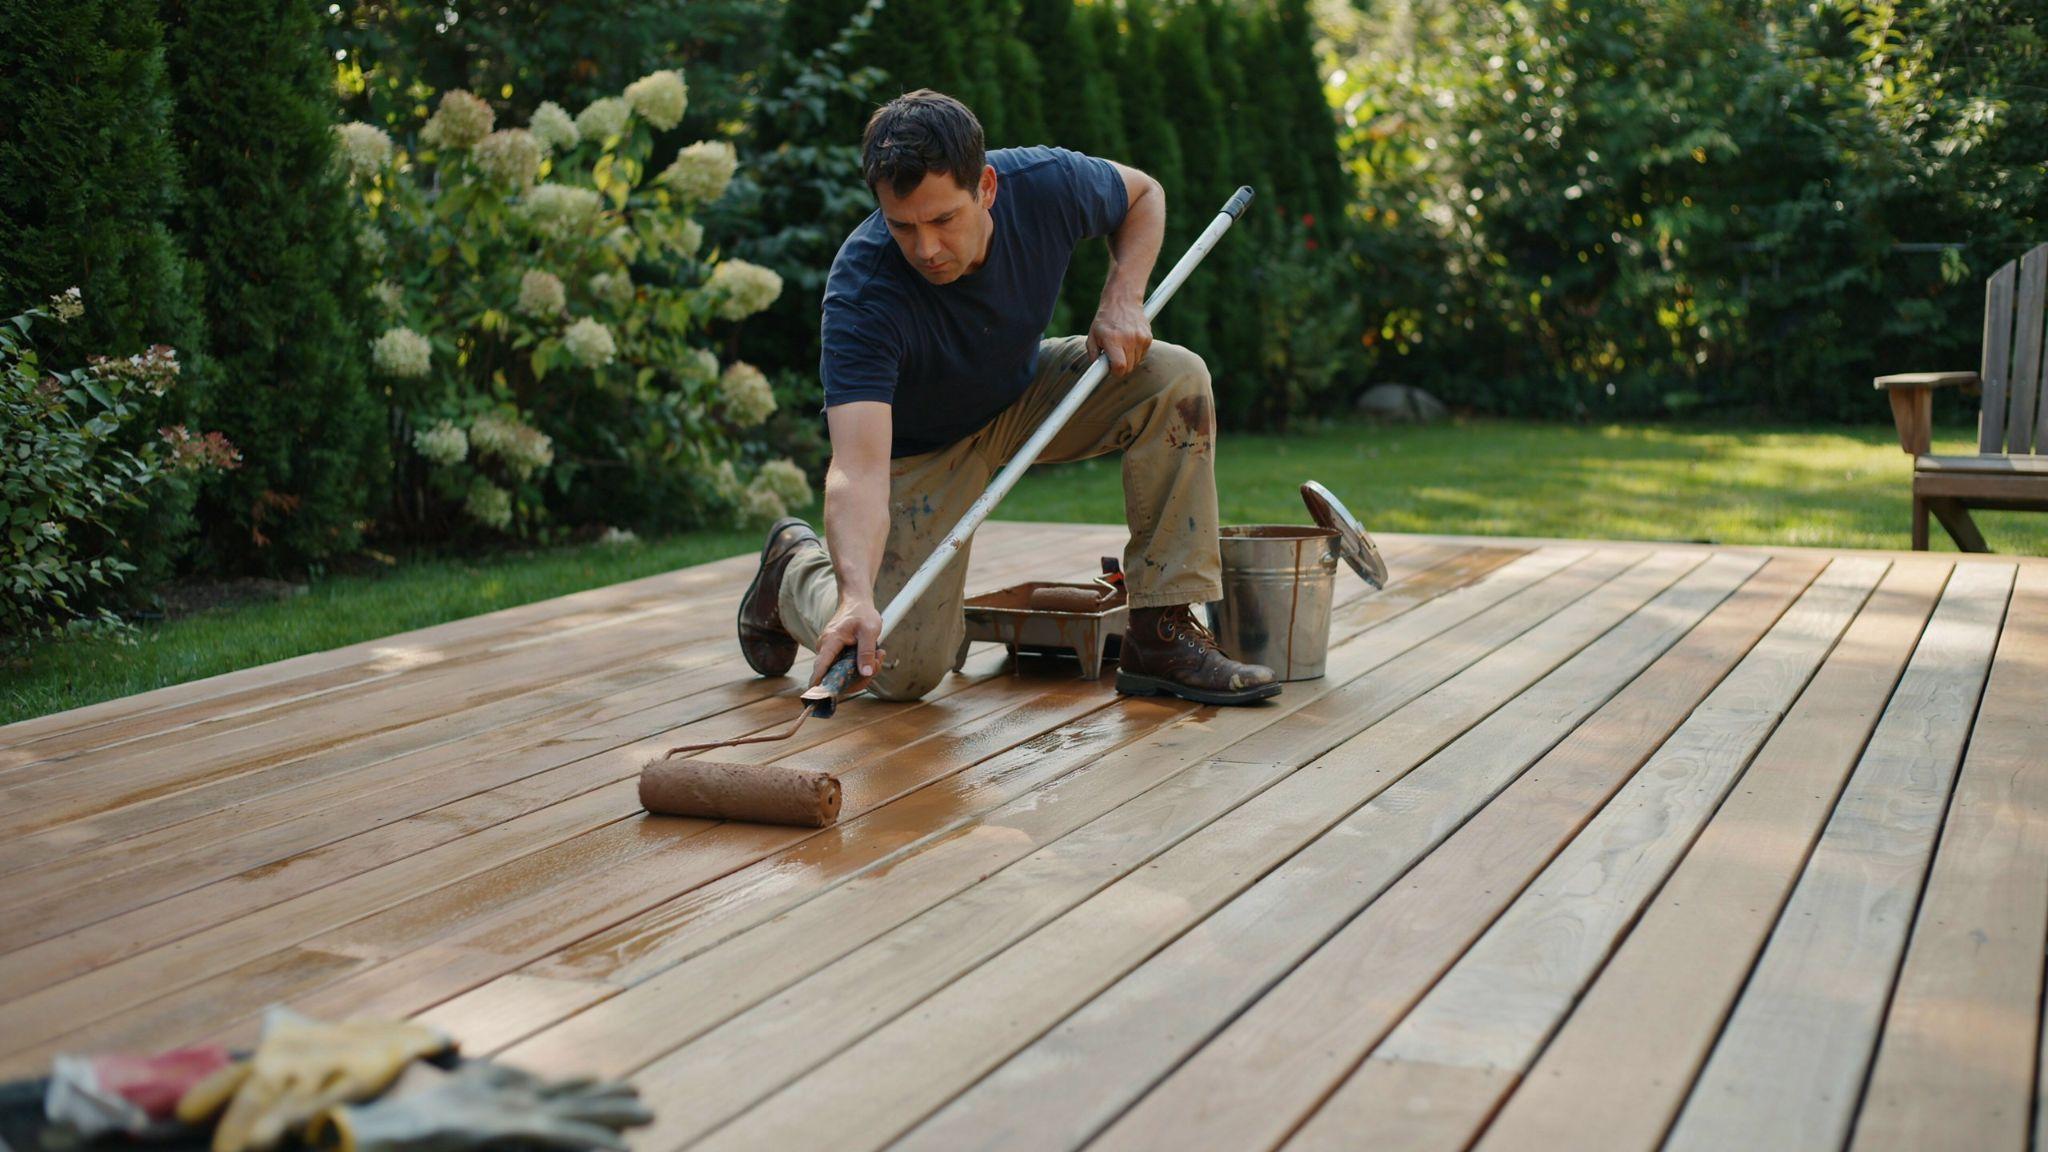
Begin at one end of the deck and work toward the other. Load the roller with stain and roll it back and forth on the tray ramp to remove excess.
Apply stain to two or three boards at a time. Do not try to cover too large an area before moving to the next step.
Step 3: Work With the Wood Grain and Maintain a Wet Edge
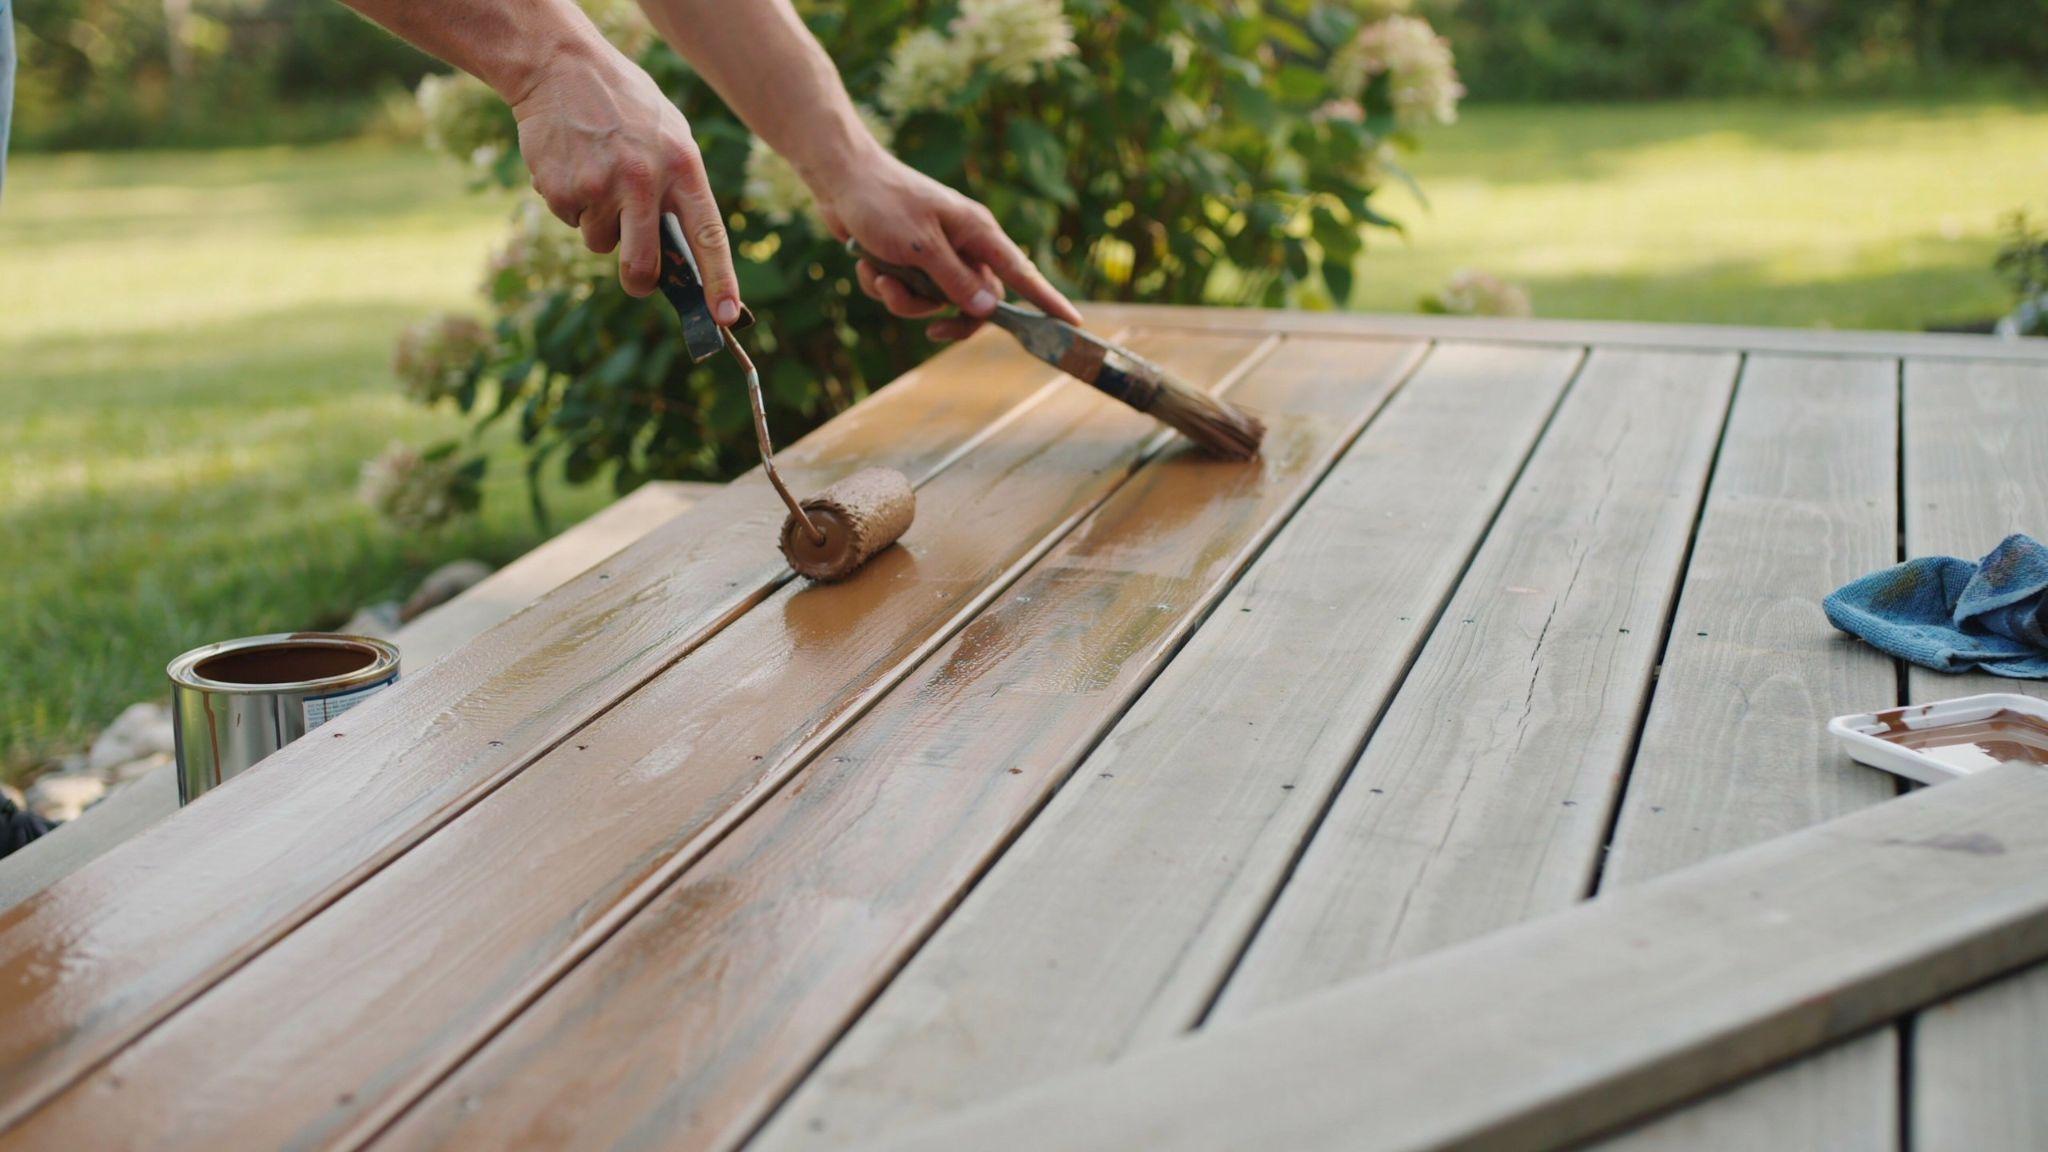
Always roll in the direction of the wood grain. Rolling across the grain causes the stain to sit on top rather than soak in.
Keep a wet edge as you work. This means your next section should slightly overlap the previous one before it dries. This prevents hard lines between sections.
Step 4: Use a Brush for Corners, Gaps, and Railings
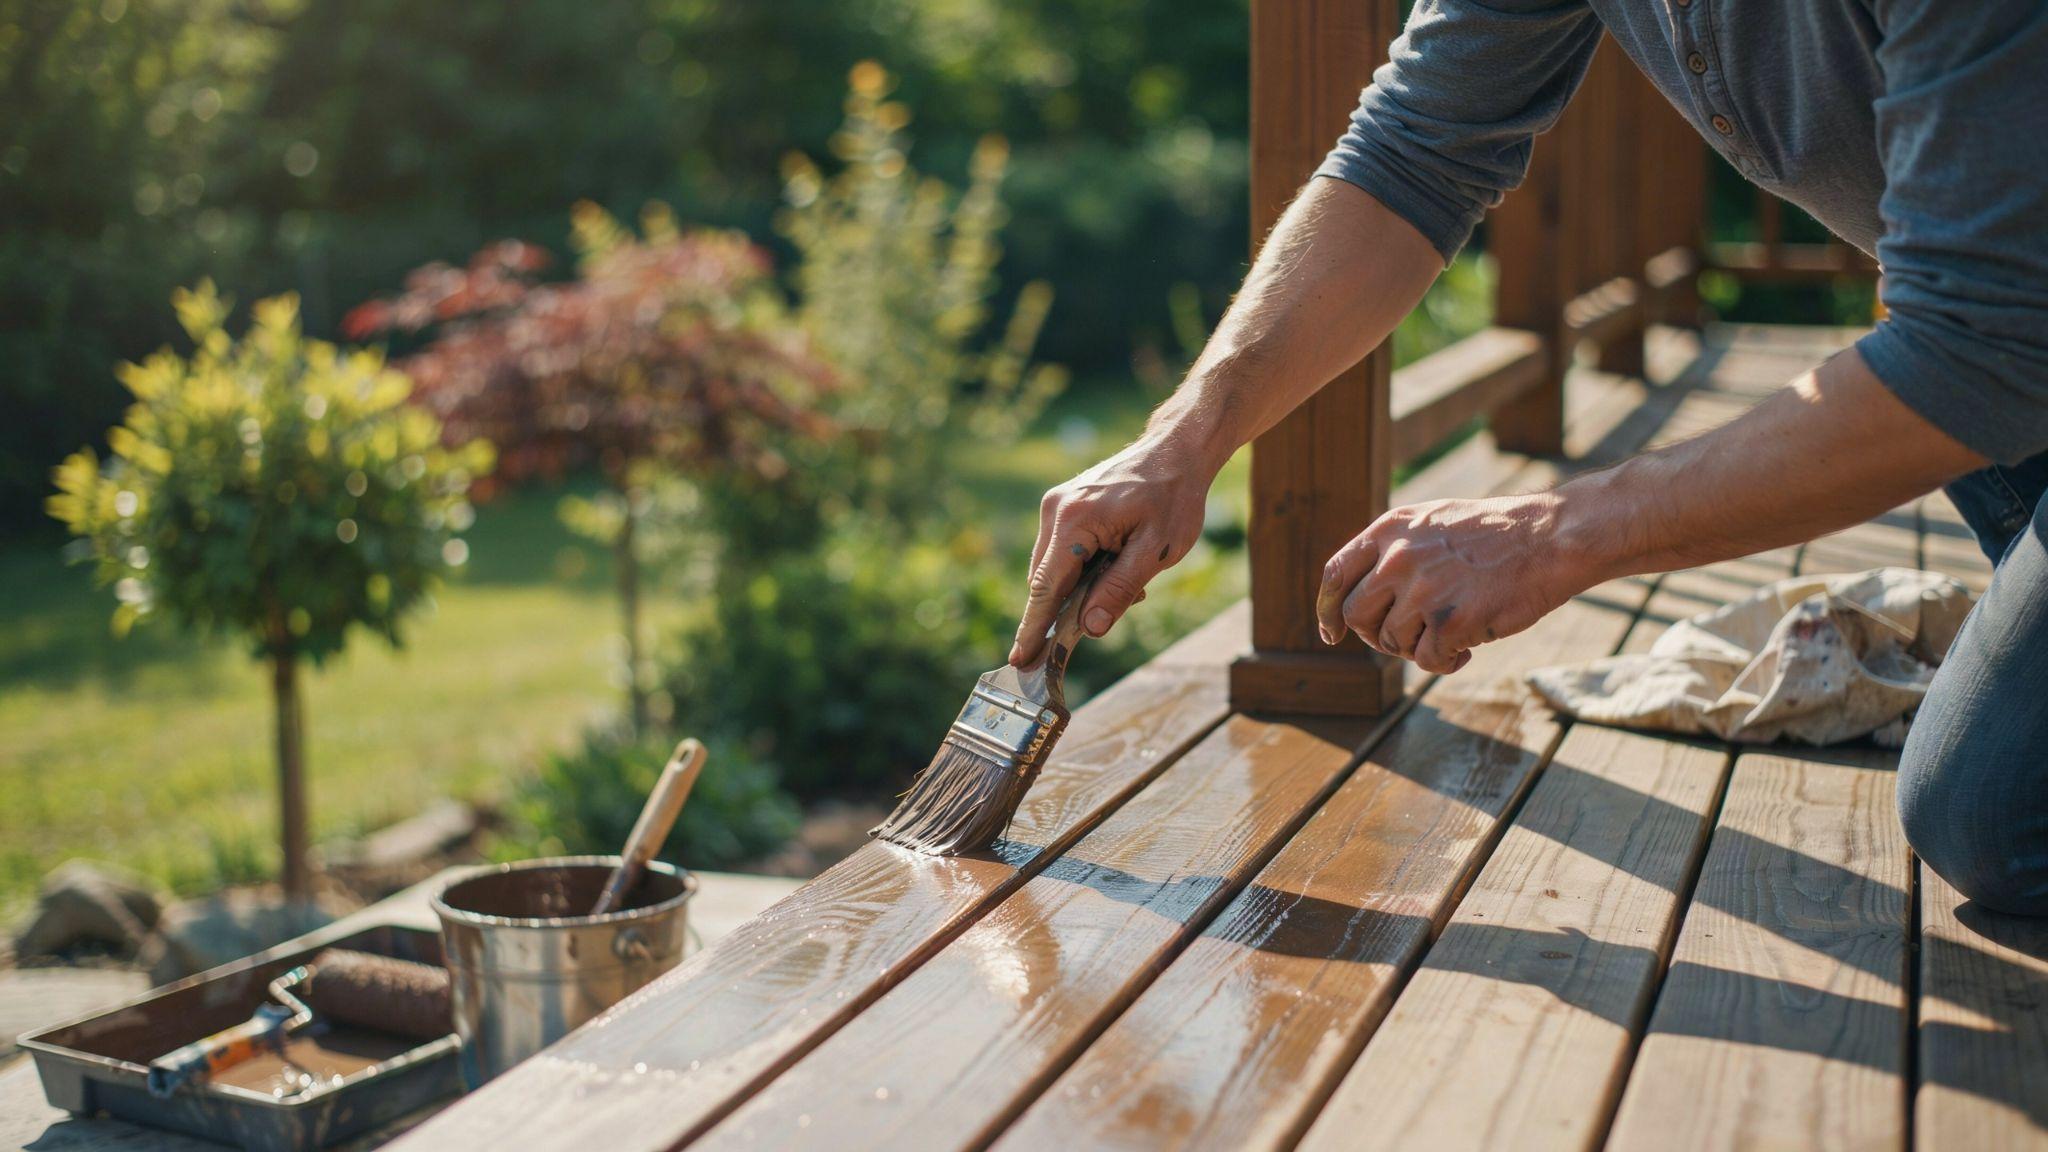
A roller cannot reach into tight spaces. Use a two-inch or three-inch brush to cut into the spaces between boards, along railings, around posts, and in corners.
Do this while the stain from the roller is still wet so everything blends together smoothly.
Step 5: Back-Brush and Wipe Away Excess Stain
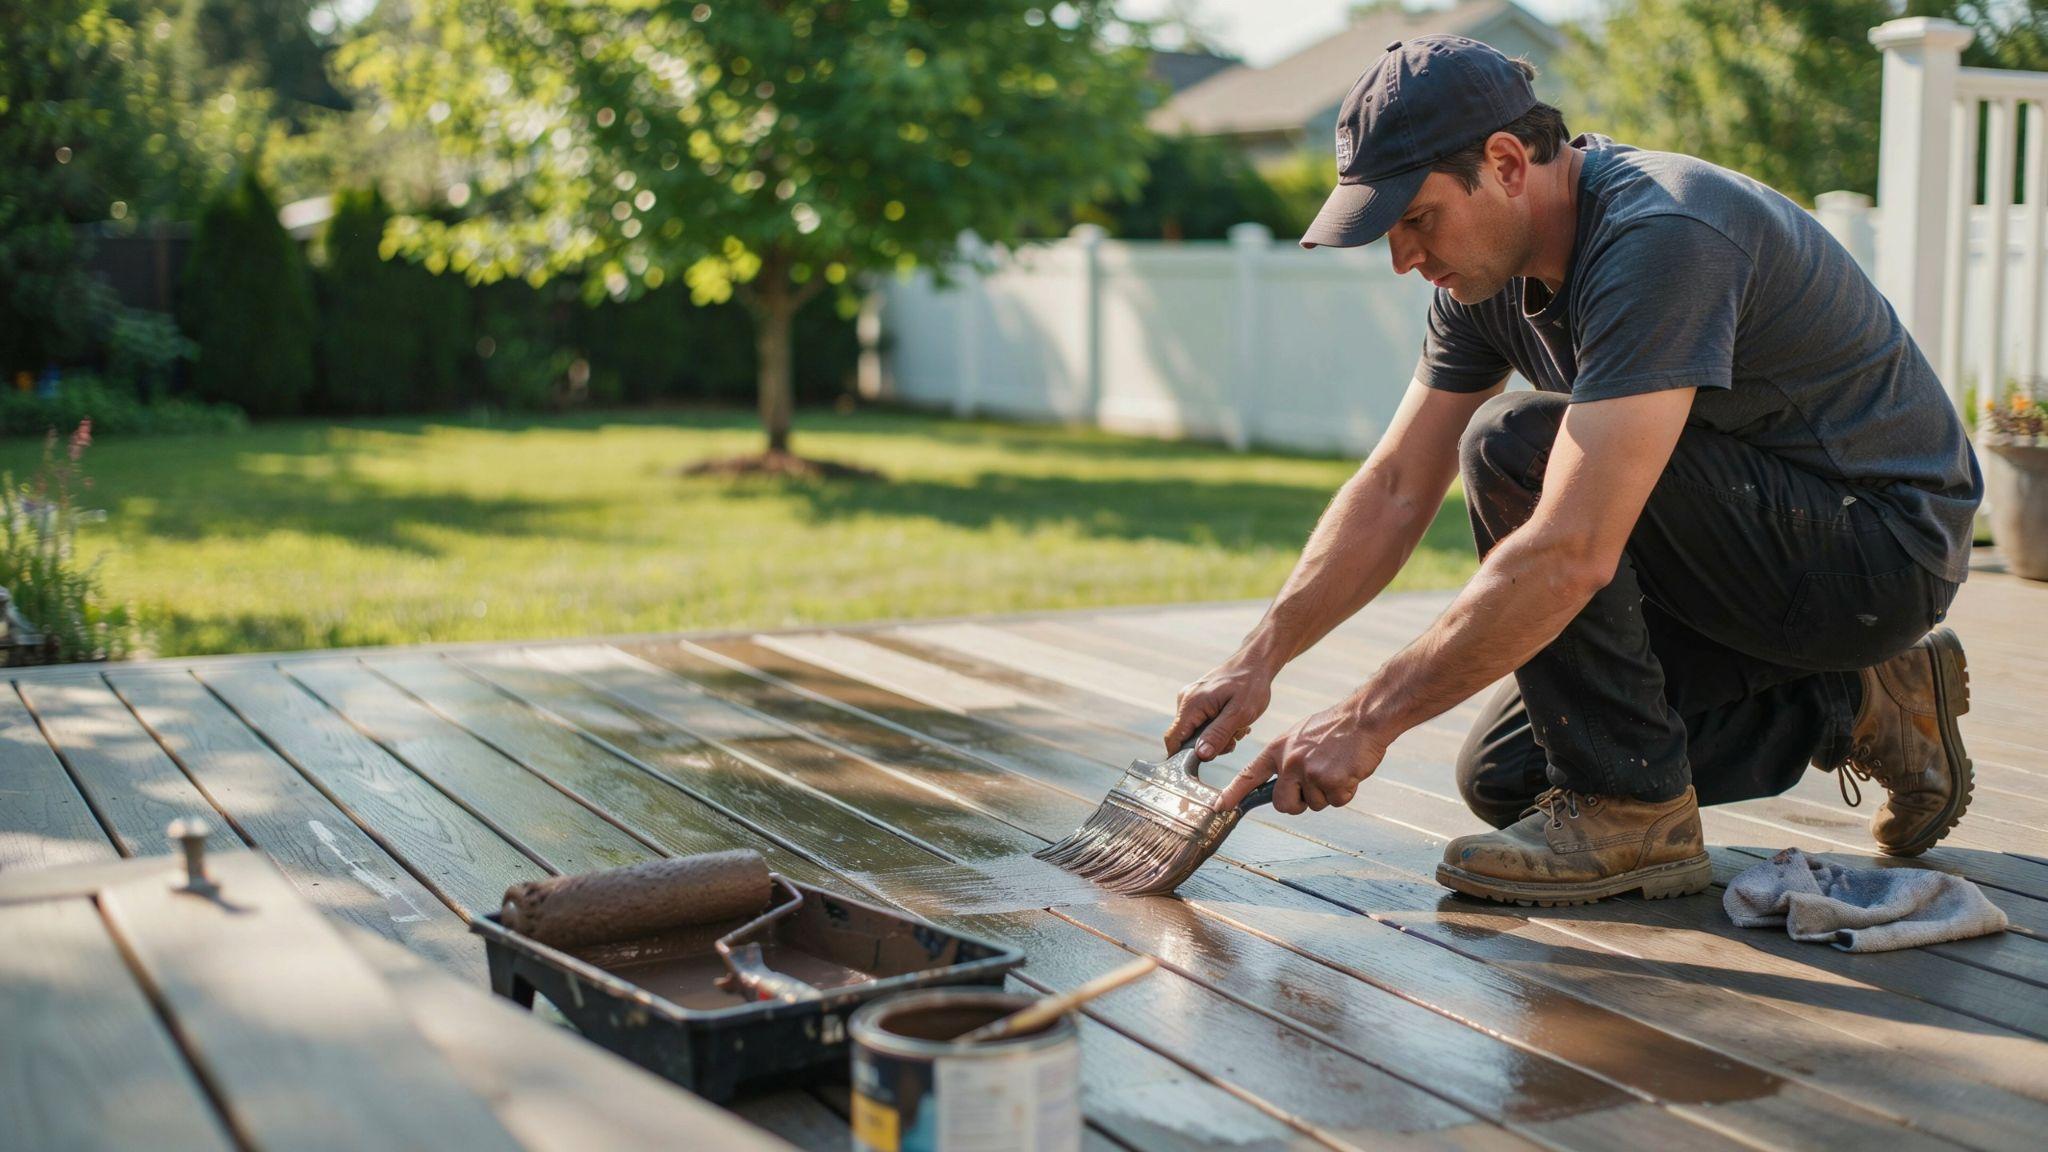
After rolling a section, go back over it lightly with a brush. This is called back-brushing. It pushes the stain deeper into the wood grain and smooths out any roller marks.
If stain pools in the gaps between boards or sits on top of the wood, wipe it away with a clean cloth. Puddles of stain will dry sticky and take much longer to cure.
Step 6: Allow the Deck to Dry and Apply a Second Coat if Needed
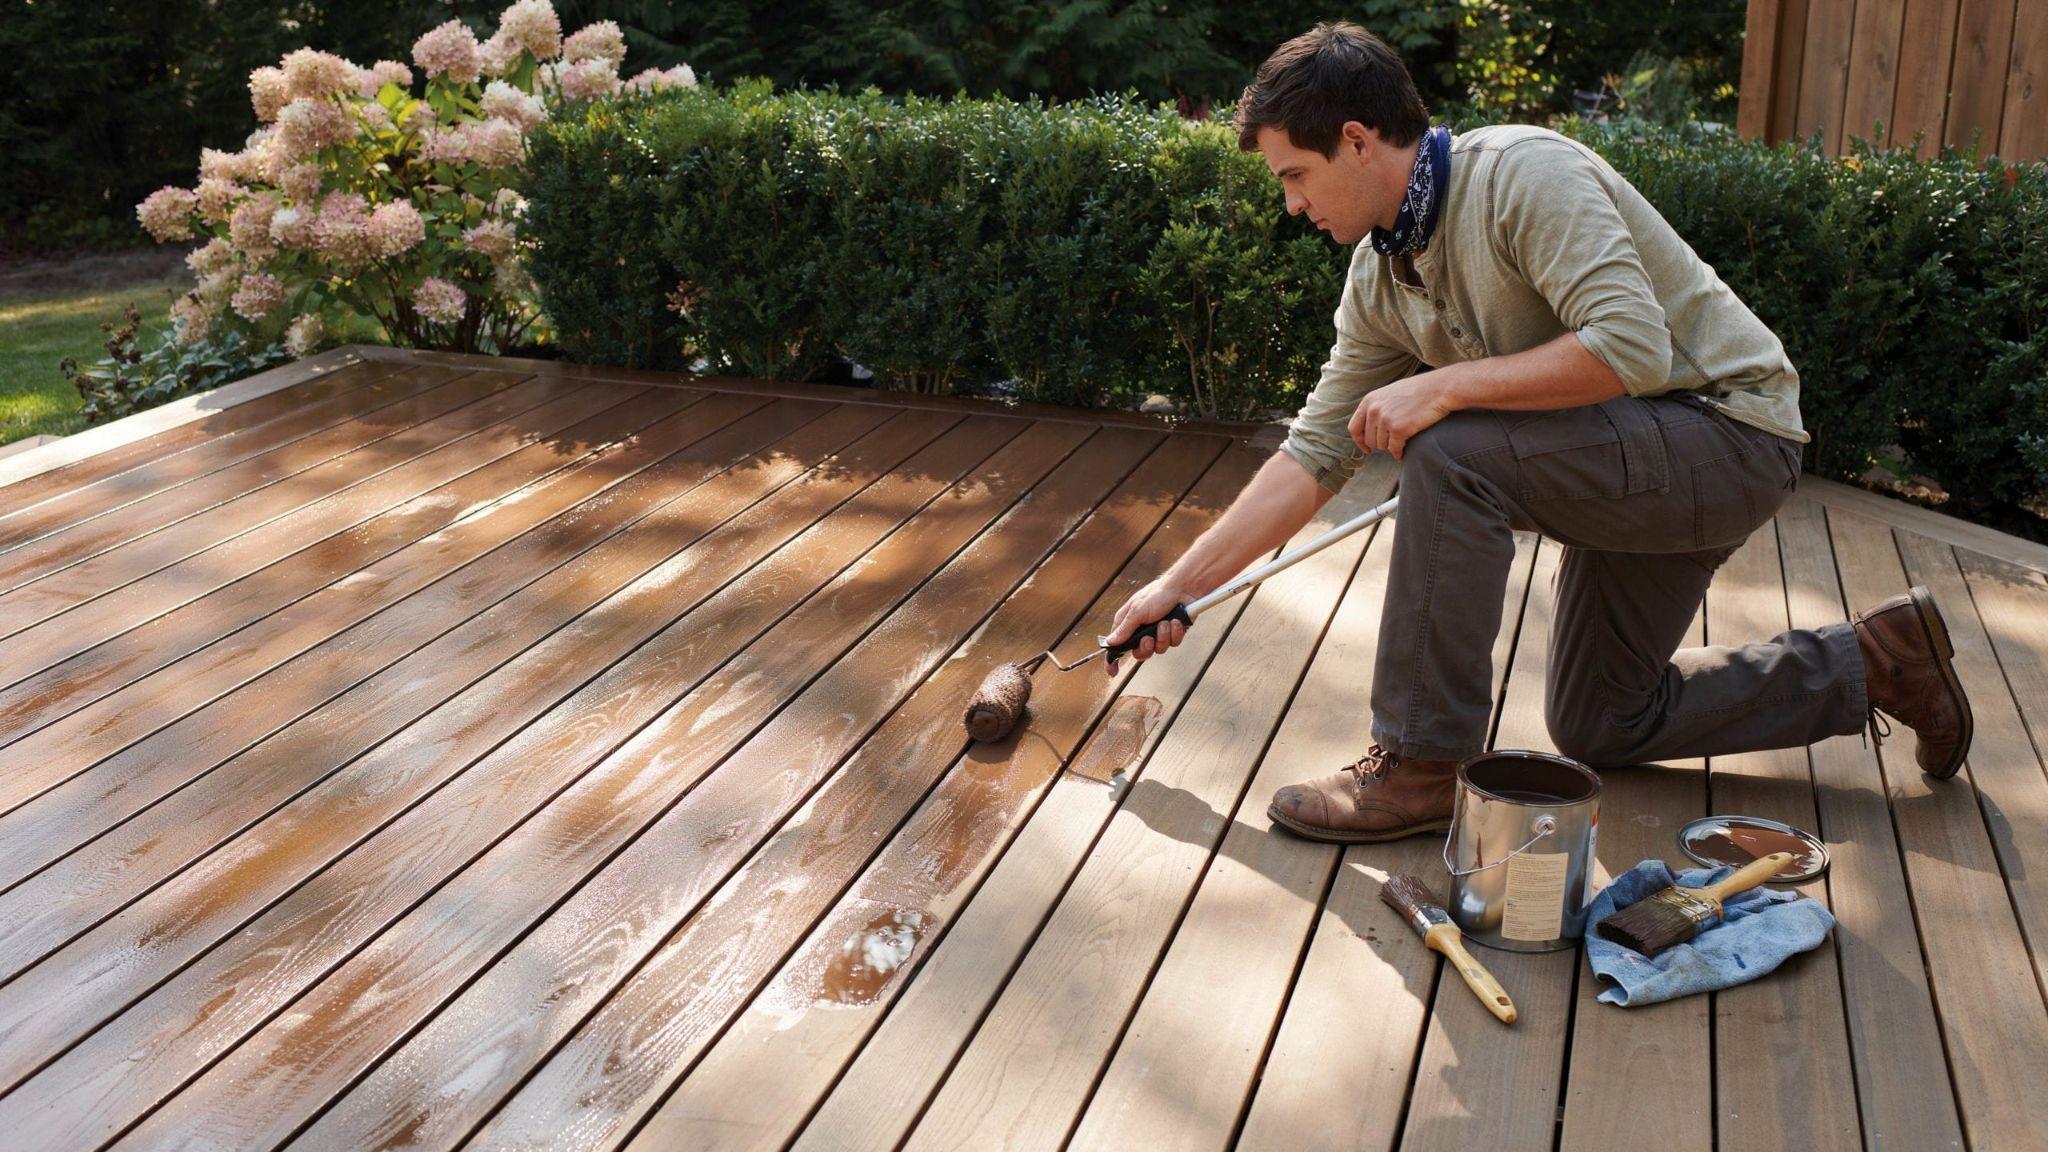
Let the first coat dry fully before walking on the deck or applying a second coat. Check the stain can for drying times. Most stains need at least four to six hours between coats.
A second coat is often needed for older wood or semi-transparent stains. Apply it the same way you did the first coat.
Common Mistakes to Avoid When Staining a Deck With a Roller
Avoiding these common errors will save you time, money, and frustration down the road.
- Avoid thick coats as stain sits on top, dries tacky, and peels fast instead of soaking in.
- Skip staining in direct sunlight or high humidity since it causes uneven, blotchy results.
- Always back-brush after rolling to prevent roller marks and get smooth, even coverage.
- Stay off the deck for 24 to 48 hours after staining to avoid marks and pulled finish.
- Apply thin, even coats and let each one fully absorb before adding another layer.
How to Get a Professional Finish When Using a Roller
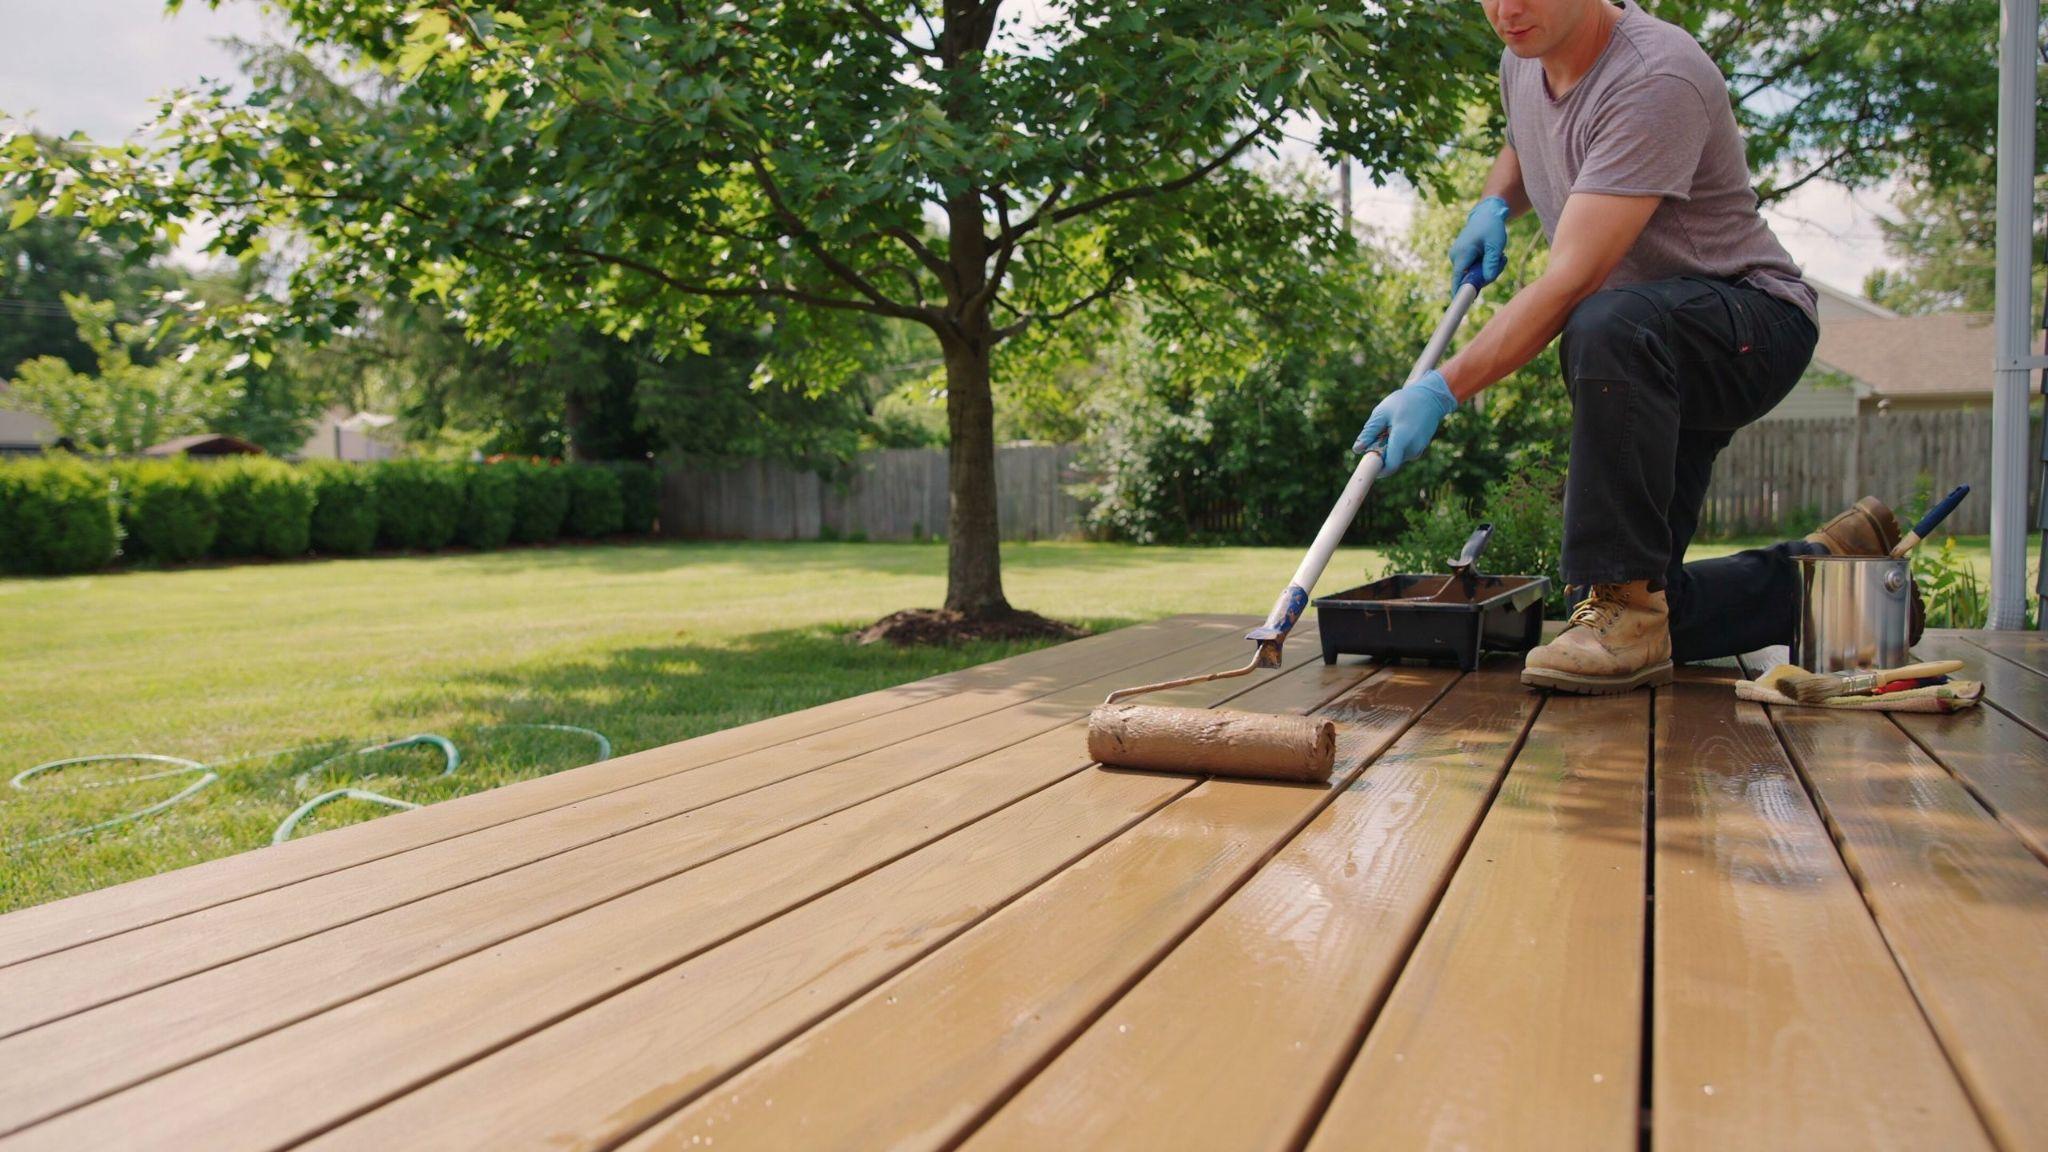
A few small habits during application can make your deck look like it was done by a professional.
Work in Small Sections
Focus on one small area at a time, about two to three boards at a stretch. Working in small sections keeps the stain wet and allows you to blend each area smoothly into the next.
Prevent Lap Marks and Uneven Color
Lap marks happen when stain dries before you overlap it with the next section. Keep a wet edge at all times and work at a steady pace to avoid this.
Use an Extension Pole to Reduce Fatigue
An extension pole on your roller lets you stand upright while working. This saves your back and helps you apply more consistent pressure across the surface.
Inspect the Surface Before the Stain Cures
While the stain is still wet, walk along the deck and look for missed spots, runs, or pooling. Fix them right away. Once the stain cures, it is much harder to correct.
Tips to Maintain a Roller-Stained Deck
Taking care of your deck after staining keeps it looking fresh and extends the life of the finish.
- Restain your deck every two to three years, or sooner if it gets heavy sun or foot traffic
- Sweep the deck often and rinse it with a garden hose a few times a year
- Clean up spills right away so they do not stain or damage the wood
- Skip harsh chemical cleaners since they can strip the finish
- Watch for fading, peeling, cracking, or water soaking into the wood as signs it is time to restain
Conclusion
I remember the first time I stained a deck with a roller. It felt daunting at first, but once I started, it came together faster than I expected.
The key was good prep and working in small sections. If I can do it, so can you.
Staining a deck with a roller is one of those projects that pays off quickly.
Clean the wood, pick the right stain, follow each step, and keep up with basic maintenance. Your deck will look great for years.
Try it out, and drop a comment below to let me know how it went. I would love to hear about your experience.
Frequently Asked Questions
Can You Stain a Deck With Only a Roller?
You can use a roller for most of the work, but a brush is still needed for tight spaces, gaps, and railings. Using both tools together gives you the most complete and even coverage.
Do You Need to Back-Brush After Rolling?
Yes. Back-brushing pushes the stain deeper into the wood grain and smooths out roller marks. It is a small extra step that makes the finish look much cleaner and last longer.
What Roller Nap Is Best for Deck Stain?
A 3/8-inch nap works well for smooth wood. For rougher or older wood, a 1/2-inch to 3/4-inch nap is better. It holds more stain and gets into the texture of the wood more effectively.
How Long Does Deck Stain Take to Dry?
Most deck stains are dry to the touch in two to four hours. However, wait at least 24 hours before walking on the deck and 48 hours before placing furniture back on it.
Is One Coat of Deck Stain Enough?
It depends on the stain type and the condition of the wood. Newer wood in good condition may only need one coat. Older or more porous wood usually benefits from two coats for full coverage and protection.