

Oak is one of the most popular cabinet woods, but it has a strong, open grain that behaves differently when painted.
If you've searched for painted oak cabinets with grain showing, you already know the question, will the grain look intentional or just rough?
I've dealt with this myself, and the answer comes down to prep and what finish you're going for. This guide covers both paths, keeping the grain visible or smoothing it out completely.
You'll learn which products to use, what steps to follow, and which mistakes cost you time and money. Let's make sure your cabinets turn out exactly the way you planned.
Understanding Painted Oak Cabinets With Grain Showing

Oak has an open-pore structure, meaning the wood surface has tiny grooves running through it. When you apply paint, it doesn't sit flat.
It settles right into those grooves, leaving a textured look even after everything dries. This isn't a flaw. It's simply how oak behaves.
So yes, it's completely normal for grain to show through paint, especially without heavy prep work.
In fact, on most oak cabinets, some grain will always come through unless you take specific steps to fill it.
How much you see depends on the primer you choose, how many coats you apply, and how carefully you sand between each one.
How Much Grain Will You Actually See After Painting?

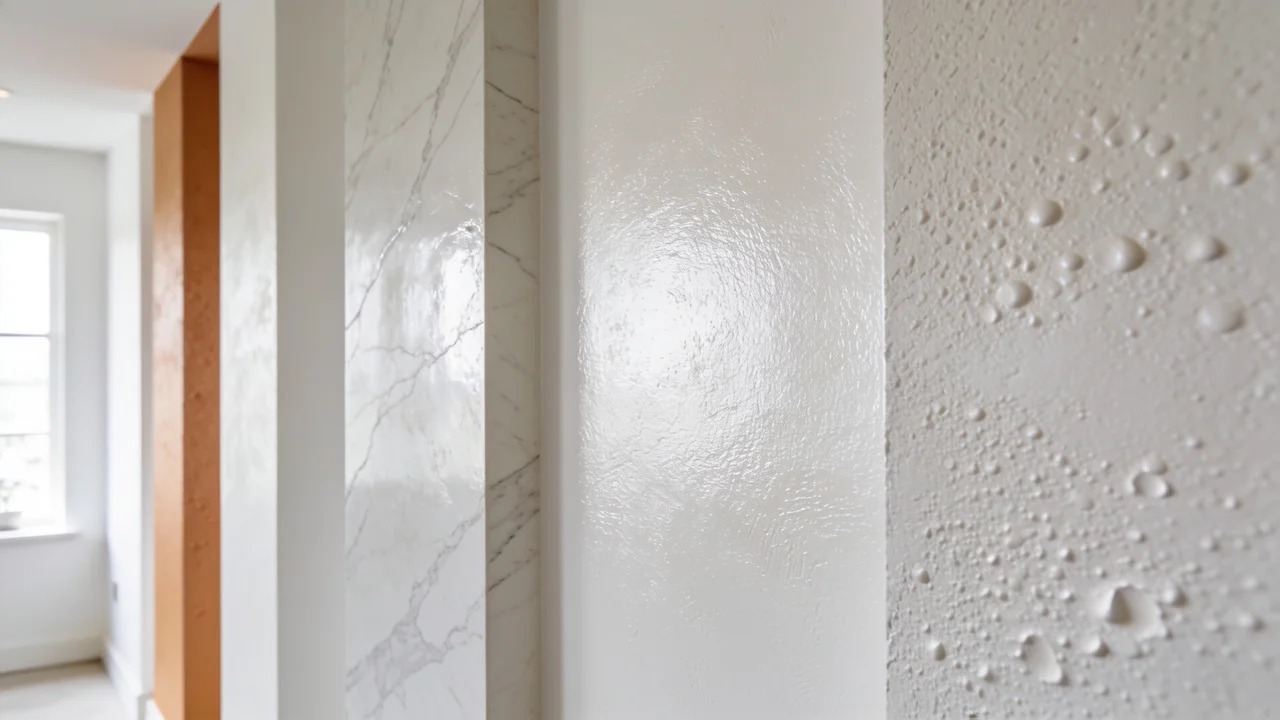
Grain visibility ranges from barely noticeable to clearly textured, depending on your method.
Light vs Heavy Grain Visibility
With basic prep, you'll get a subtle texture. It looks natural and even intentional on farmhouses or rustic kitchens. With no prep at all, you get deep, noticeable grooves that can look rough or unfinished.
Where Grain Is Most Noticeable
Grain stands out most on
- Flat cabinet door panels
- Edges and corners
- Detailed routed areas
These spots catch light differently, which makes grain more visible than on flat painted walls.
How to Keep Grain Showing on Painted Oak Cabinets
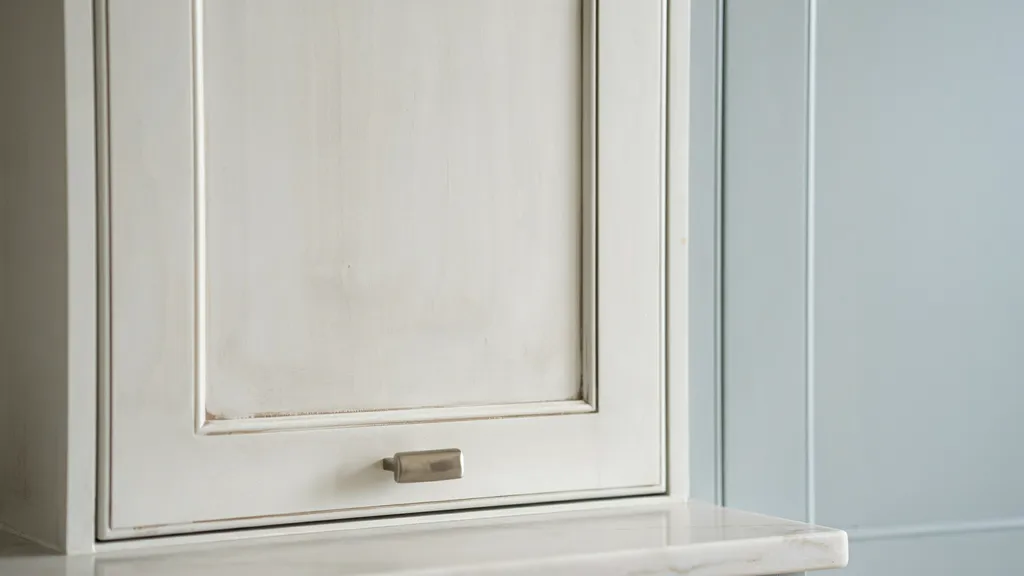
If you want visible grain, the process is simpler and faster than going smooth.
Minimal Prep and Light Sanding
Sand lightly with 120-grit sandpaper to clean the surface and help paint stick. Don't over-sand.
Going too hard closes the pores and removes the texture you want to keep. Light sanding is all you need here.
Use Standard Primer Instead of Filler
A regular bonding primer works perfectly for this finish. Stay away from high-build or grain-filling primers because those are made to level the surface, which works against visible grain.
One or two coats of standard primer is enough.
Best Paint Finishes for Visible Grain
Matte and satin finishes work best when you want grain to show. They sit close to the wood and let the natural texture come through.
Gloss finishes reflect too much light and can make the grain look patchy instead of intentional.
How to Reduce or Hide Grain for a Smooth Finish

Getting a flat, smooth result on oak takes more steps, but it's very doable.
Use High-Build or Grain-Filling Primer
The grain-filling primer is thick. It fills in the pores on the first or second coat. Apply it and let it dry fully before sanding. This is the most important step for a smooth result.
You can also use a liquid grain filler product before priming. Apply it, wipe off the excess, and let it cure.
Sanding Between Multiple Coats
After each coat of primer or paint, sand with 220-grit sandpaper. This levels out any raised texture. Don't skip this step. It's what gradually flattens the surface.
Three to four coats with sanding between each will get you very close to flat.
Applying Wood Filler for Deep Grain
For very deep grain, spread a thin coat of wood filler over the surface. Sand it back once dry. This works best for cabinets where you want a near-perfect, flat finish.
It takes more time, but the result is worth it if you want that smooth, painted-wood look.
Cost, Effort, and Finish Comparison

Both finishes have real value. Here's what each one actually costs you.
Grain Showing (Lower Cost, Faster)
- Less prep time
- Basic primer works fine
- Fewer coats needed
- Great for casual or rustic kitchen styles
This option saves money and time. Most homeowners can handle it themselves over a weekend.
Smooth Finish (Higher Cost, Premium Look)
- Grain filler or high-build primer required
- More sanding steps
- More coats of paint
- May need a sprayer for best results
Expect to spend more on materials and more hours on the project. Some people hire a painter for this level of finish.
Common Mistakes That Cause Unwanted Grain Showing
These are the mistakes that lead to a finish you didn't plan for.
Skipping Proper Priming
Using no primer, or grabbing the wrong type, leaves oak's pores completely open. Paint alone does not fill them.
You'll end up with more grain showing than you planned for. Always prime first, and make sure it's the right primer for your goal.
Not Sanding Between Coats
Every coat of paint can slightly raise the grain on oak. If you skip sanding between coats, that texture keeps building up instead of flattening out.
A quick pass with 220-grit between each coat makes a big difference in the final result.
Using Brushes Instead of Spraying
Brush strokes push paint unevenly into the grain and leave visible marks behind. This makes the finish look rough rather than clean.
A paint sprayer gives the most even coat, but a foam roller is a solid option for most DIY projects.
Tips for Best Results Before Painting Oak Cabinets
A little planning before you start saves a lot of fixing later.
- Decide before you buy. Know upfront whether you want grain showing or a smooth finish. That one decision changes everything on your product list.
- Test on one door first. Paint a single cabinet door, let it dry fully, and check it in different lighting before doing them all.
- Use quality primer and paint. Cheap products make the job harder and the finish worse. A good bonding primer and quality cabinet paint are worth the extra cost.
- Sand between every coat. Don't skip this step. It keeps texture from building up and helps each coat go on smoother than the last.
- Call a professional for deep grain. If your oak has very heavy grain and you want a near-flat finish, a professional with a sprayer setup will get results that are hard to match on your own.
Conclusion
Painting oak cabinets doesn't have to be confusing. I used to stress over whether the grain would look right, but once I understood that both finishes, visible grain and smooth, can look genuinely great, the process felt much easier.
It all comes down to knowing what you want before you start. Plan your prep, pick the right primer, and test before committing.
Drop a comment below if you have questions or want to share how your cabinets turned out. I'd love to hear from you.
Frequently Asked Questions
Will oak grain always show through paint?
Not always. With the right primer and sanding method, you can reduce grain significantly. Full grain removal takes multiple prep steps but is possible.
What primer works best to hide oak grain?
A high-build or grain-filling primer works best. Apply two coats and sand between each for the smoothest base.
Can I paint oak cabinets without sanding?
Sanding is strongly recommended. It helps paint bond and gives you more control over how much grain shows through.
Is visible grain on painted cabinets a bad thing?
No. Many homeowners prefer it. It adds texture and character, especially in farmhouse or cottage-style kitchens.
How many coats of paint does it take to cover oak grain?
For visible grain, two coats are usually enough. For a smoother finish, three to four coats with sanding in between gives better results.